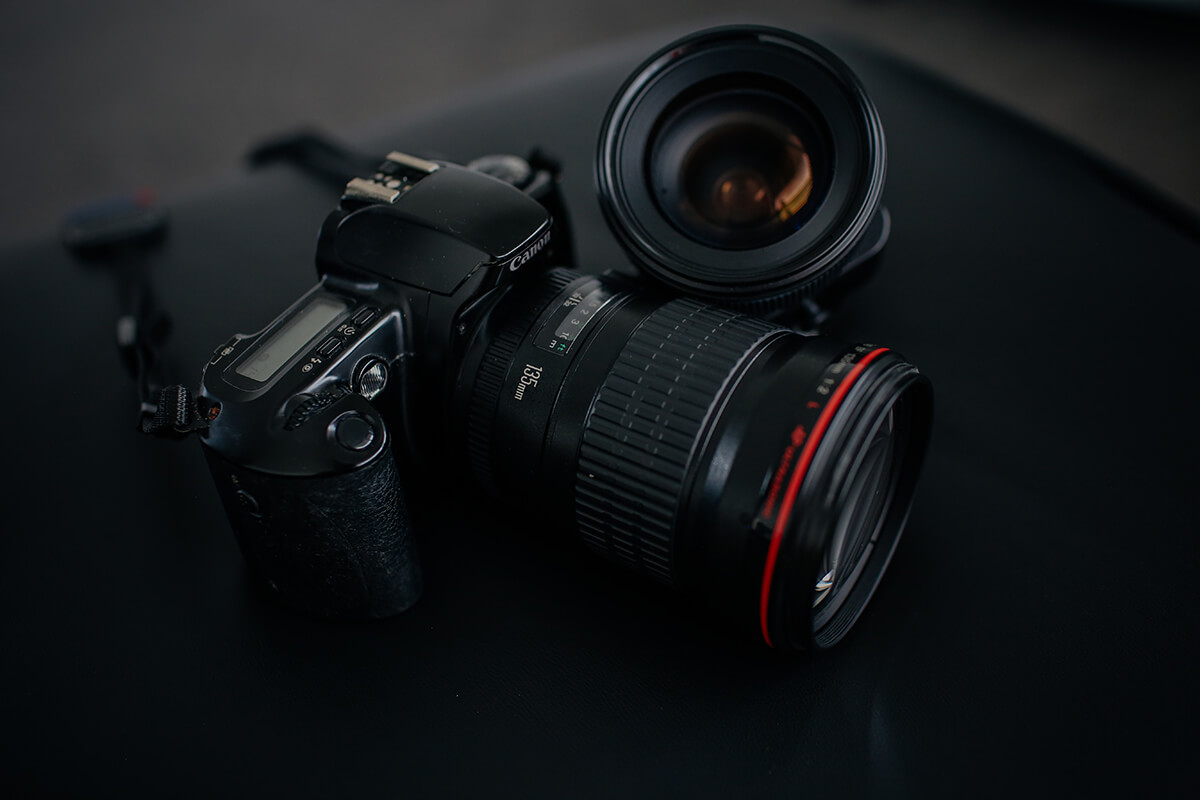
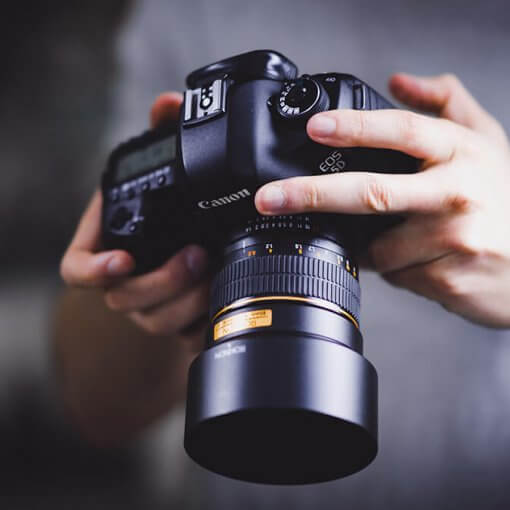
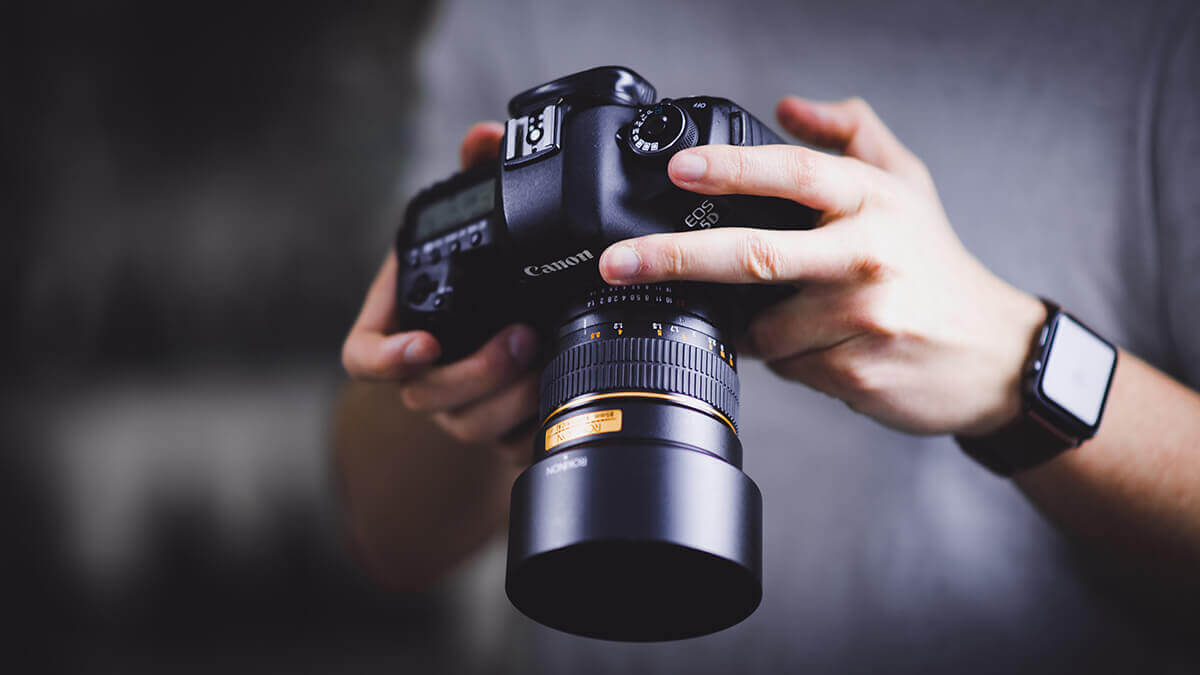
In the last blog post, you learned about the “exposure triangle” and how to get out of Auto mode on your DSLR or mirrorless. We also covered topics on aperture, shutter speed, and ISO, what they do, how they interact with each other, and how they ultimately affect the final image.
Let’s figure out how to use this theoretical knowledge by examining two shooting modes: Aperture and Shutter Priority modes. I’m going to take a closer look at these two modes and discuss scenarios where they make more sense.
Just Remember…
Both aperture and shutter speed priority modes are semi-automatic. When you increase your aperture, larger f-stop number, less light comes on the camera sensor. So, in this case, you need to make shutter speed shorter.
On the other hand, when you choose a longer shutter speed, you should also decrease the aperture as this is the only way that you will get a properly exposed shot.
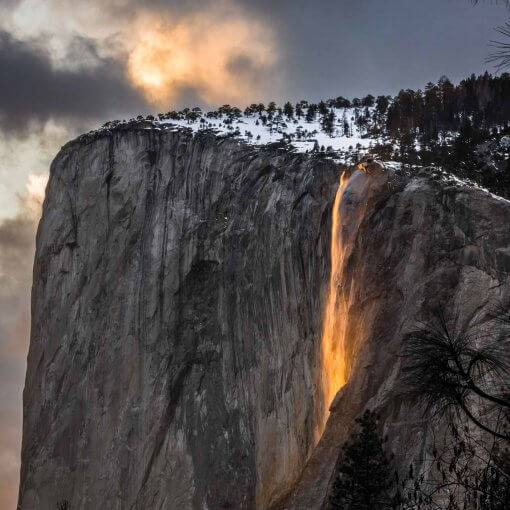
Aperture Priority Mode
In fact, the only way to take a decent photo is using manual mode. Using the proper manual mode will help you to take a picture you want and get full control over camera settings.
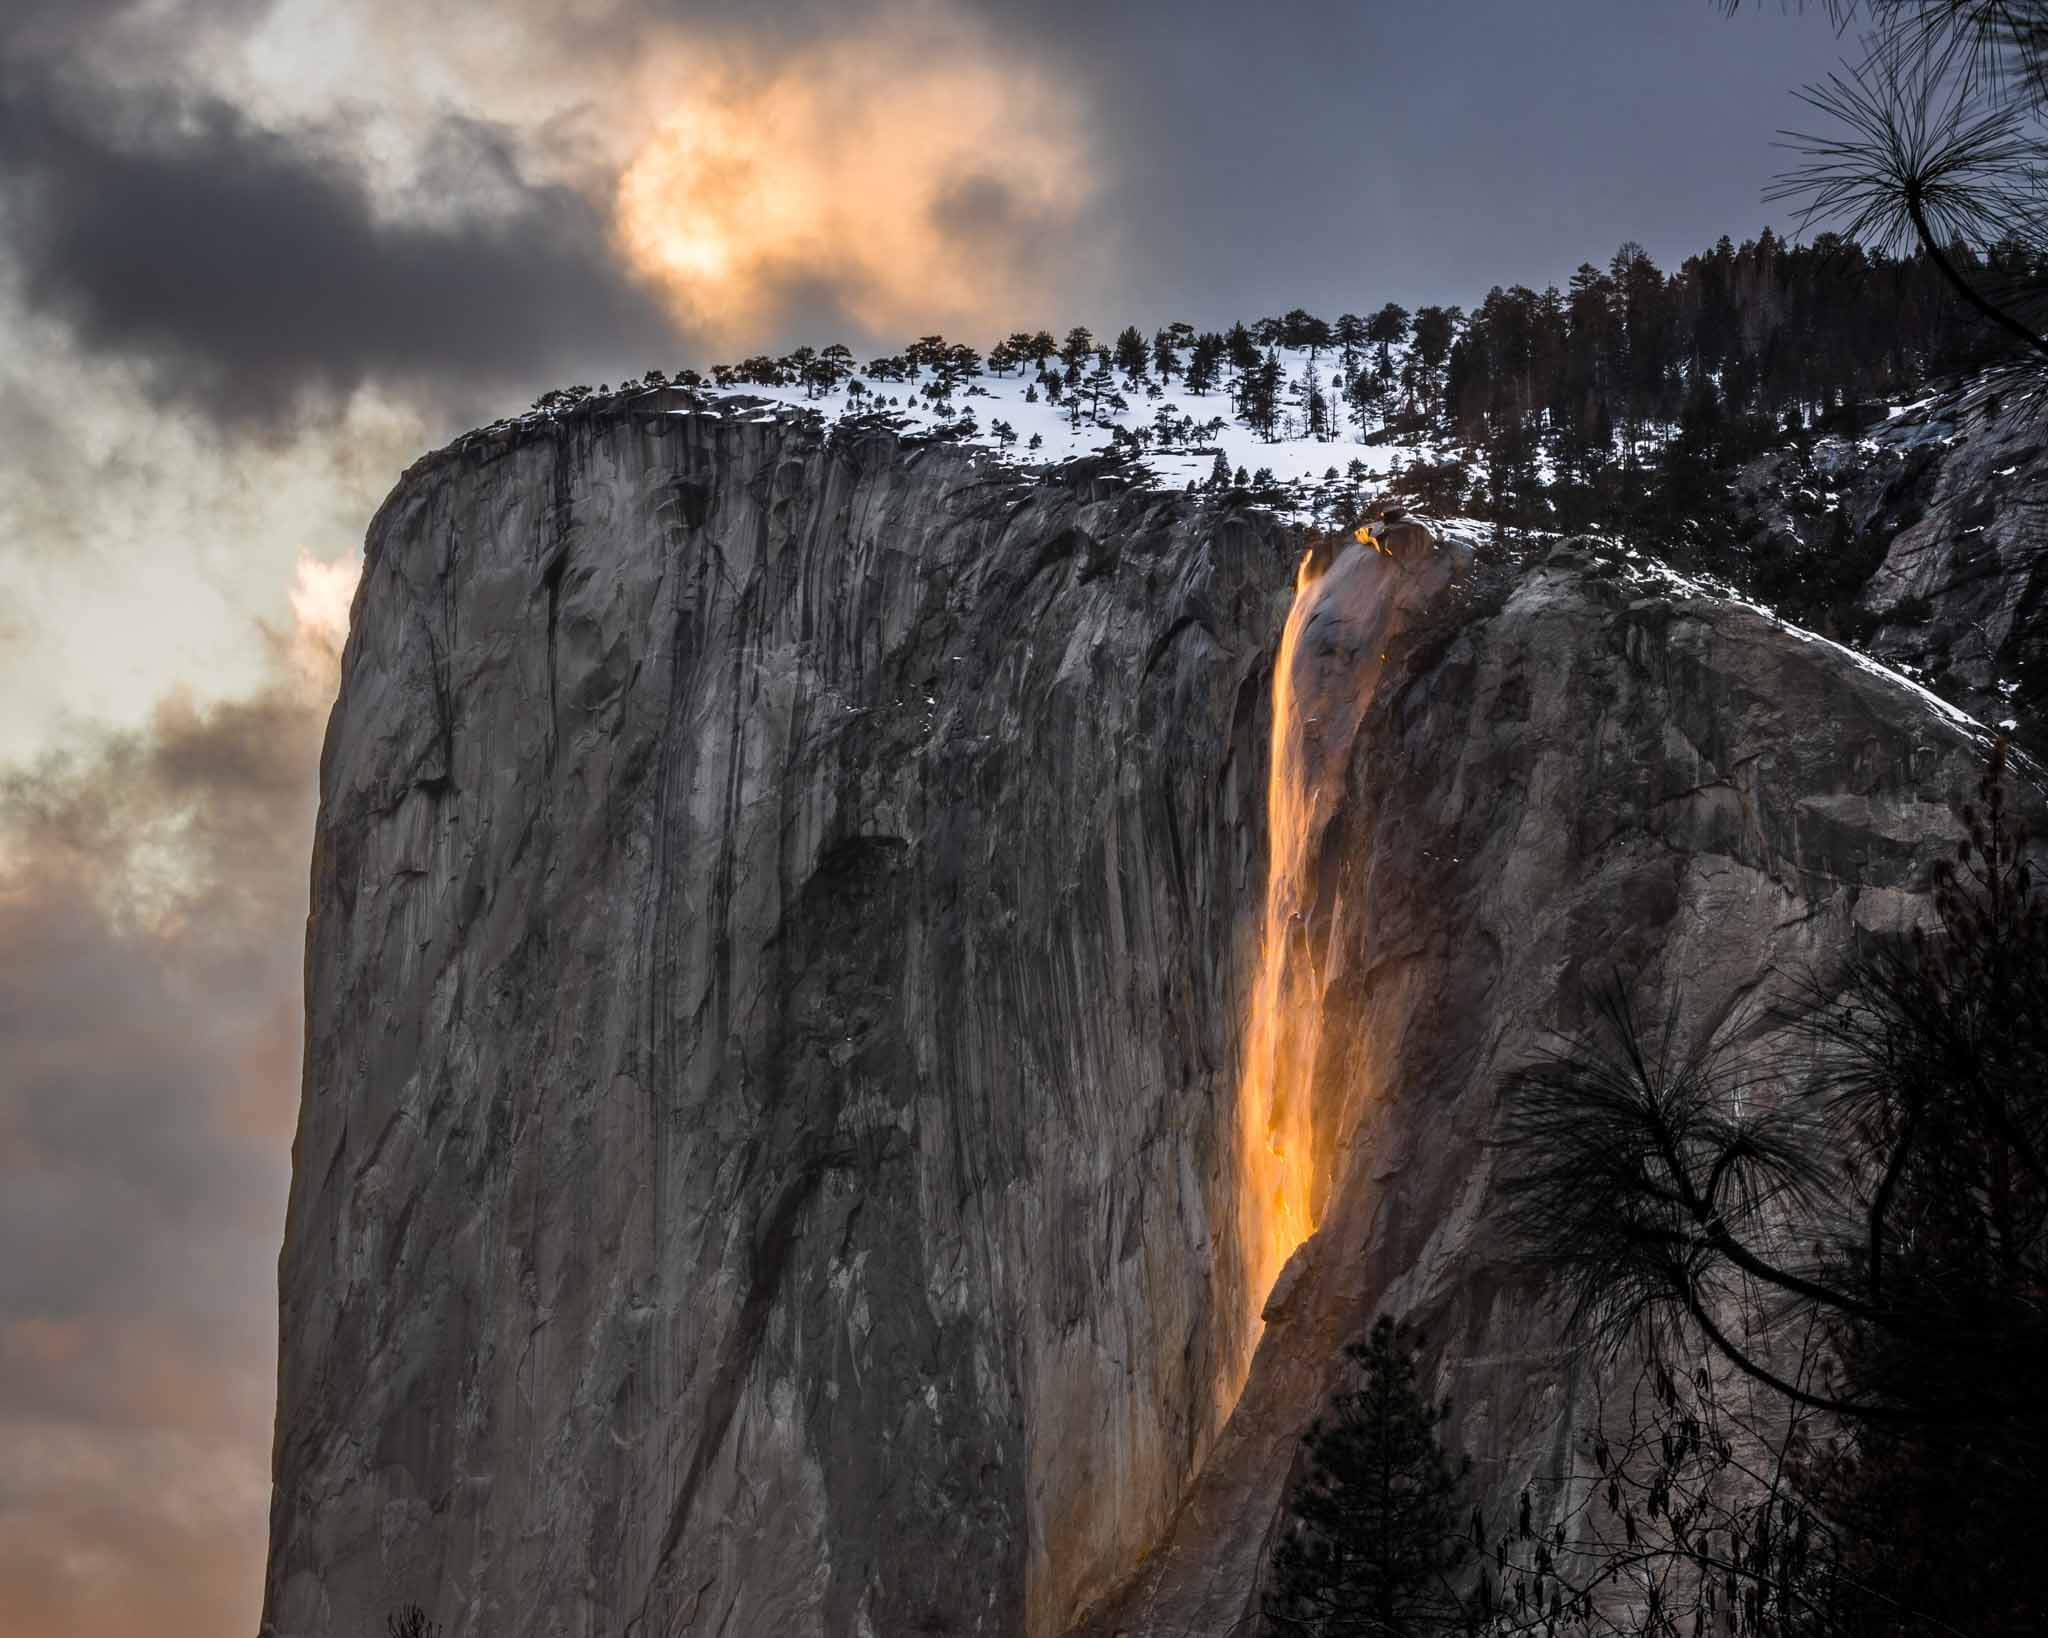
For example, aperture priority mode is the perfect solution for when you want to get a nice shallow depth of field to separate the main subject from the background. It’s often marked as “Av” or “A” on most camera dials.
This mode allows you to choose the aperture and the camera automatically adjusts the shutter speed in order to properly achieve a proper exposure. You can simultaneously change the ISO for shooting in lower lighting situations.

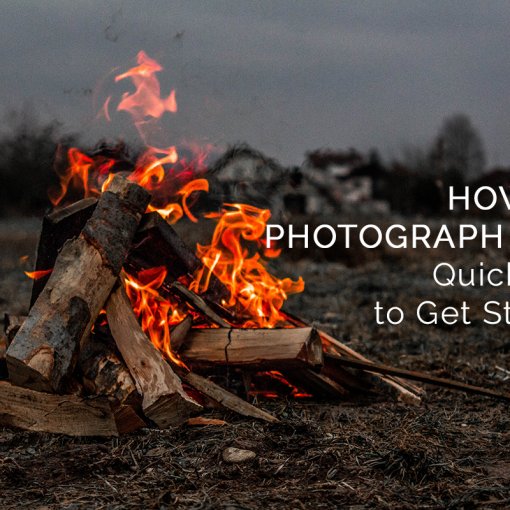
When you shoot in daylight or in other good lighting conditions, the best thing to do is decrease the aperture and lower the ISO in order to get a beautiful depth of field and subject in focus.
While shooting in the dark, you can decrease the aperture (low f-stop number) and increase the ISO to make your image brighter.
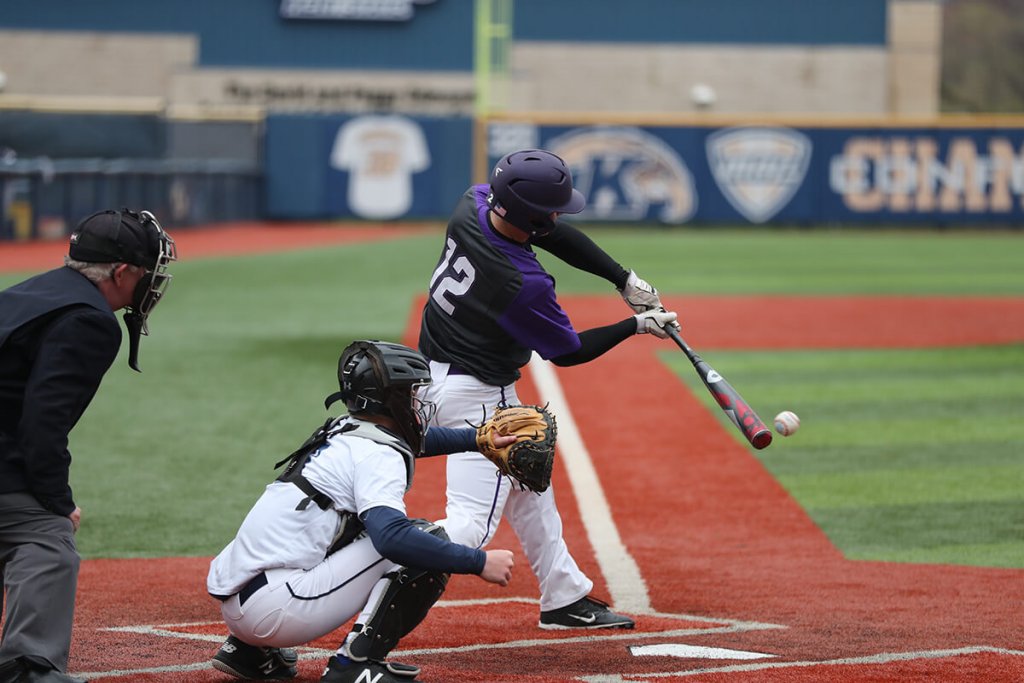
Shutter Speed Priority Mode
Have you ever tried to shoot kids playing sports? It’s almost impossible to take a photo without motion blur! This mode lets you control the time that the camera shutter is open so that, in the case of kids playing sports, you simply need to increase the shutter speed and get a “freeze motion” effect.
Start at about 1/400 seconds and adjust the setting until you get the results you want. To use shutter speed priority mode, use the symbol, “Tv” or “S” on the camera dial.
Fast motions require fast shutter speeds. It also means your photo will come out less bright than it could be. So, increase the ISO to give yourself a margin for shutter speed.
There is a general rule when it comes to selecting a minimum shutter speed for a focal length. The rule is that you will need the denominator in the shutter speed fraction to be equal to (or higher) than the focal length of the lens. This sounds complicated so let’s look at an example. For instance, if you use a 50mm lens, Your shutter speed should be at least 1/50. If your image is blurry, most likely from camera shake, increase your shutter speed to 1/80 or higher until your images are sharp.
***
As you see, these two camera modes give you more control over your images, just remember to practice each mode in different lighting conditions to get used to them.
