This tutorial aims to teach you to take full control of your camera settings. As you remember, there are 3 components of the ‘exposure triangle’. They are aperture, shutter speed, and ISO. The last setting controls the sensor sensitivity to light, Don’t worry, we’ll cover it in detail below.
If you want to get the best exposed image every time, you need to understand what ISO is and how it works. In this article, I’m going to explain ISO in simple language, share examples, and provide a short cheat sheet to suggest to you what ISO to choose in different situations.
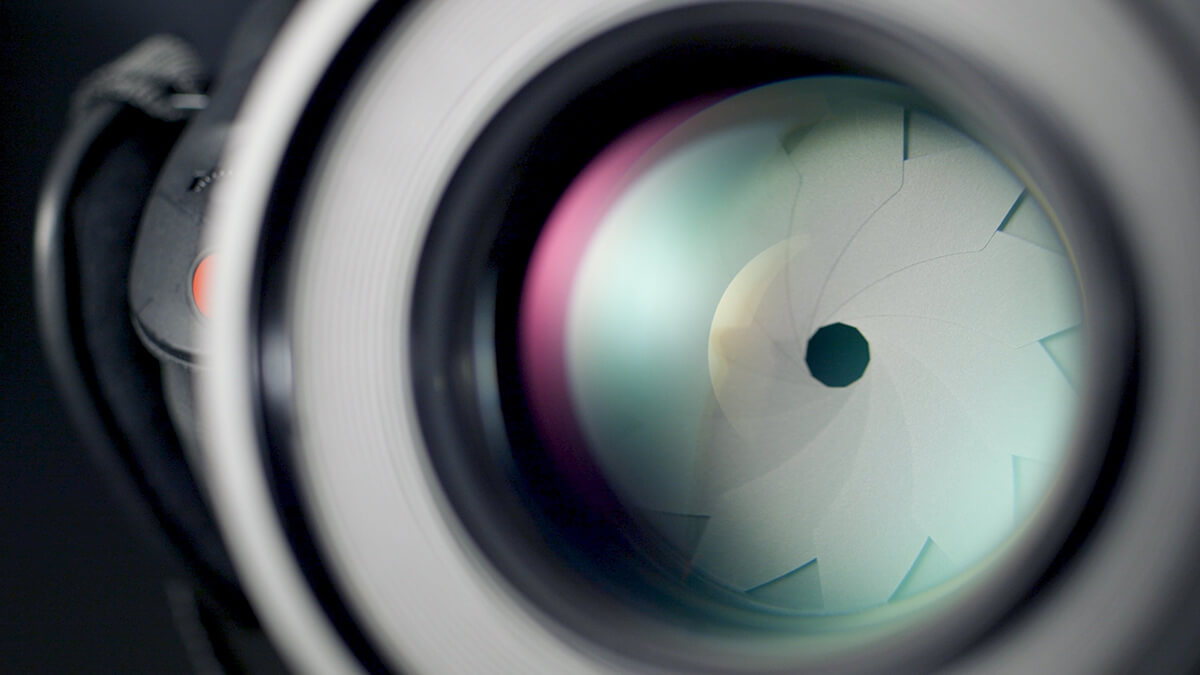
What is ISO?
ISO is a camera setting which allows you to make images brighter or darker depending on the situation. This is why higher ISO is often used in low light photography so that you could have more flexibility with shutter speed and aperture.
If you want to know the history and technical part of the ISO, read this guide.
However, raising the ISO is a bit tricky. A photo taken with high ISO will be brighter but will also have a lot of digital noise or grain. Many professional photographers try to avoid using high ISO but in some situations, using a high ISO is the only solution for a proper exposure.
Raise your ISO only in situations when you can’t make a photo brighter via aperture or shutter speed. For instance, if you choose a slower shutter speed and it makes your object blurry, try to brighten your image with ISO instead.
ISO Values
Here is a standard set of ISO values: ISO 100 (or low ISO), ISO 200, ISO 400, ISO 800, ISO 1600, ISO 3200, ISO 6400 (or high ISO).
It’s quite easy to understand: When you double your ISO, you will make an image twice as bright. In other words, an image with ISO 400 is two times brighter than an image with ISO 200.
We have created a quick cheat sheet for you that will suggest the ISO number to use in different situations.

How does ISO Affect the Exposure?
When you double the ISO, you double the exposure. ISO is much easier to understand compared to aperture and shutter speed.
A low ISO will give you a darker image, and vice versa, a high ISO number will give you brighter image. Check out the image taken with different ISO numbers.
How Does ISO Affect Photo Quality?
I have mentioned that digital noise will appear when you use a higher ISO number. Moreover, ISO also affects the quality of your image. When you use a lower ISO number, you’ll get a photo with better quality. The noise/grain reduces image details and color accuracy
The same image taken with ISO 200 will have less noise and grain than with ISO 3200.
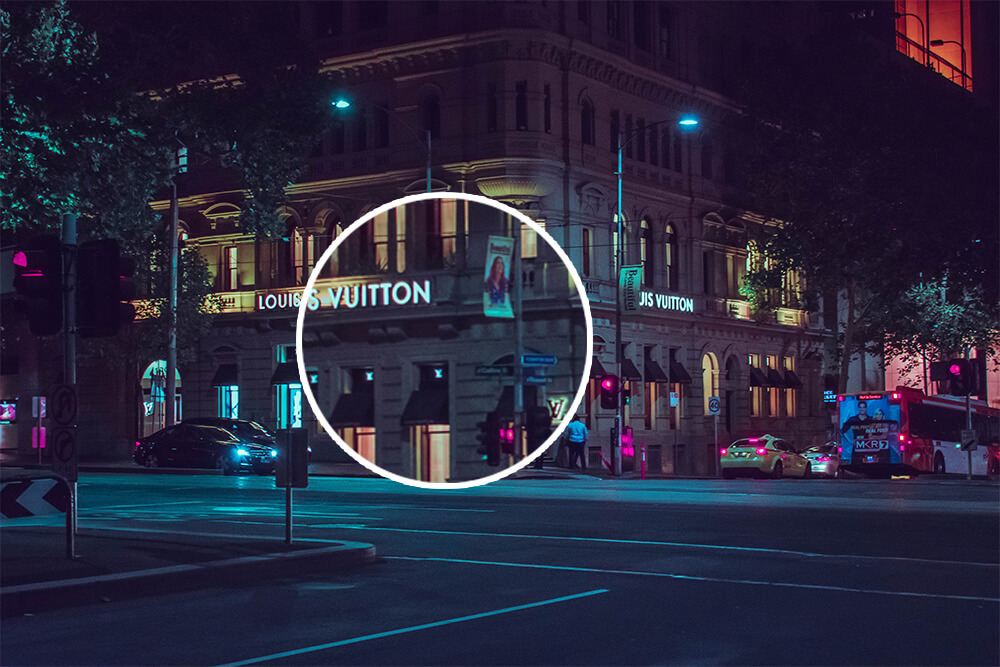
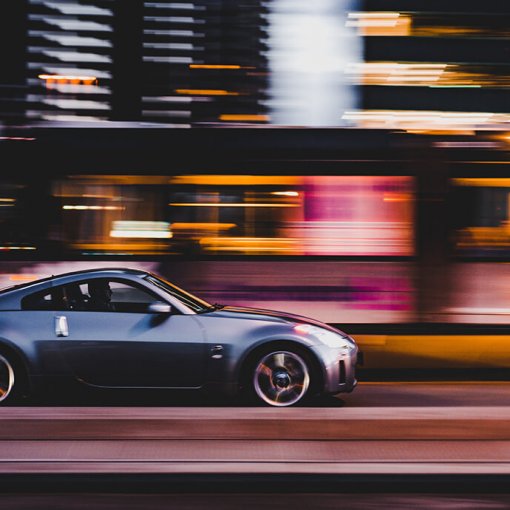
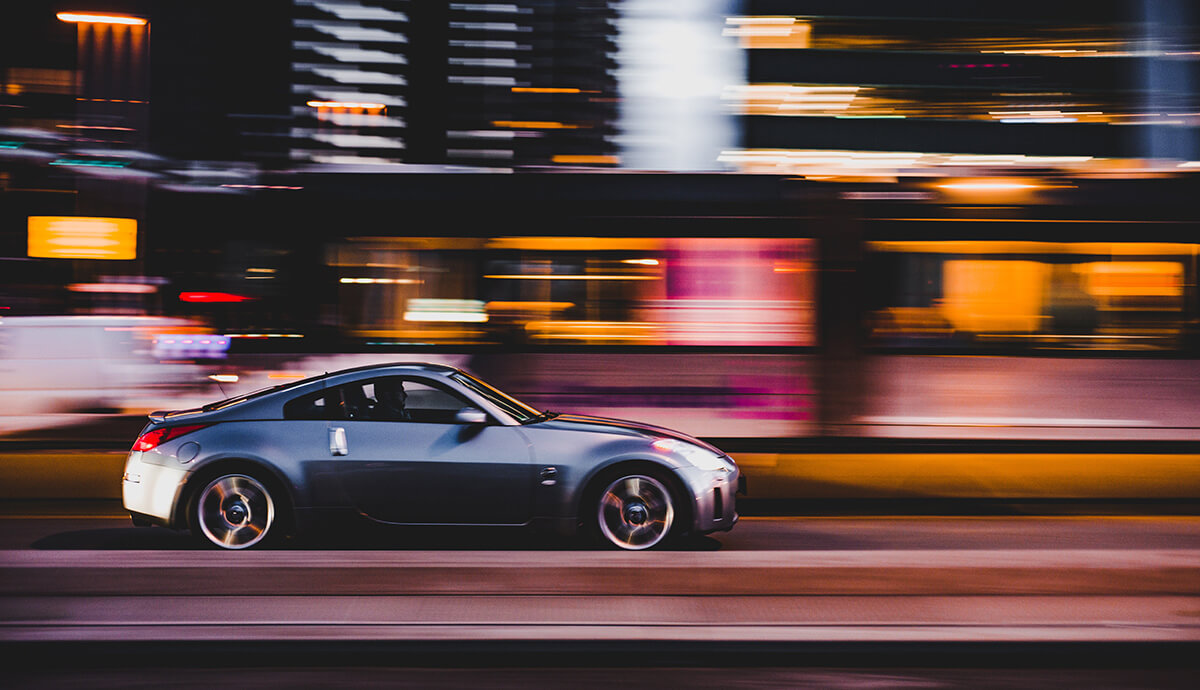
Let’s look at this image taken at night. A photographer used a low aperture (small number) and a slow shutter speed, but a high ISO to brighten the shot. Obviously, there is grain on the image.
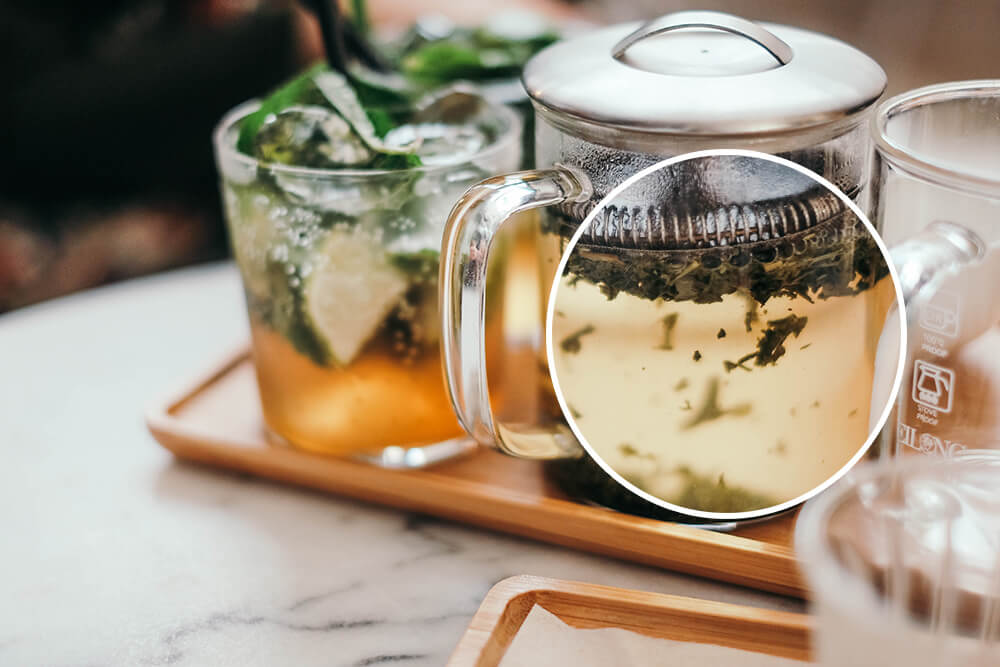
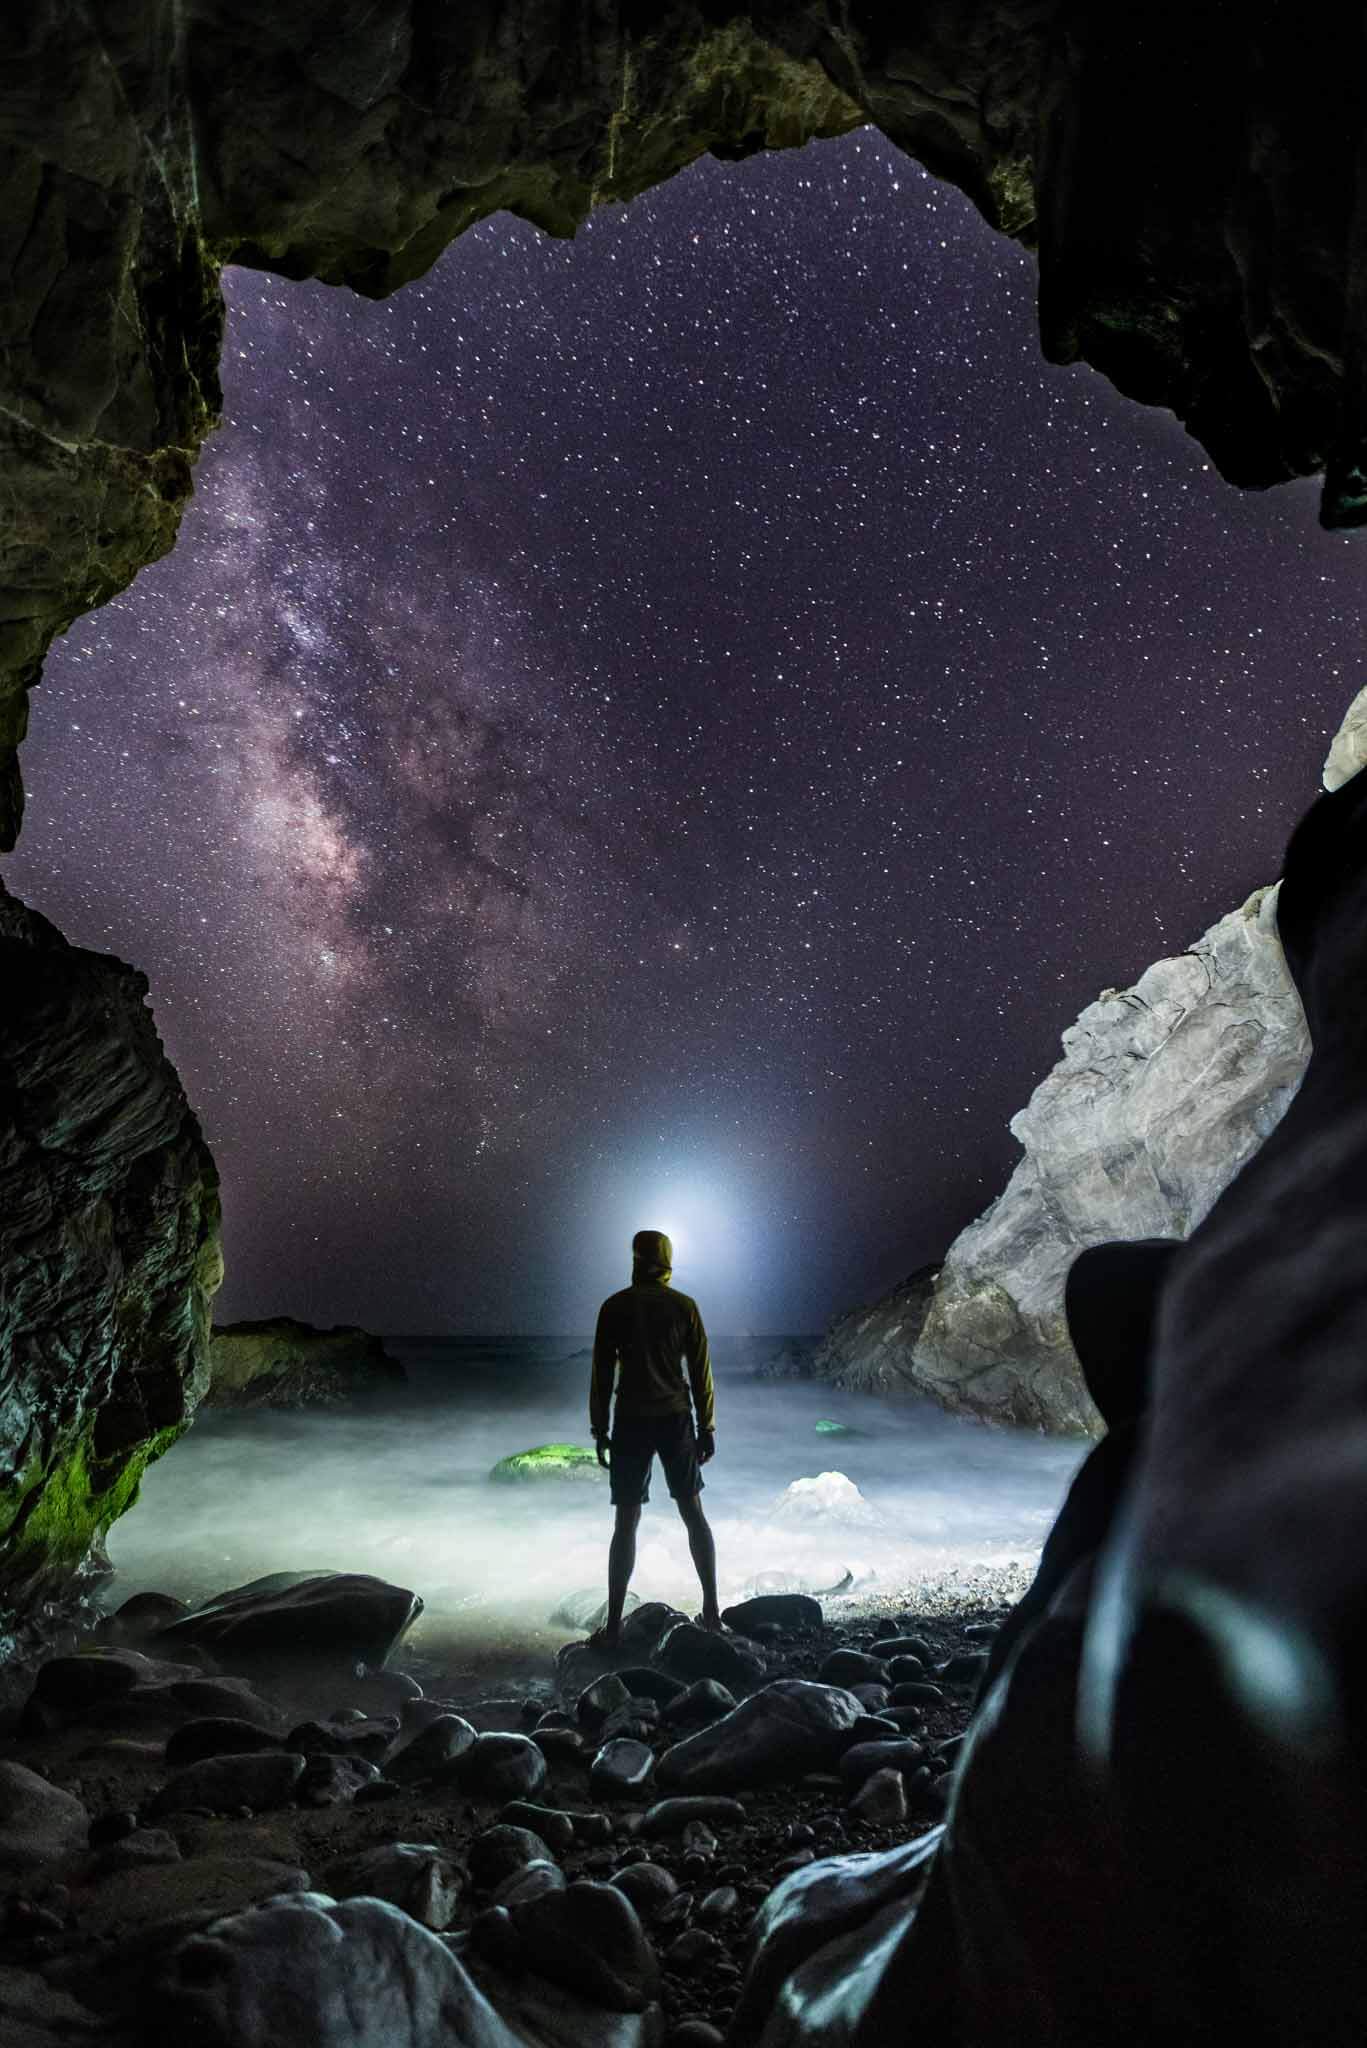
And here is another example of the photo taken at perfect light conditions with low ISO. It is clear, smooth, and there is no grain at all, as you see.
***
Use a higher ISO only in a situation when there is no other way to brighten your image. As you can see, ISO affects the quality of the image. However, don’t be afraid to make higher ISO. It helps you to fight motion blur.
