If you are a beginner photographer and you are dreaming about getting out of Auto mode, this article is written for you. In the previous post, we have discussed the exposure triangle which are the aperture, shutter speed, and ISO.
There, you will find a short and sweet explanation of the camera aperture, but it is not all you need to know about this camera setting. With proper control of aperture, you would be able to get more creative and more interesting shots.
What is the aperture?
Since practice makes perfect, I would like to refresh your memory and tell you once again what the aperture is:
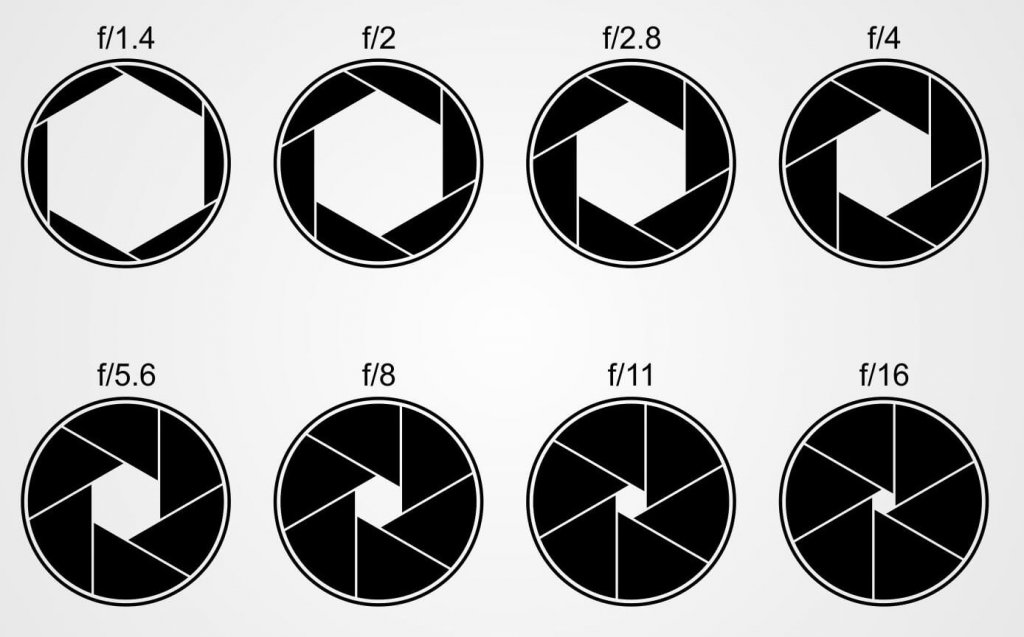
Aperture is an opening through which light goes into the camera. In a nutshell, it is like a pupil of our eye. It can be wide open or closed depending on the amount of light you want to let in. Here is an illustration showing how the aperture actually works:
When you shoot in different light conditions, for example, during the day with daylight, you can close (or ‘stop down’) the aperture. On the opposite side, you need to open the aperture when you shoot in low light. Of course, the aperture is not the only camera setting which controls the amount of light going through the sensor. The shutter speed is also another factor.
What is F-Stop?
The f-stop is the number on your camera settings which says how open or closed your aperture is at the moment.
Beginners may get confused by f-stop at first (the idea is counter intuitive), because the smaller number of f-stop, the larger the aperture opening is. And vice versa, the bigger f-stop number means, the less light your camera can let in.
Aperture, F-Stop, and Depth of Field
Aperture not only affects the exposure and let the light in, but also it affects the depth of field. And here the magic begins. In a nutshell, depth of field is the amount of image which stays sharp from front to back.
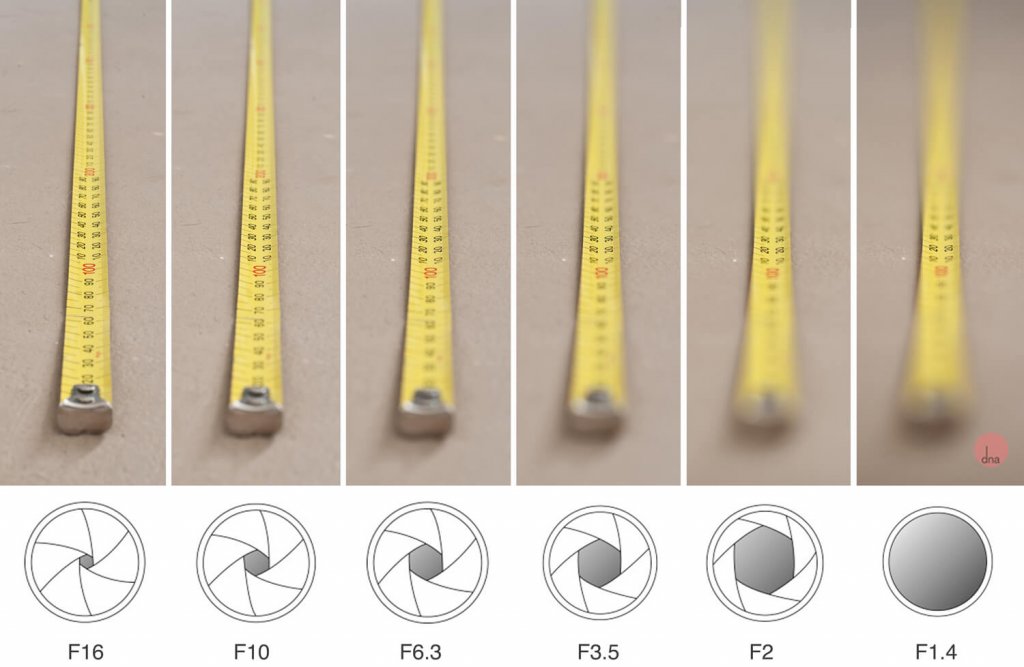
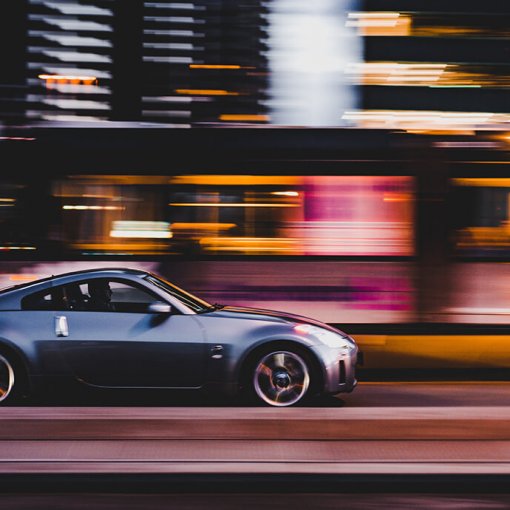
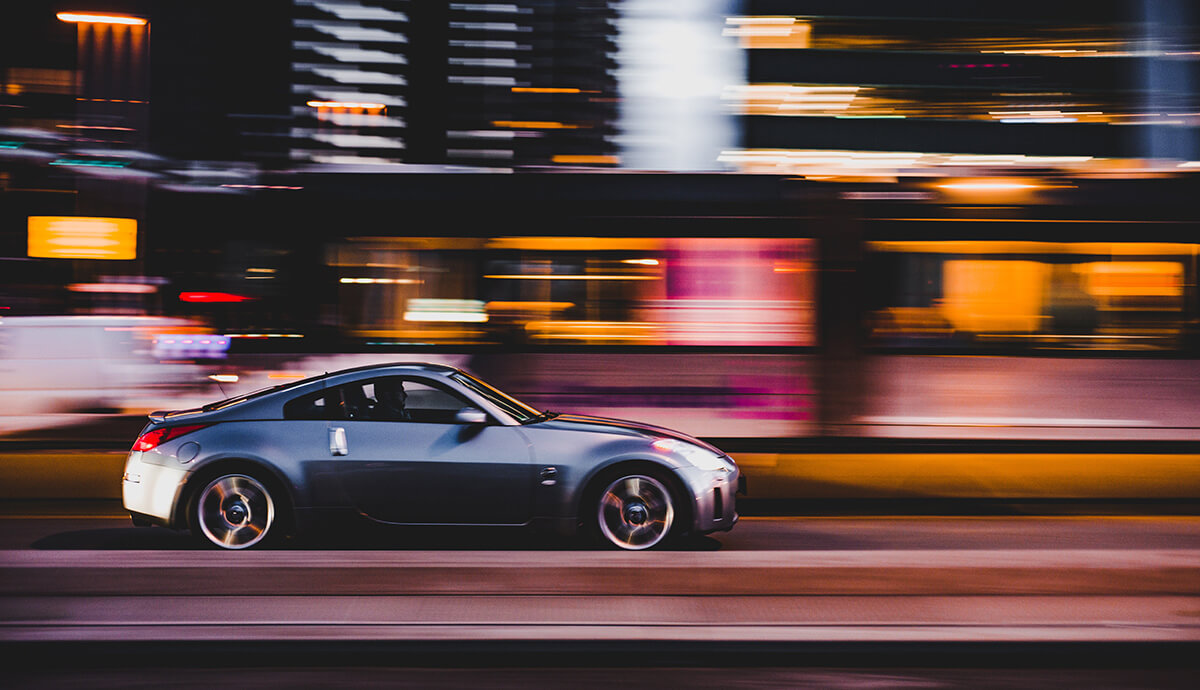
The depth of field could be ‘thin’ or ‘shallow’ on some images which means the background is out of focus. Here is an image sample with shallow depth of field:
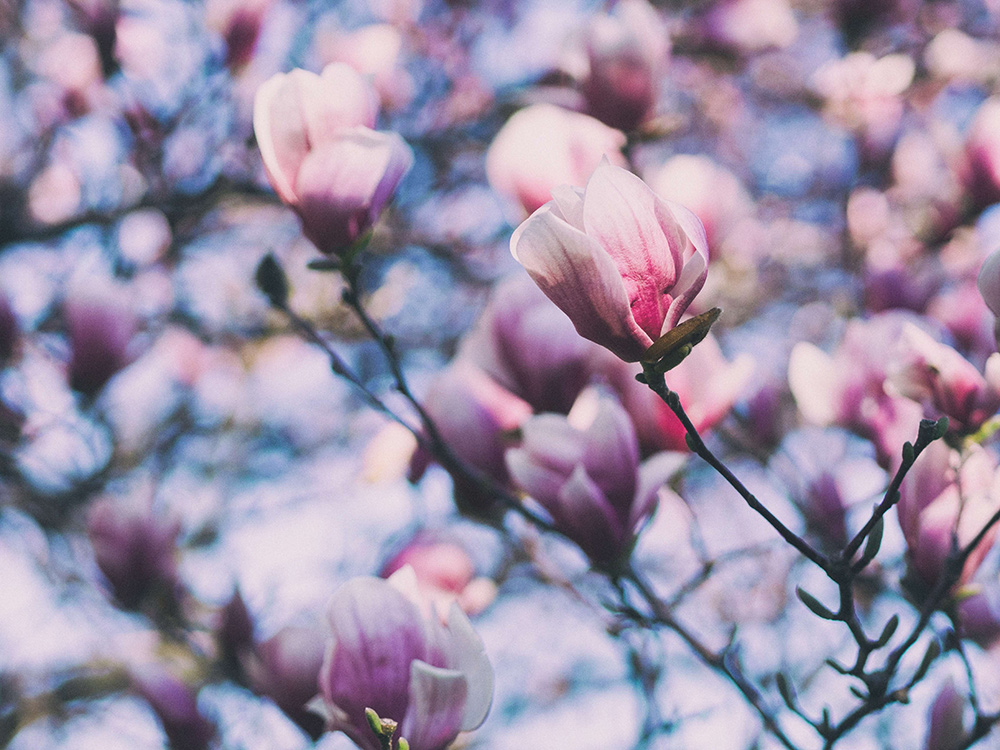
Aperture ƒ/1.8. Shutter Speed 1/4000s. ISO 640
If the aperture was smaller for this photo, it could appear sharp from end to end.
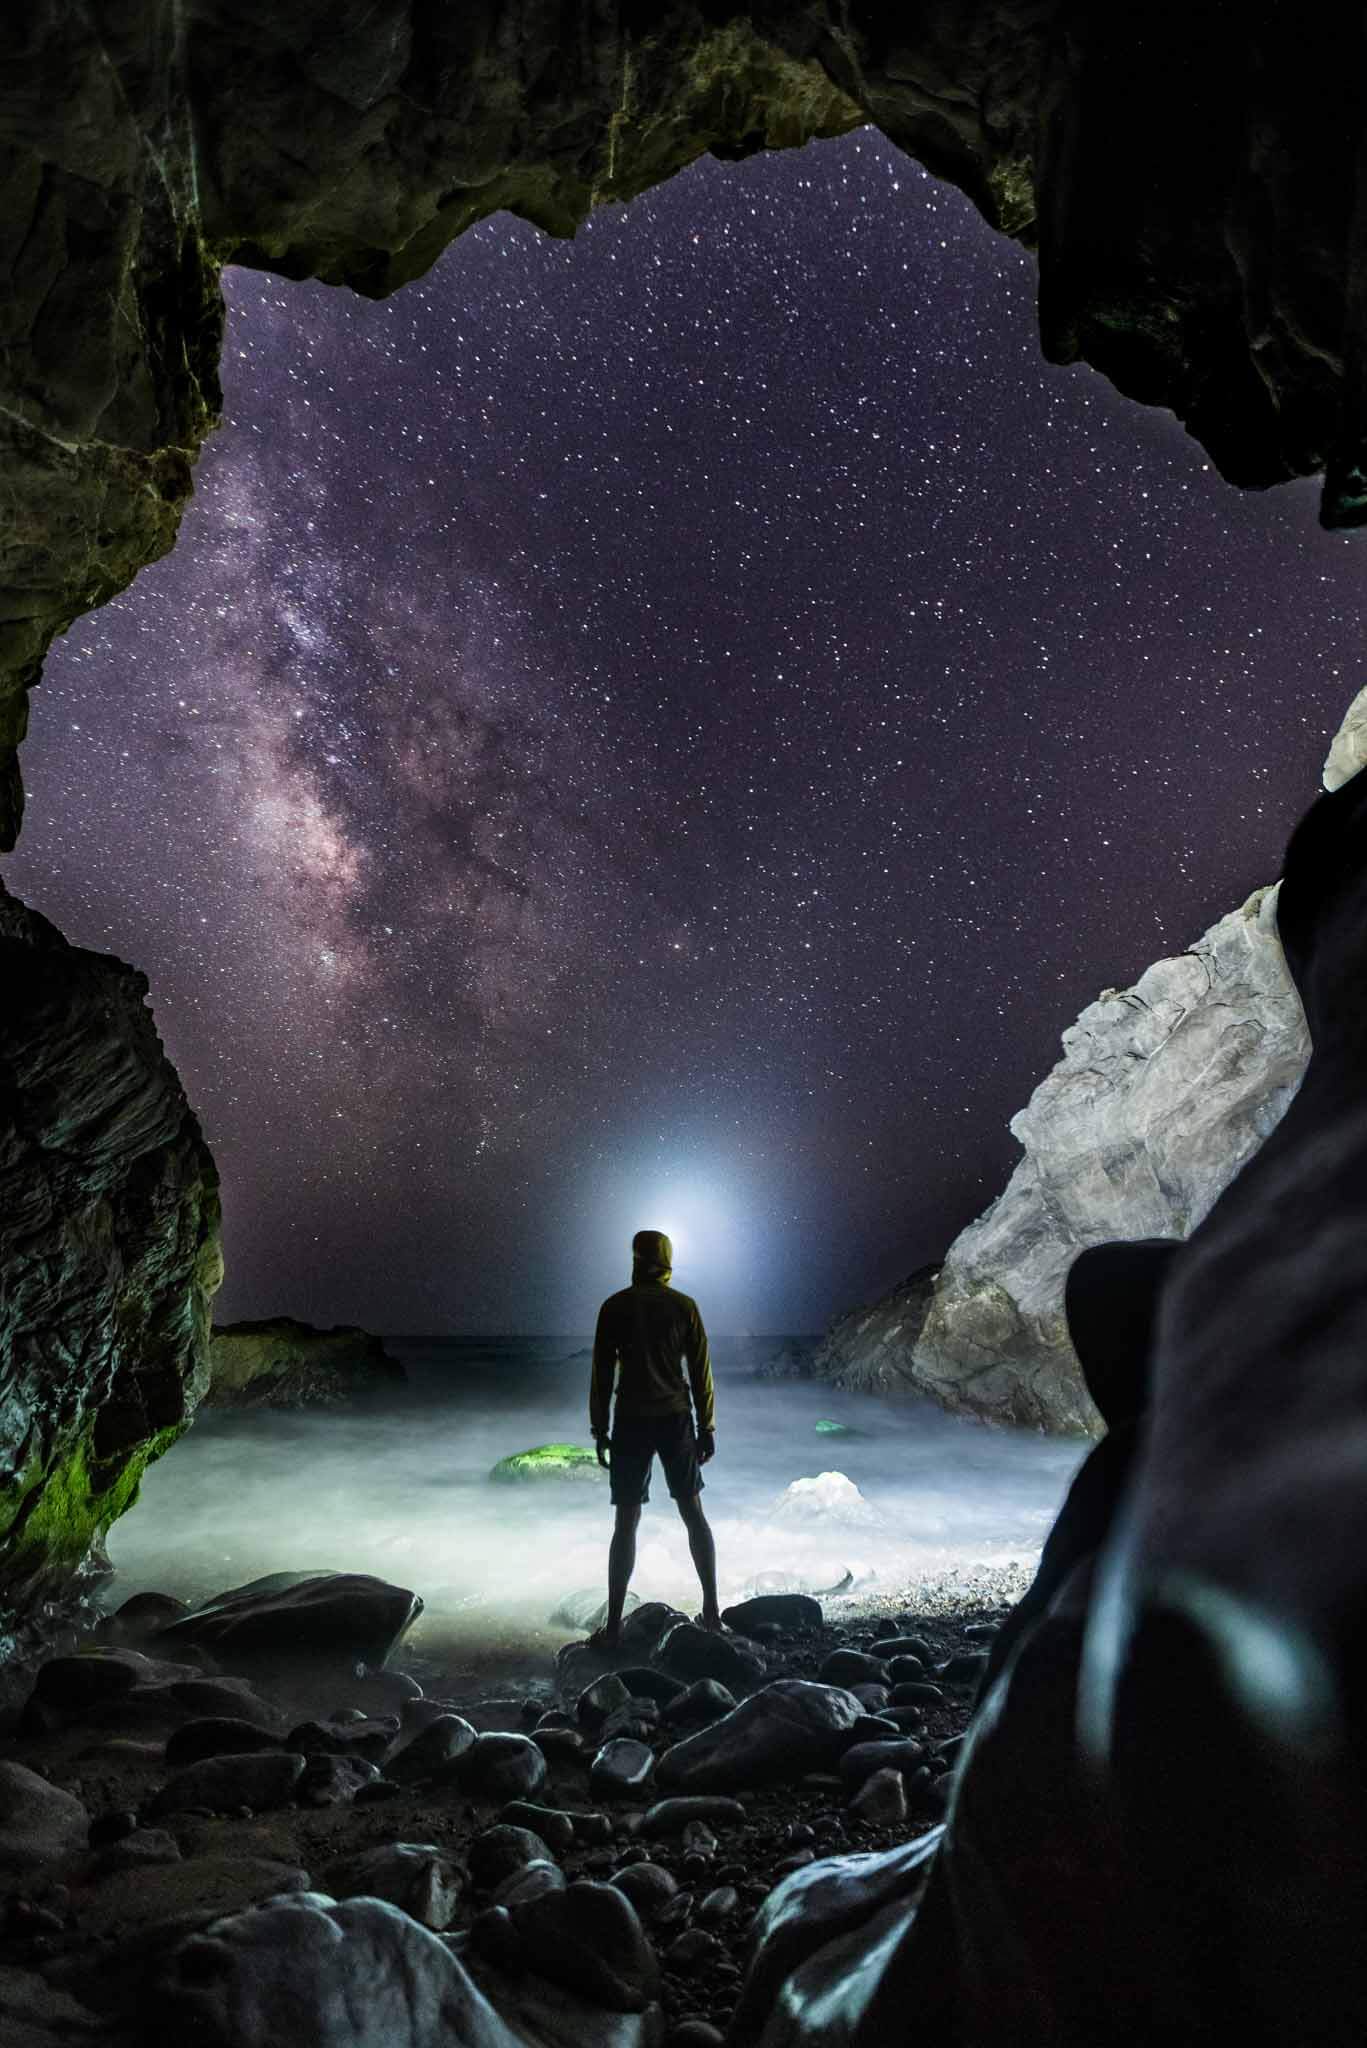
Also, depth of field could be ‘large’ or ‘deep’, where both background and foreground are sharp, just like on this photo:
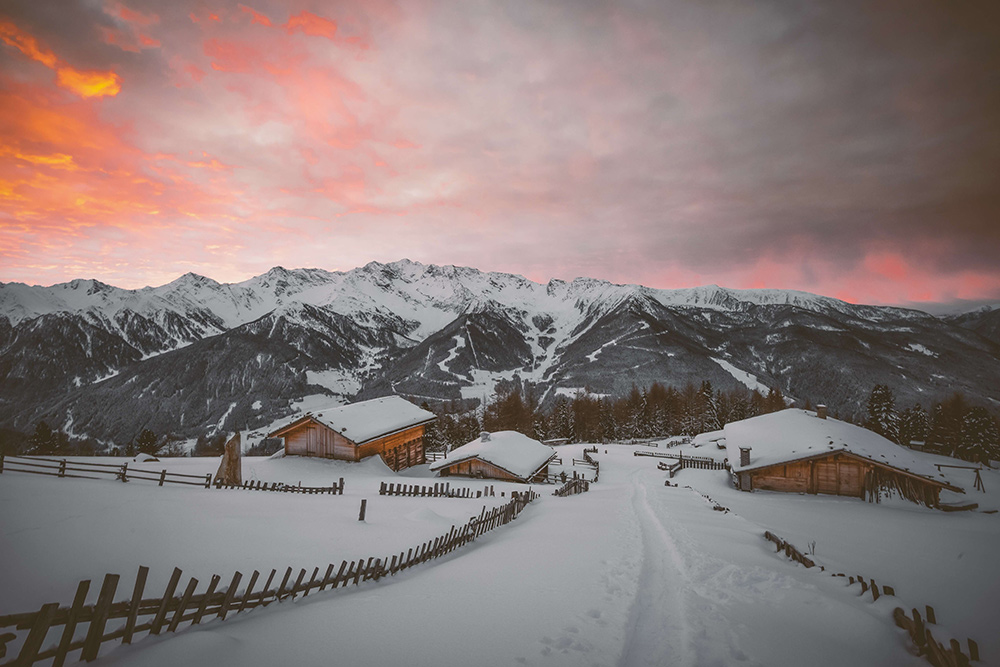
And the opposite thing here, the bigger aperture could make some places of the picture out of focus, but a deep depth of field works the best for landscapes.
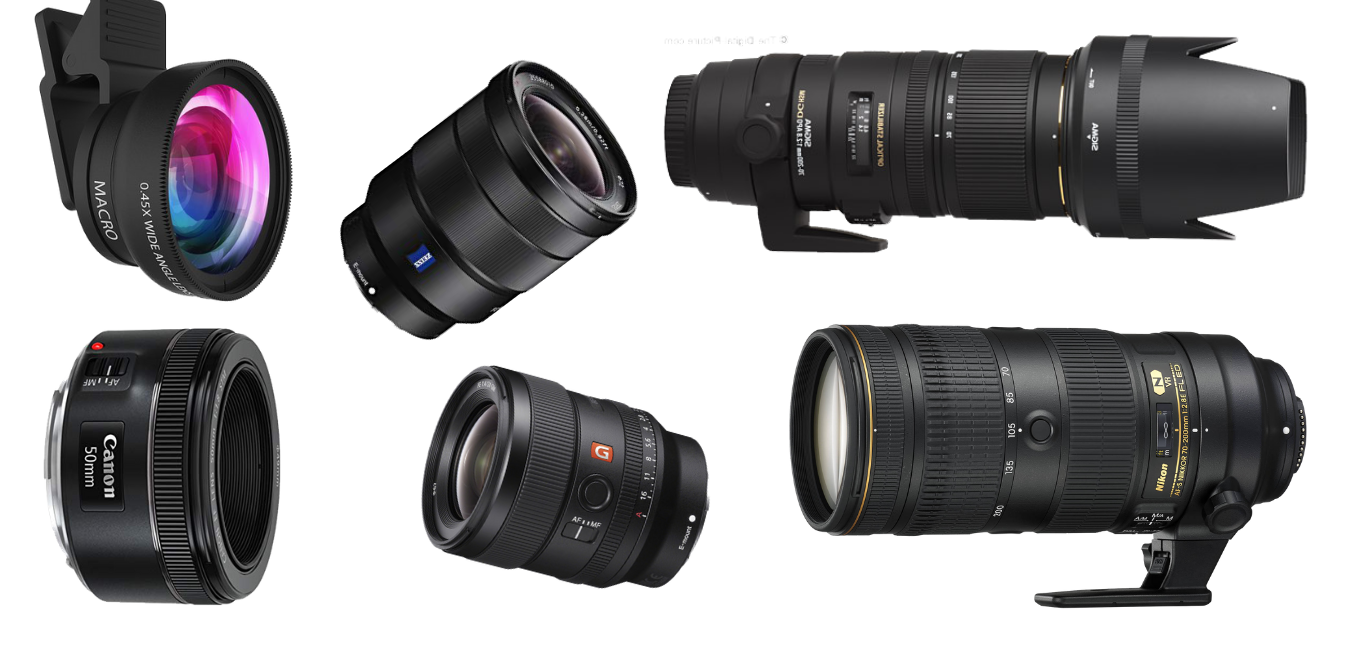
The bigger aperture is often applied to portraits, food, and objects photography while the smaller aperture is suitable for landscapes, architecture, and more.
Setting Your Aperture
Now you know how aperture works and how it affects exposure and depth of field. Your choice of f-stop number will depend on your lighting conditions, and how much sharpness you want to get on your image.
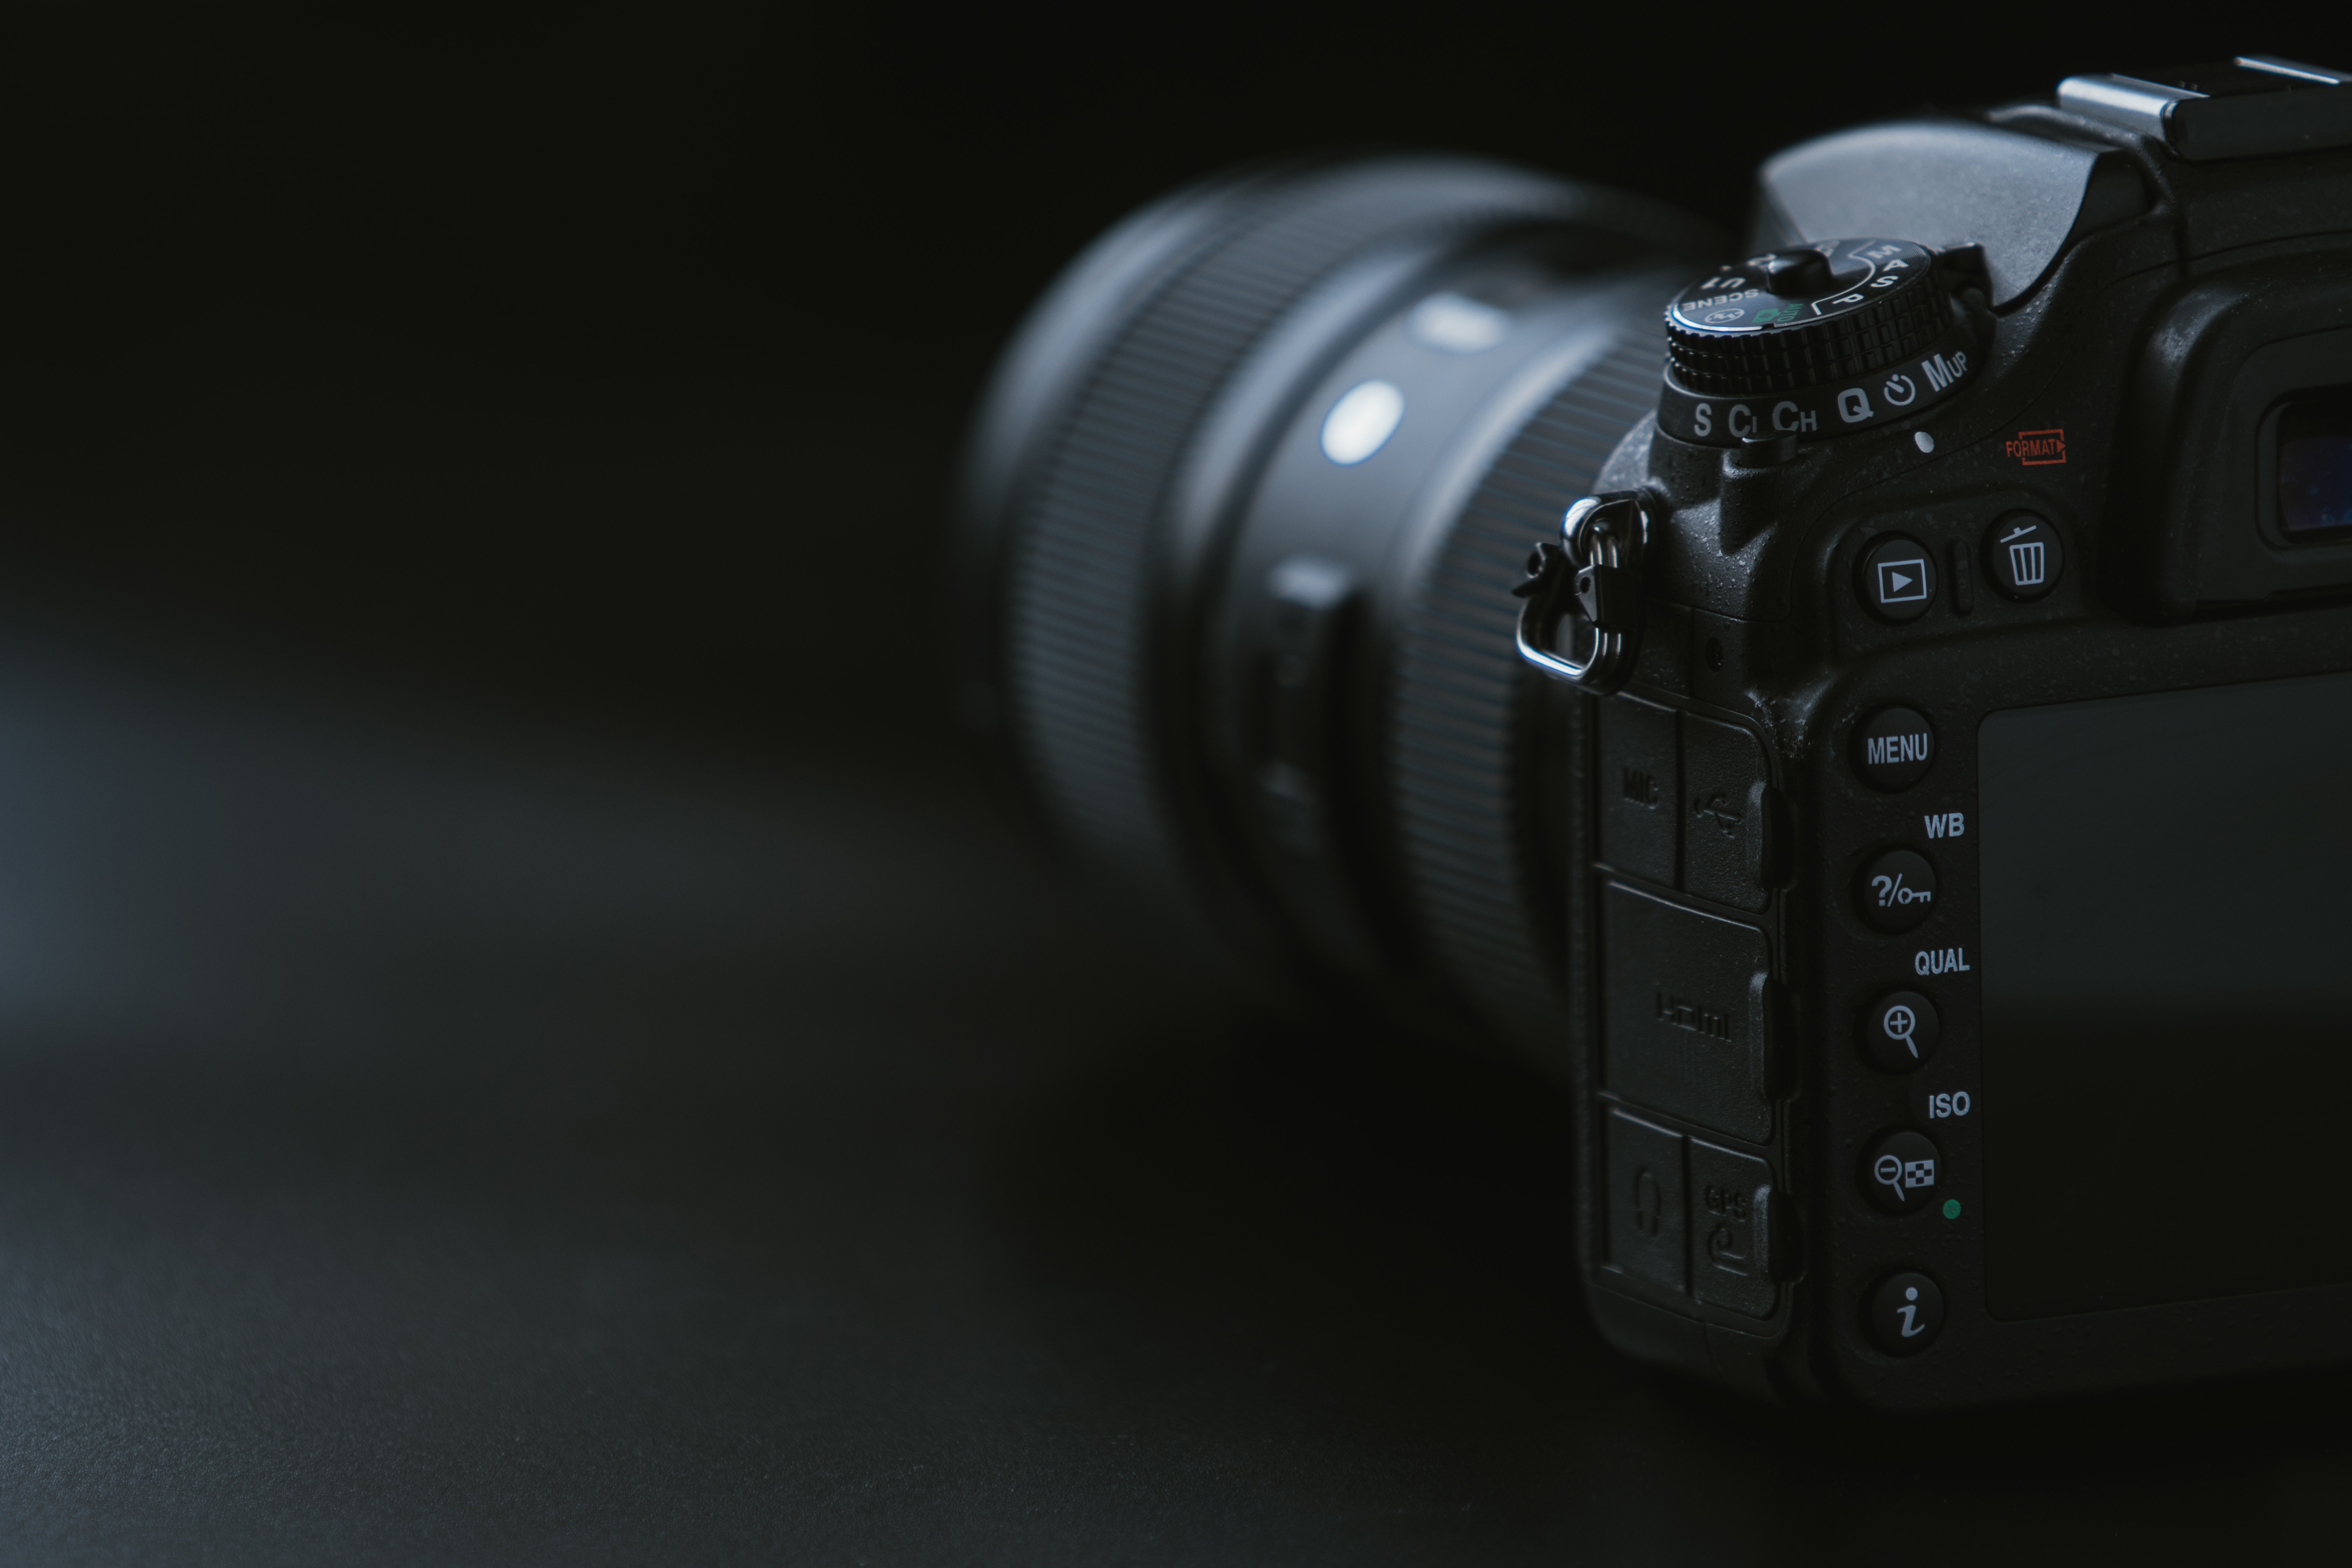
If you want to choose aperture manually, which is awesome for a photographer, you need to choose one of two modes. The more user friendly mode is aperture-priority mode labeled ‘A’ or ‘Av’, and the second one is the manual mode labeled ‘M’.
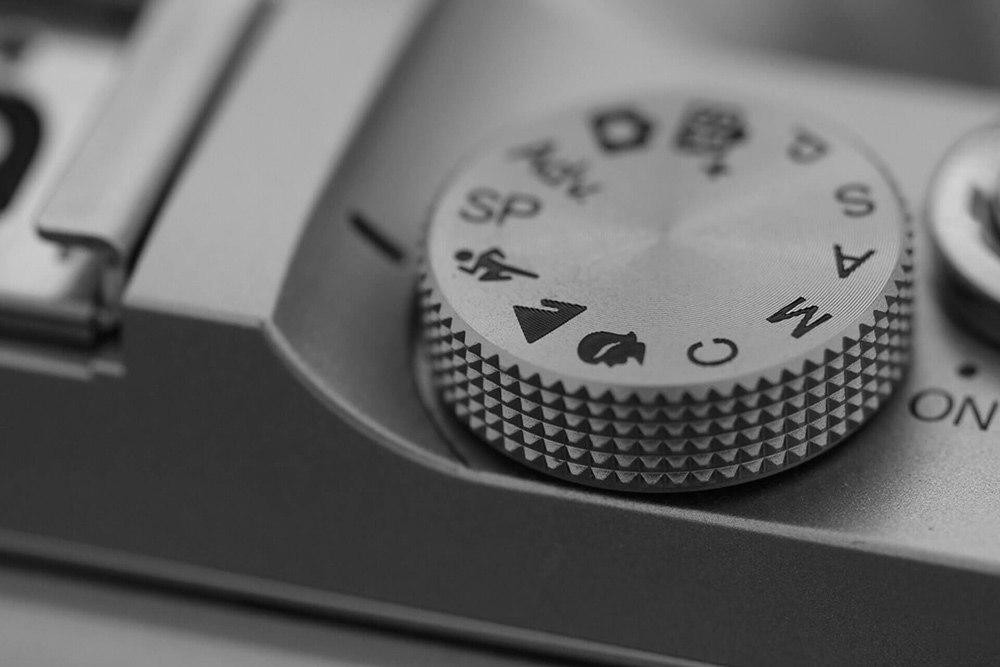
These settings can be found on the top dial of your camera. When you choose the aperture-priority mode, your camera will automatically adjust the shutter speed for you. In a manual mode, you can select aperture and shutter speed yourself. In both modes, you will have to select the ISO.
***
I hope you enjoy this quick manual on camera aperture. If you have any questions, don’t hesitate to ask them below.

One thought on “Introduction to Aperture in Digital Photography”