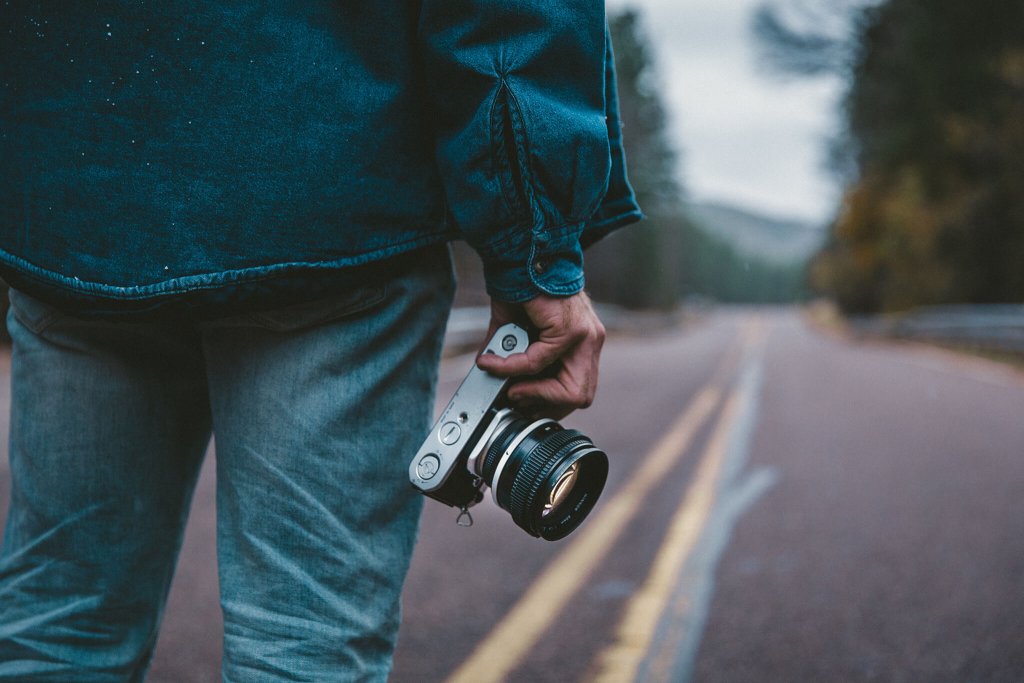
When you are starting your path as a professional photographer, you may be confused by many buttons and options your camera offers. However, every photographer needs to know what is exposure triangle and how to use it properly. By understanding how light interacts with your camera, you will be able to capture images with ideal brightness, contrast, true highlights, and shadows.
In photography, exposure is the amount of light which reaches your camera sensor. In other words, it is how dark or bright your photograph is. If your photo is too dark, it is underexposed. And vice versa, if your picture is too bright, it is overexposed. When people talk about good exposure, they mean to get an image which is not too dark or too light.
Exposure Triangle
There are three things that affect the brightness and darkness of your photo, commonly known as the ‘exposure triangle’. They are
– shutter speed;
– aperture;
– camera ISO.
Getting a perfect photo is about balancing these three settings. Advanced professional photographers quickly nail these settings in any light condition to capture that fleeting moment. If you want to master the exposure triangle, you need to go out and practice these settings yourself.
Shutter Speed
Let’s take a closer look at shutter speed. This setting is not that difficult to understand. It simply means how long your camera is taking a photo. All cameras have different settings and modes, for example, the Nikon D3300 has a shutter speed range from 1/4000 of a second to 30 seconds.
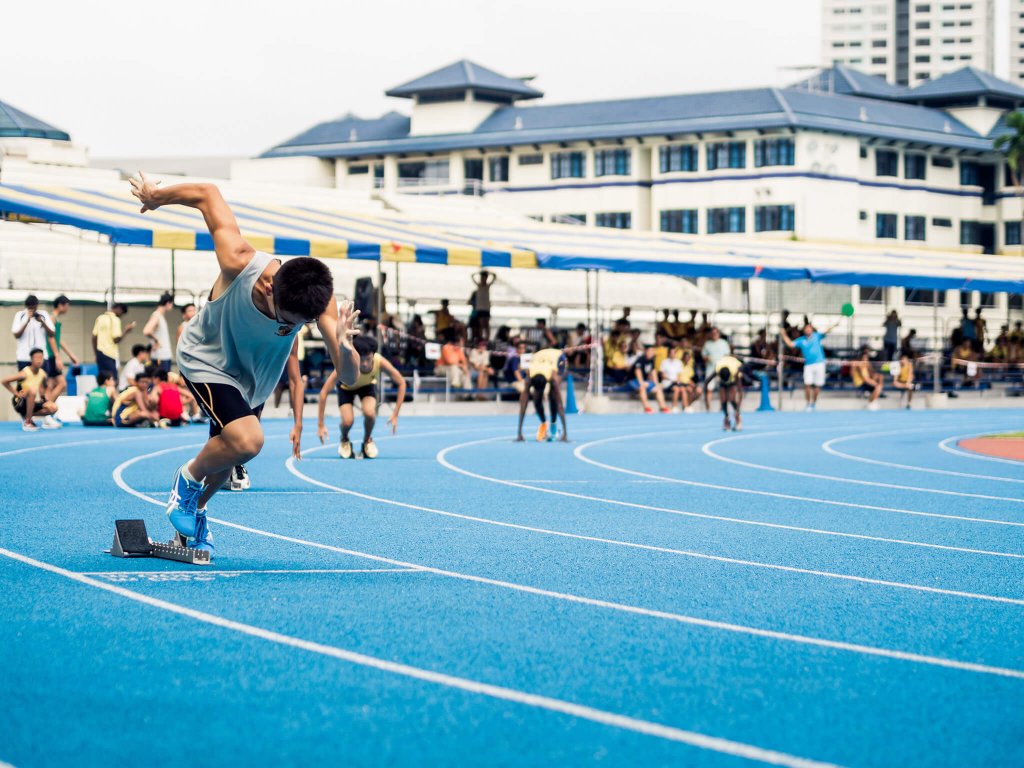
Shutter speed determines how much light reaches your camera sensor; the amount of time that light has to hit the sensor. If you take a picture with 30 seconds shutter speed in the daylight, it would be completely overexposed. A shorter shutter speed is used when you take a photo of a moving object, for example, sports:
And in the opposite case, a quicker shutter speed gets a low amount of light. If you take a picture with 1/4000 of second shutter speed at night, it is going to be totally dark.
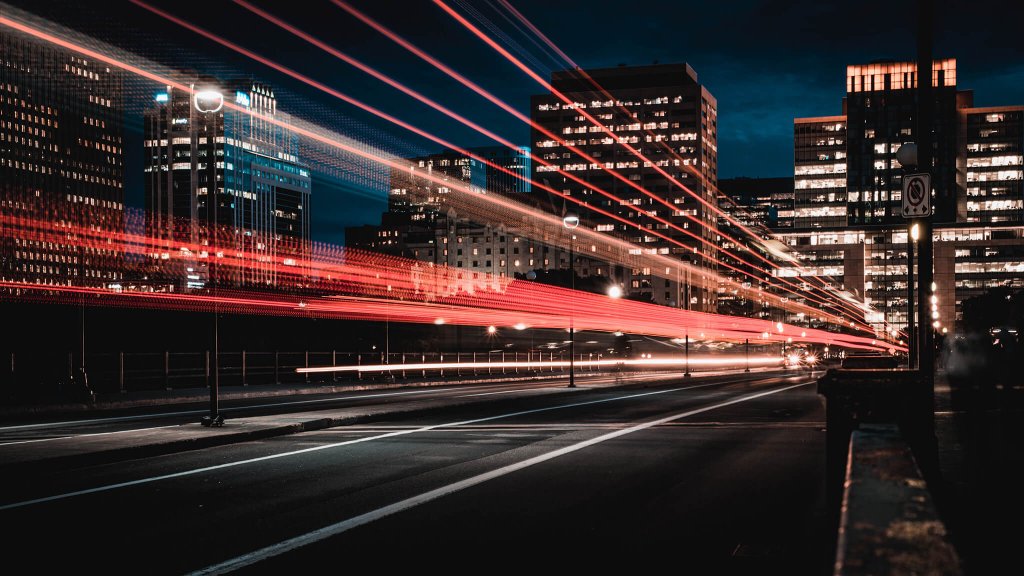
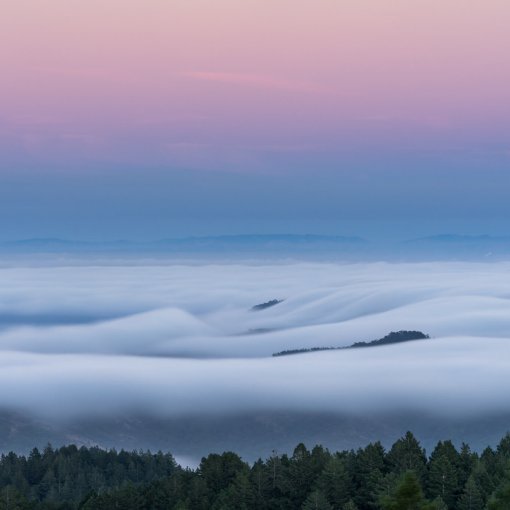
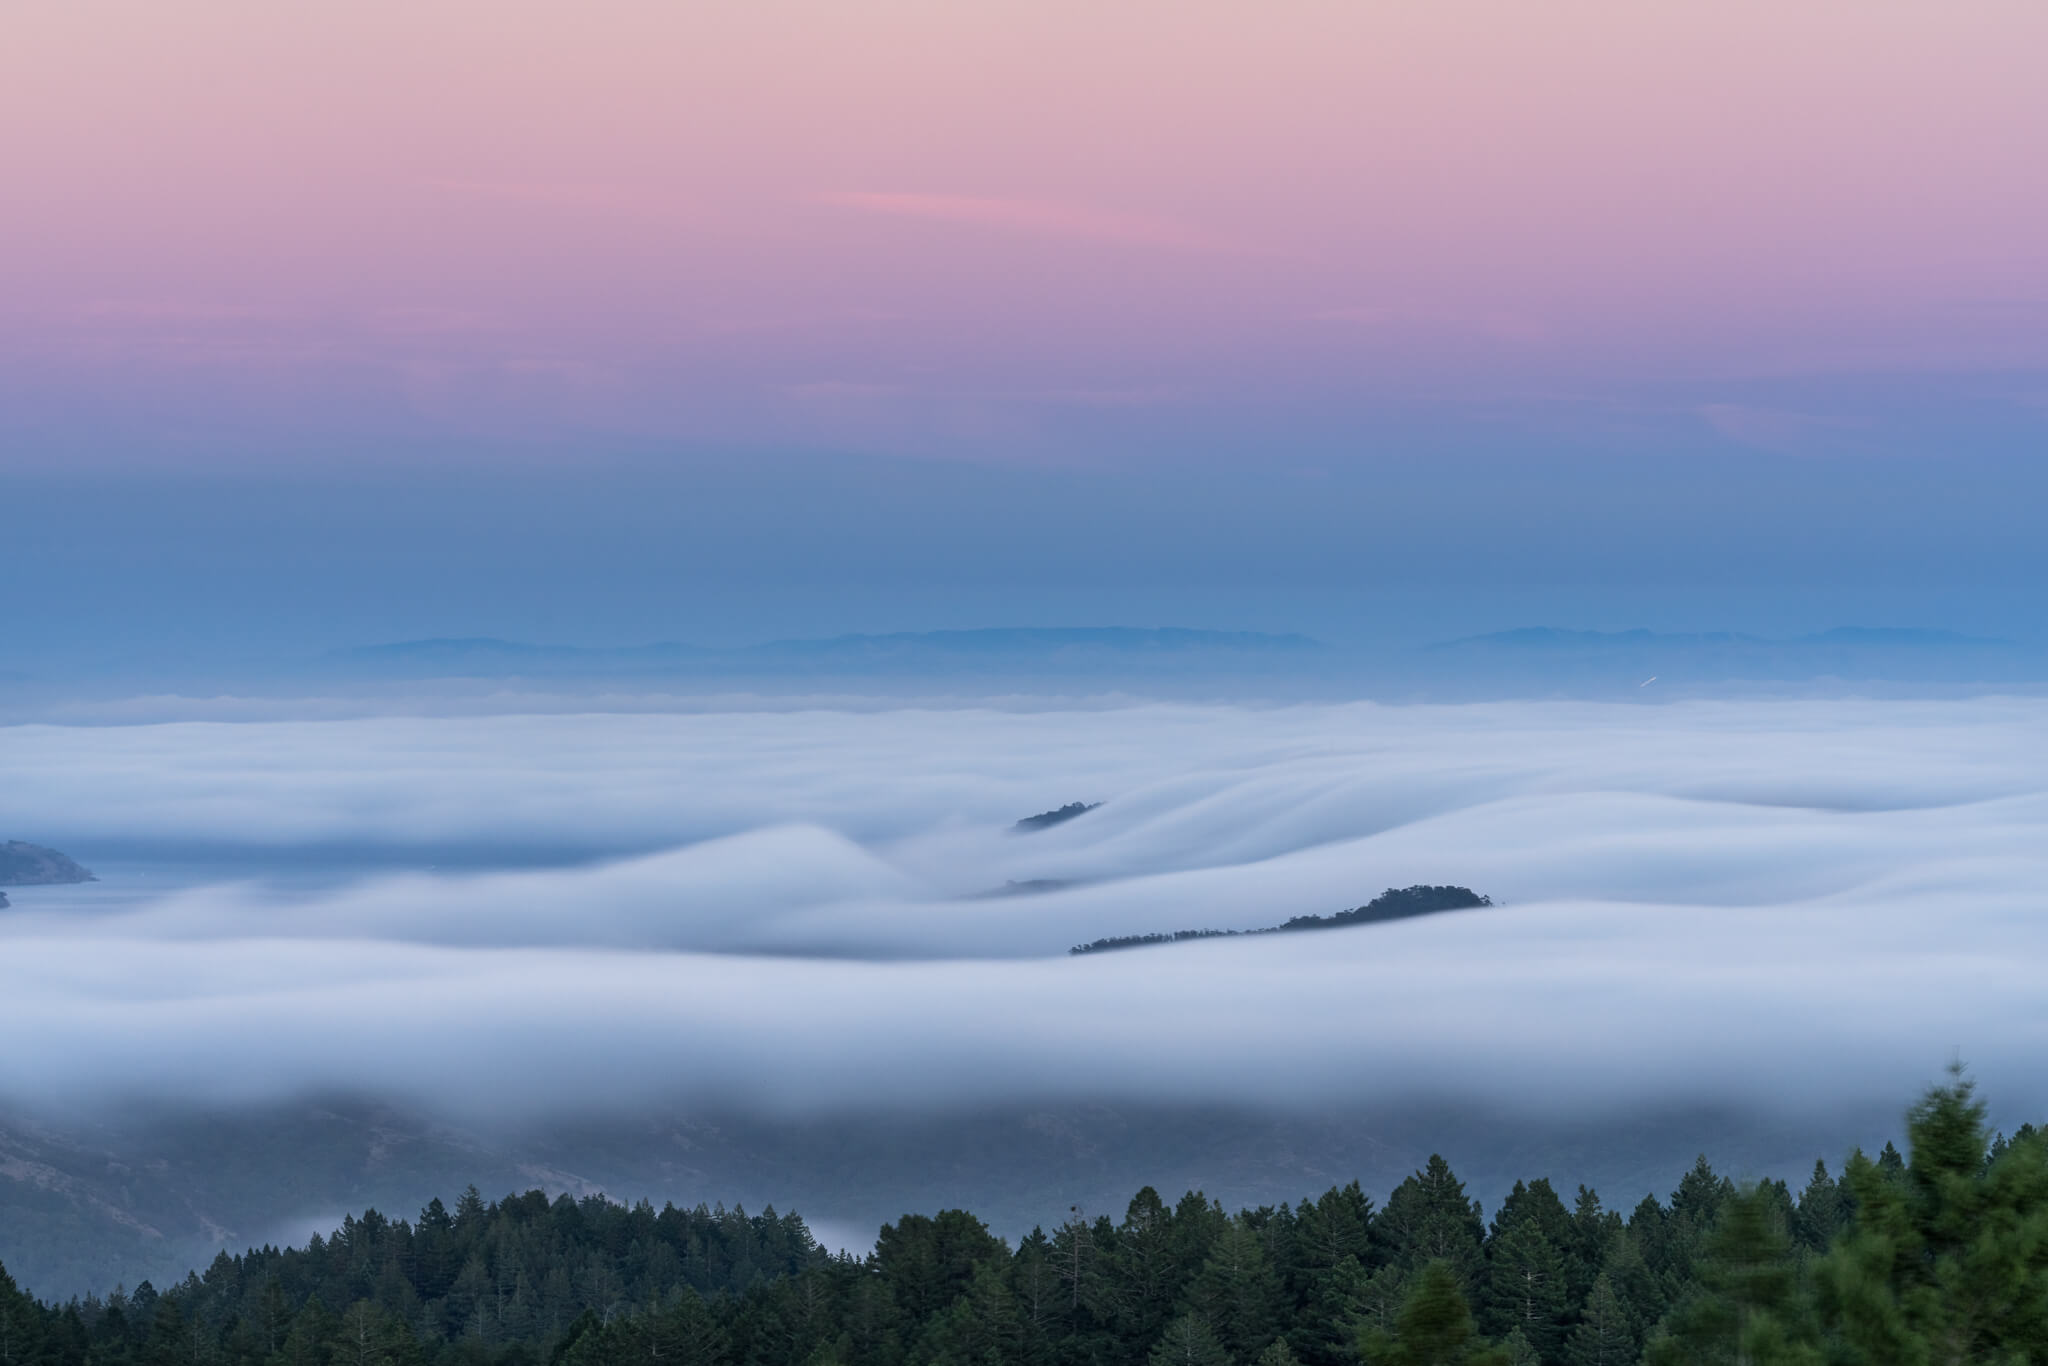
Long shutter speed is preferred for night photography but keep in mind that you’ll get blurry images on longer shutter speed:
Aperture
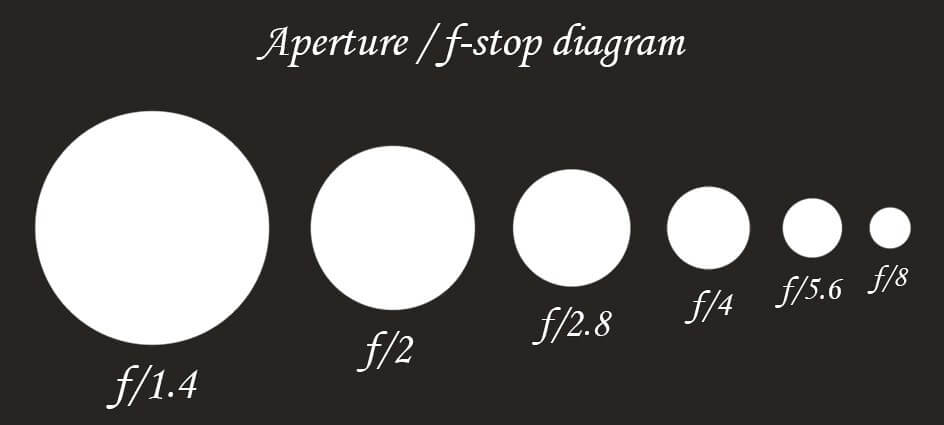
Aperture on the camera is similar to the human’s eye. The aperture opens and narrows, changing the amount of light which passes through to your camera sensor. Moreover, the small aperture will limit the light passing through, and a wide aperture allows for a large amount of light. It’s like a window which can be small or big – its size influences how light or dark the room would be.
Aperture is a fraction which means f2 is bigger than f16. You would ask, why? Because ½ is bigger than 1/16 so that f2 is a bigger aperture.
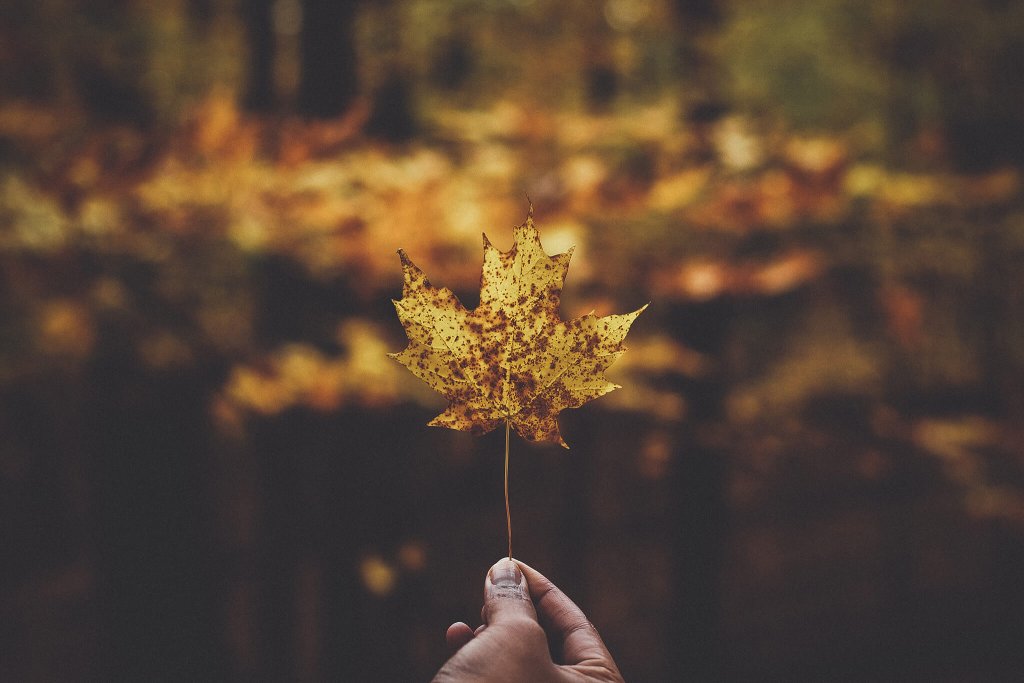
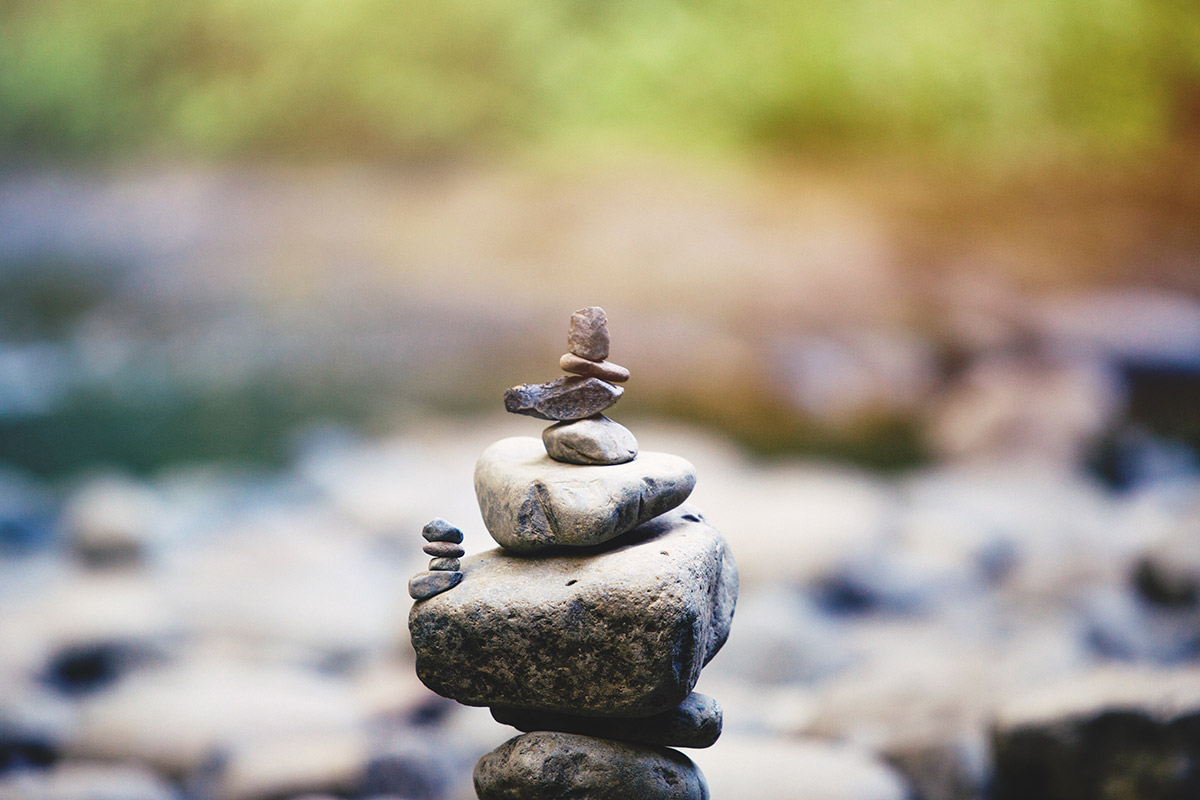
Also, you need to know that aperture affects depth of field. The depth of field is the amount of your image which appears sharp and clear. You have seen all these images with some object in focus and lots of blurred area behind it. This means that the image was taken with a big aperture, starting from f/1.4, for example, this image:
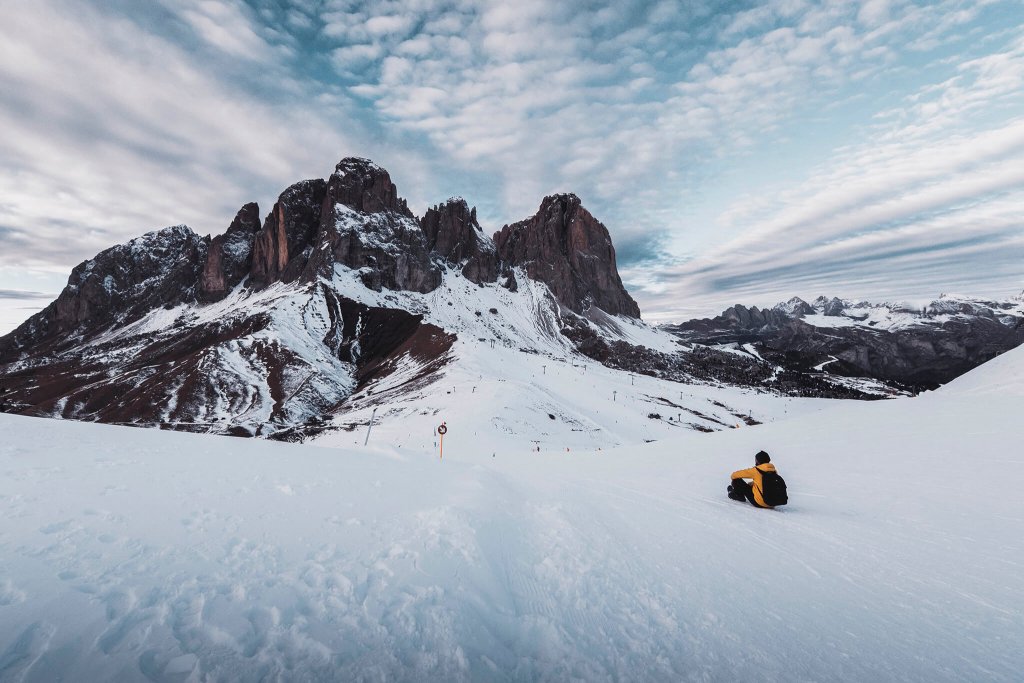
Most landscape pictures are taken with a smaller aperture to make the image sharp and detailed. The aperture of this photo is f/8. We are going to talk about aperture in detail on the next articles.
ISO
And the last setting, ISO , also influences exposure. The ISO setting determines how sensitive your image sensor is to the amount of light present. In original film, photography ISO means how sensitive it is to light. In digital photography, ISO measures your camera’s sensor sensitivity. You can use ISO when you have fully opened up your aperture and are using the slowest shutter speed possible without creating a blurry image.

For example, when you take a picture at night, a higher ISO is often used while a lower ISO is used during the day time when there’s a large amount of natural daylight. However, the bad news of using a higher ISO is that it will also add grain (known as noise) to your image. Many modern cameras these days allow you to increase ISO with minimal grain and get a good exposed image.
***
I hope this quick yet helpful guide on the exposure triangle ‘shed light’ on these complex settings. In further articles, we are going to get a closer look at the aperture, shutter speed, and ISO. So stay tuned!

4 thoughts on “Basic Knowledge of Digital Camera Settings: Exposure Triangle”