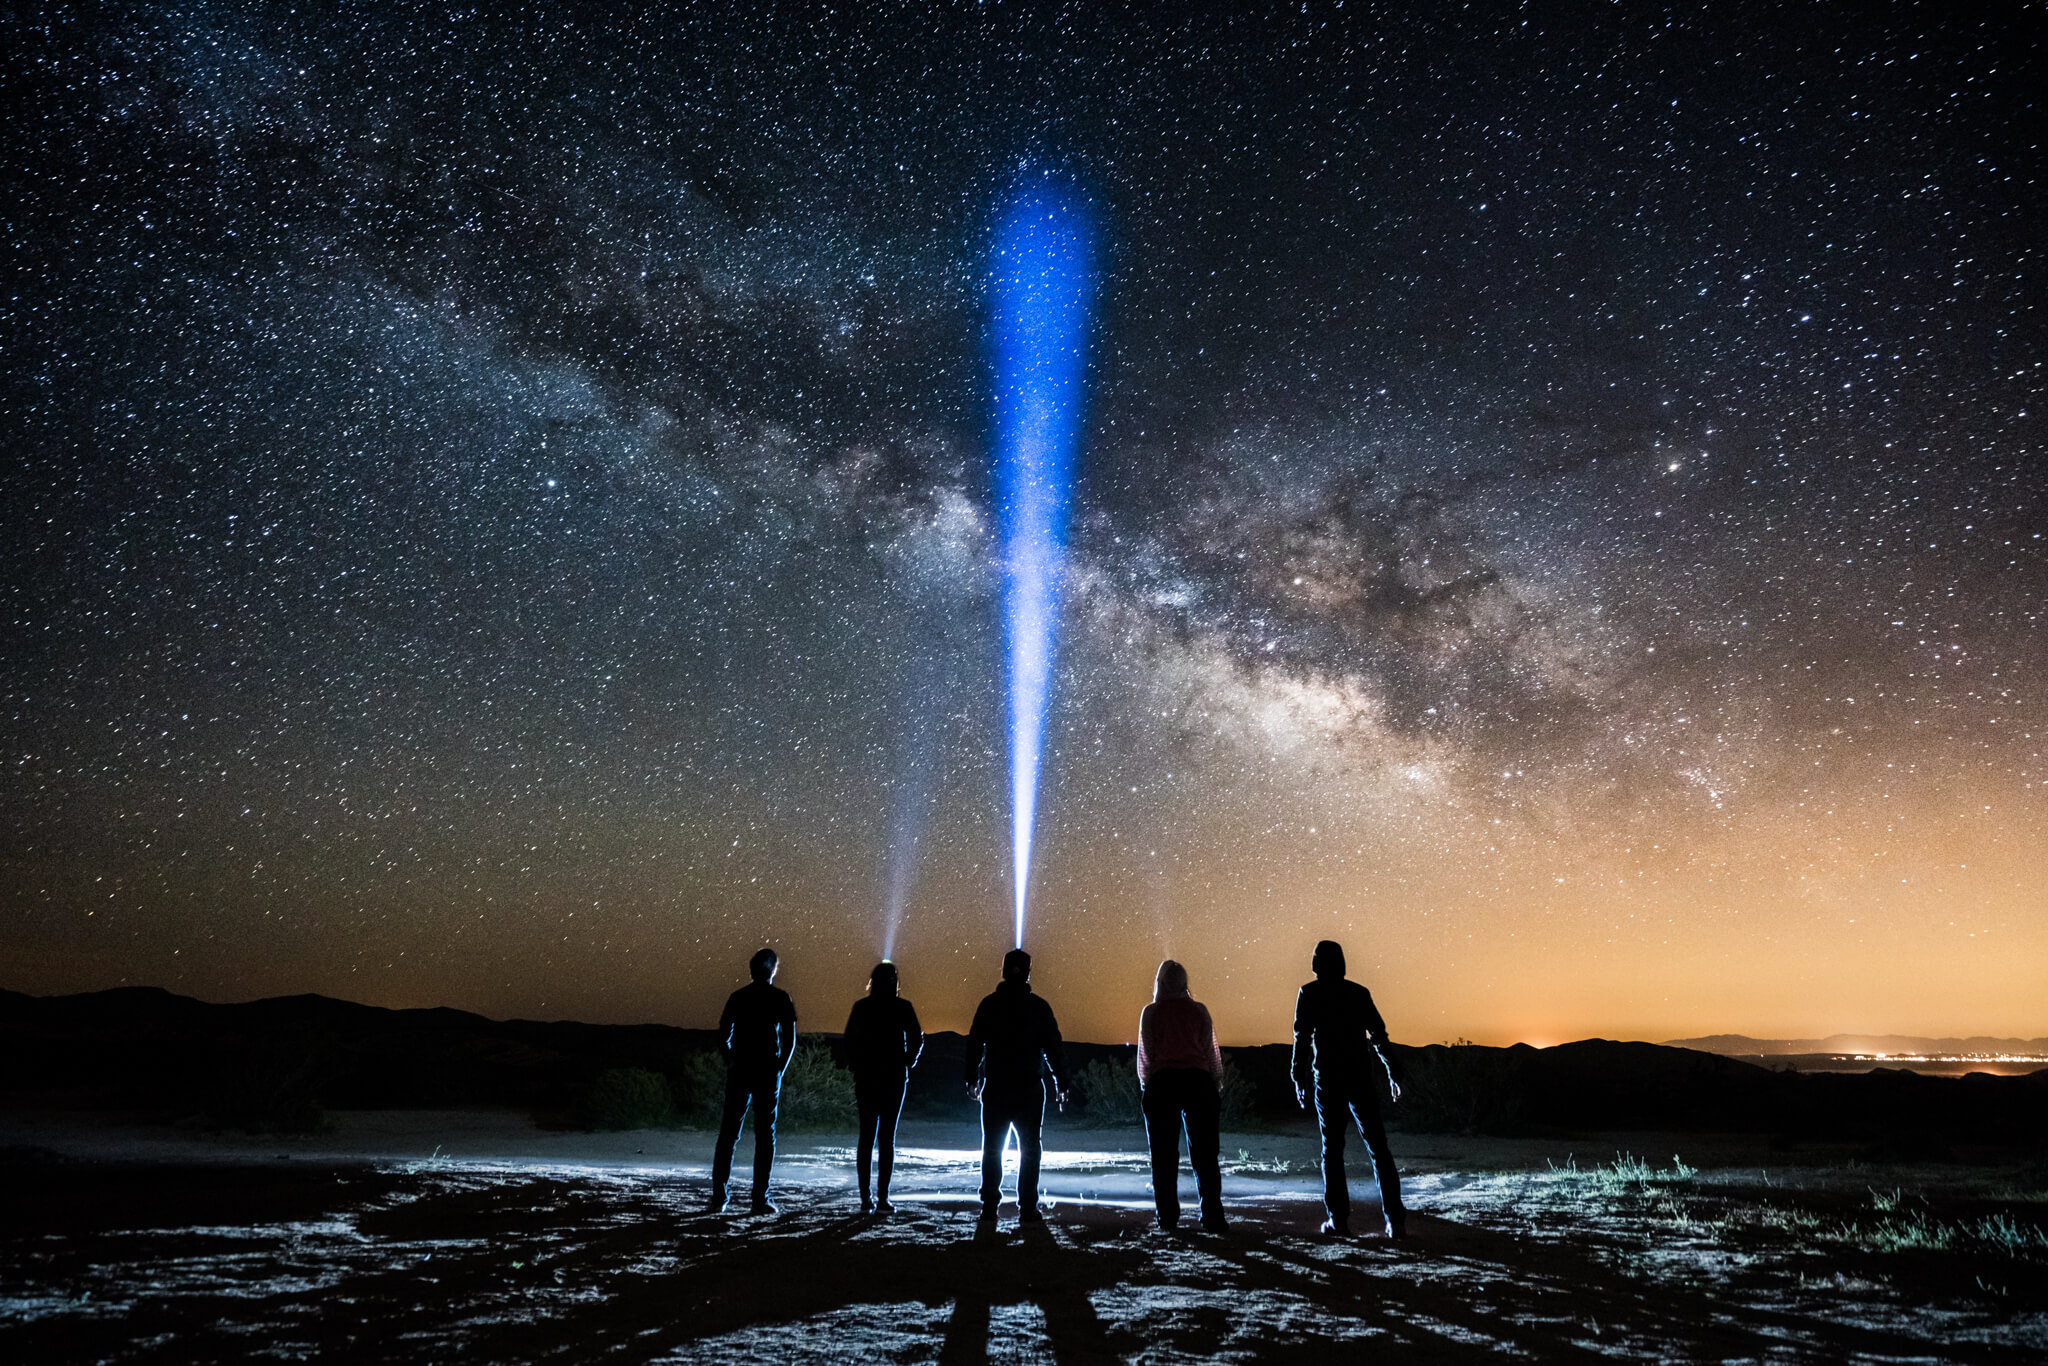
Shooting the milky way galaxy on your camera is easier than you may think it is. And here’s the kicker, you don’t need to blow your budget on an expensive professional camera. As long as you check off the seven items below, you will have at least accomplish the first part of the process. The second part, post editing (post processing), is a beast in itself and I’ll cover that later.
1. Use a tripod
Yes, that apparatus that has three legs which can extend and fold. When you shoot the milky way, you will be using a longer shutter speed. Depending on your lens focal length, you’ll be in the realms of 15 seconds to 25 seconds. Basically, if you don’t use a tripod, your images will be blurry.
2. Shoot when there’s minimal moon light
To make sure your efforts are worth it, do some research on the current moon cycle. The ambient light from a full moon can make it seem like it is daylight when you’re at ISO 3200-6400. The best time to shoot the milky way is when there is a crescent moon to new moon. This will limit overexposing your sky and foreground.
3. Determine where exactly the milky way is
There’s a plethora of star gazing or astronomy apps out there that can help you determine where the milky way will be. The best months to shoot the milky way is from May through the end of September. Of course, this is in reference of my location in California. This range will change depending on your location.
4. Use a trigger or a shutter timer
If your budget doesn’t allow you to buy any additional camera gear, it’s okay! Your camera should come with a standard shutter time or delay. Usually, I’d suggest setting the shutter delay time to 5 seconds or longer. What’s the purpose? This prevents any camera shake (resulting in blurry images) from simply pressing the shutter button. A wireless camera trigger will achieve the same purpose but has a slight advantage: You can shoot multiple shots without touching the camera at all after composing the shot.
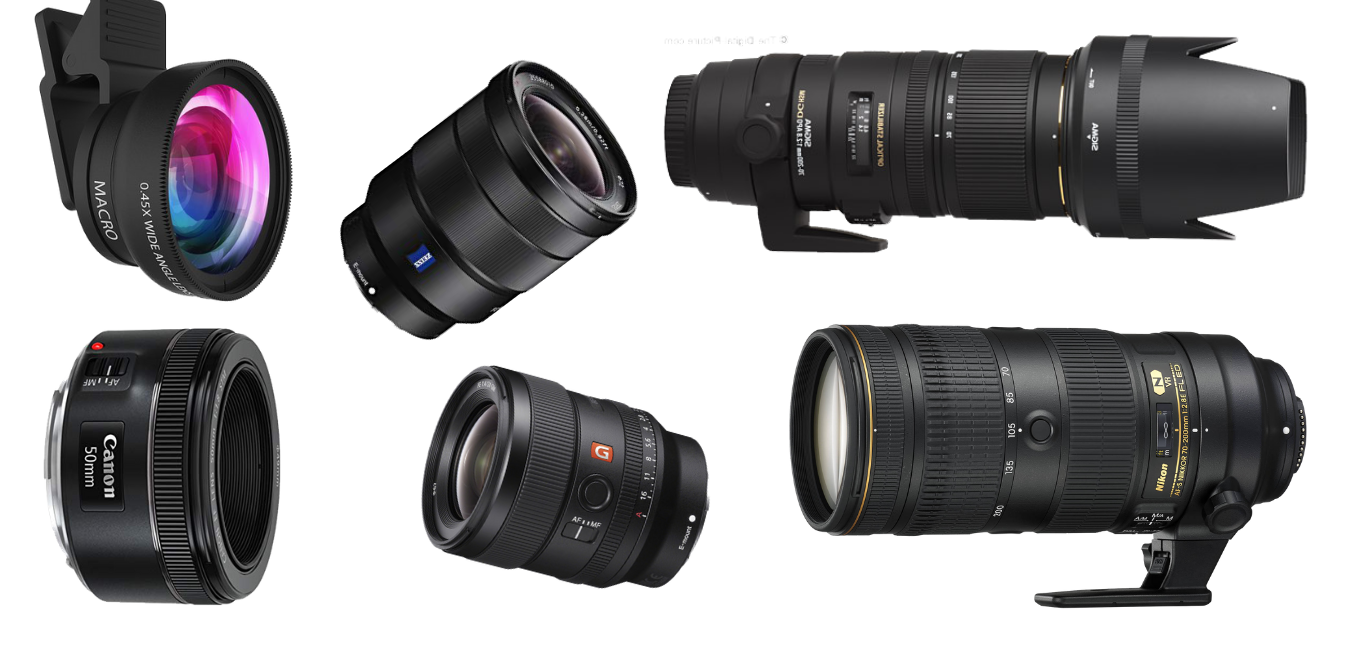
5. Use a small f-stop number and high ISO
A small f-stop number (or also called aperture) will allow for more light to travel to the camera sensor. Ideally, an f-stop of 2 or 2.8 is good for shooting the milky way. In addition, I usually bump up my ISO to 3200 as a starting point and adjust accordingly (2 of the 3 in the exposure triangle). If it’s too bright, i’ll lower the ISO. Your goal though is to keep the ISO as low as possible to minimize the grain.
6. Shoot in RAW format
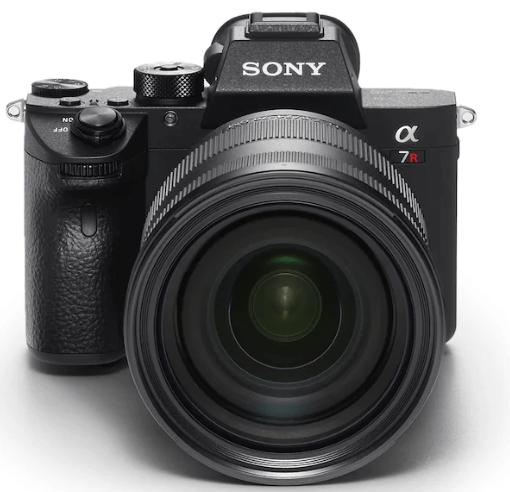
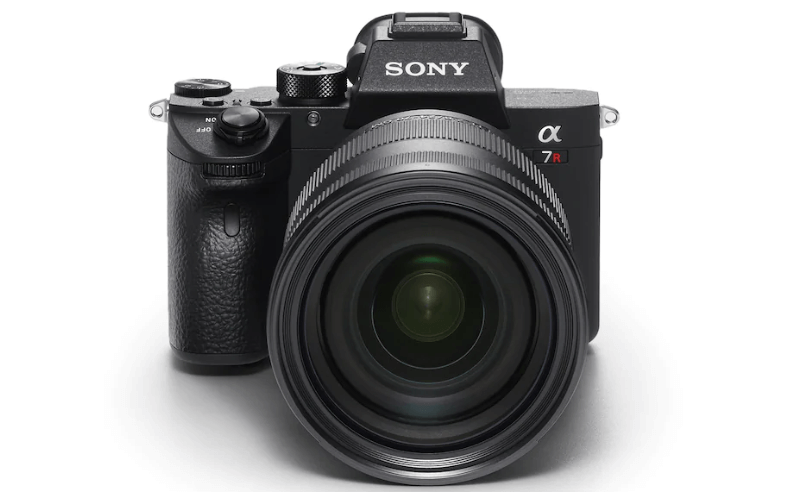
Majority of DSLR and mirrorless cameras now offer RAW format. For Sony, the RAW file appears as .ARW and for Canon, the file appears as .CR2. Either way, shooting the milky way in RAW format allows for maximum control of light and color in post processing. The only downside? The Sony A7R III RAW format file size is roughly 80MB each!
7. Use manual focus
Your camera’s auto-focus system is designed to detect contrast in an image. When it’s pitch black, your camera’s auto-focus system is useless. Switch your lens to manual or “M” and switch your camera to manual focus or ‘MF’ mode. The rule of thumb here is to focus your lens to infinity (the side ways 8 symbol). Manual focusing can be tricky but here’s a pro tip: Put your ISO at the highest possible setting, find the brightest star that your camera shows on the preview screen, and adjust the focus so that the star is as pin point as possible.

