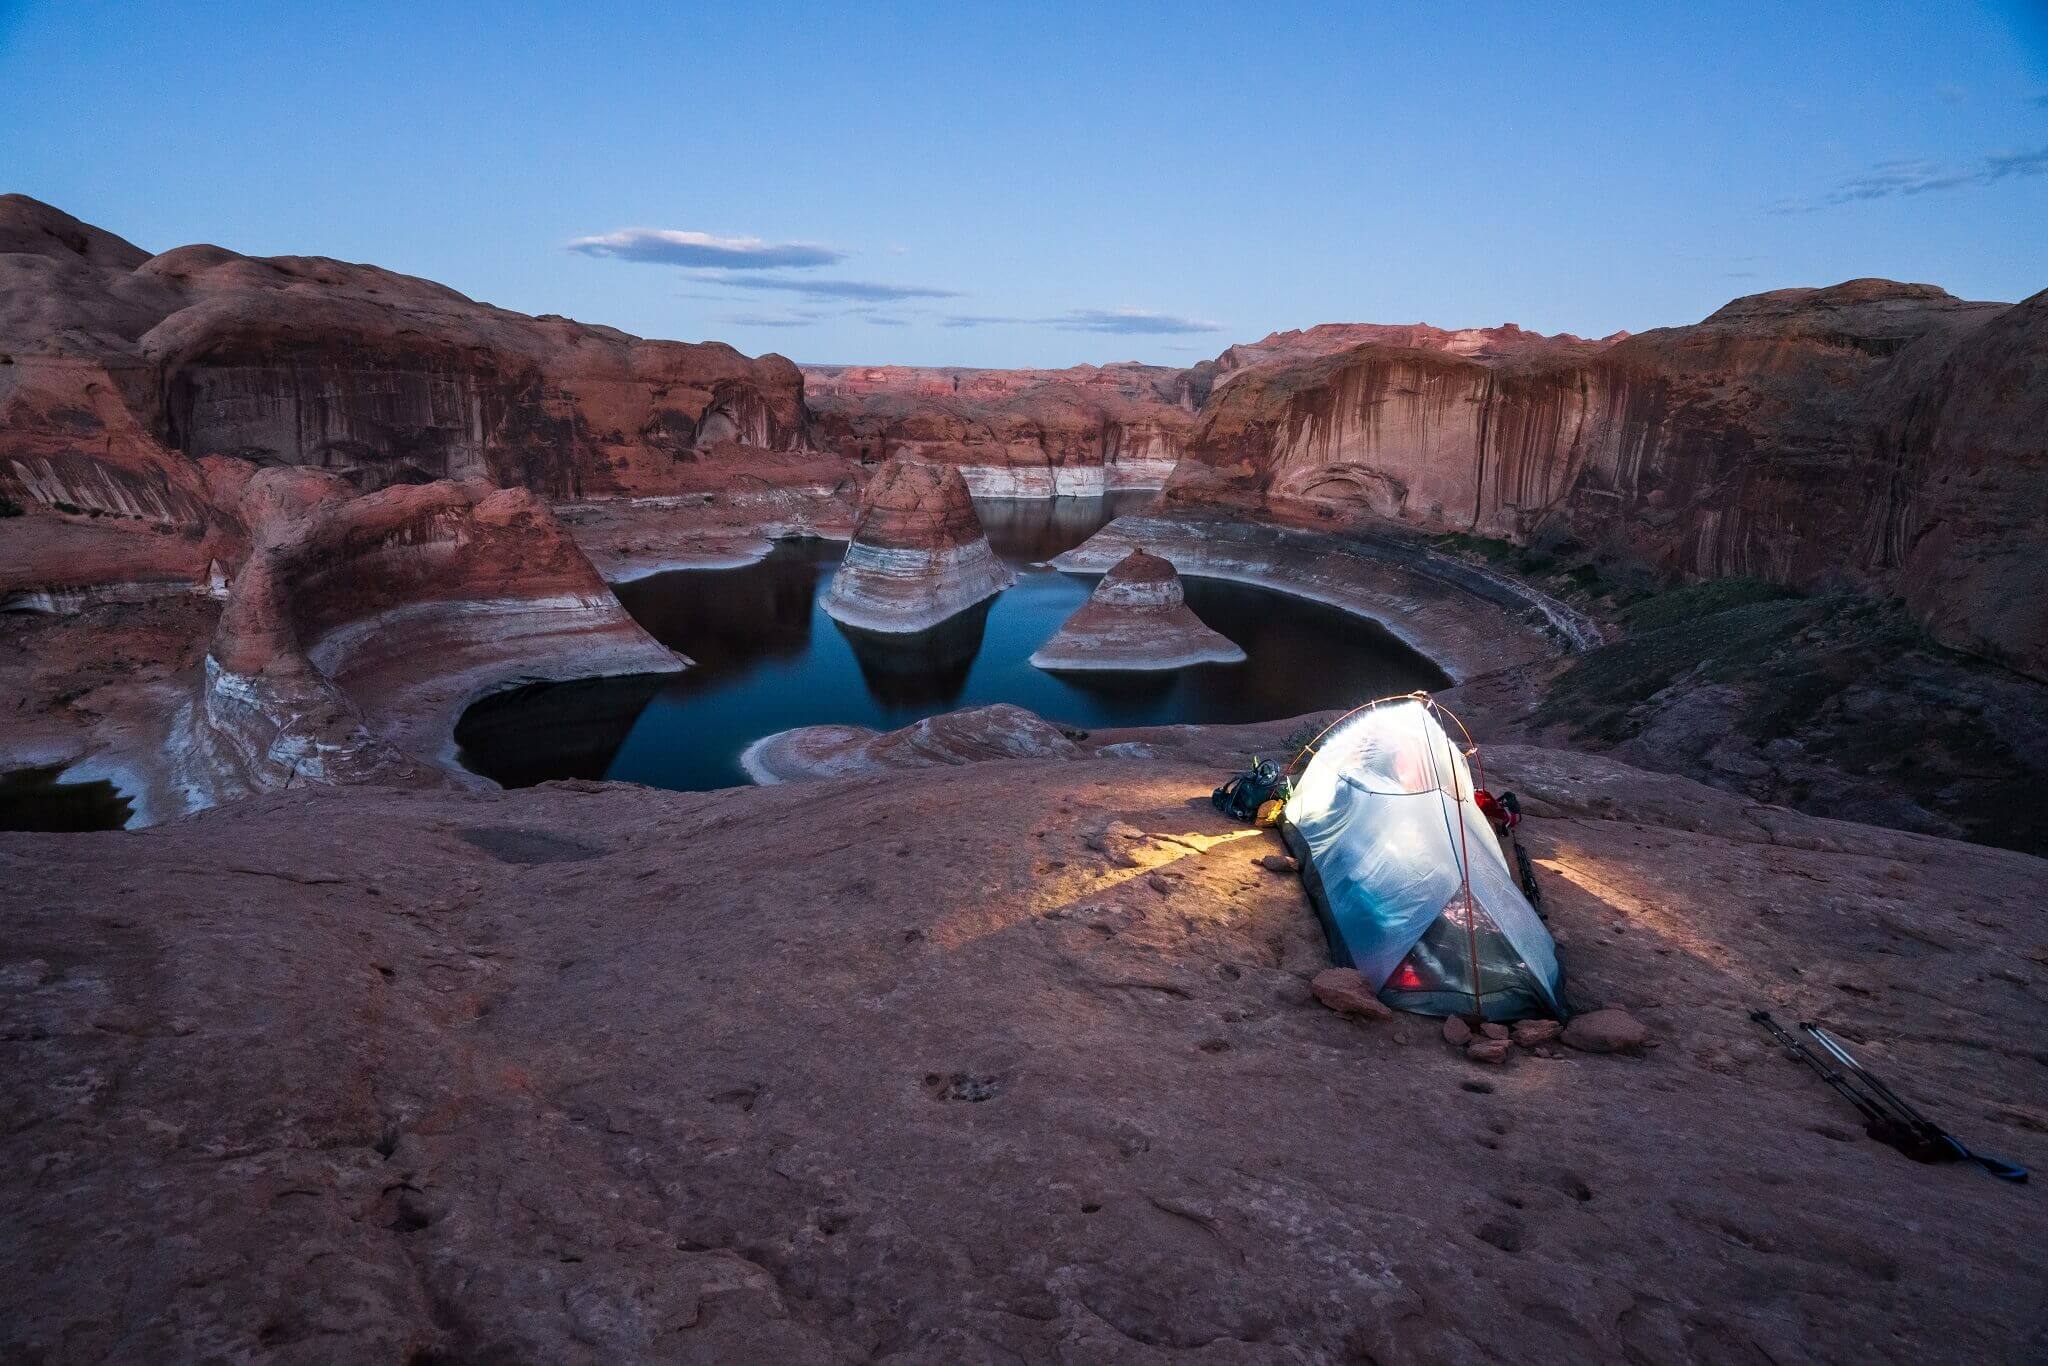
Backpacking to Reflection Canyon Overview
Reflection canyon is basically an extension of the Lake Powell. Backpacking to reflection canyon is a highly challenging venture of about 20 miles, and this intense hiking has become increasingly popular of late. This location was revealed in the year 2006 by the National Geographic Channel when they published an article named Glen Canyon Revealed along with an amazing picture of the reflection canyon. Just as backpacking to Mount Whitney is an epitome of back country isolation, the same goes with this feat which also demands increased willpower, detailed planning and physical stamina.
Once the photo of this place was revealed, the search for the exact location began immediately. The place is quite remote, and you’ll need some planning to witness the gorgeous view of the canyon. Now the question arises, how to get to the reflection canyon? Well, backpacking to reflection canyon can be a one-day hike trip, but usually, photographers love to make an overnight stay there in order to capture the magnificent view of the milky way and sunrise next morning. Below are the details.
What to Expect
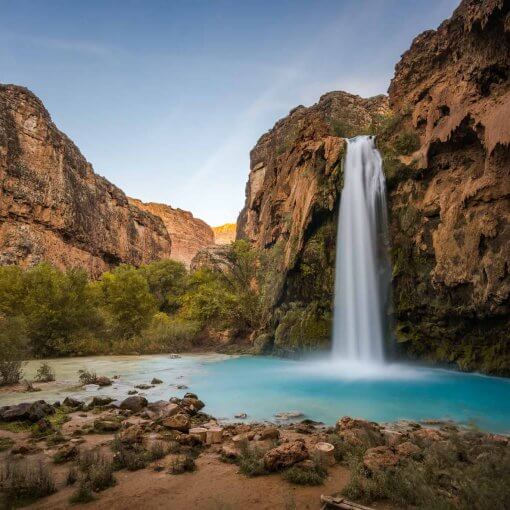
When you’re backpacking to reflection canyon, you’ll see a multitude of views that’ll remind you of Arches National Park, The Wave in Arizona, and Antelope Canyon. It’ll be one of your hardest and most rewarding trips. I can almost guarantee it.
Trail difficulty: Hard. It is around a 9 on a 1-10 scale.
Trail distance: 18-21 miles round trip.
Trail time: It took me 4.5-5.5 hours one way.
Trail type: Unmarked In and out. No coverage from sun. Trail is rocky with patches of sand.
Trail head elevation: 4,478 feet.
Net elevation gain: Roughly 550 feet. It really depends on the path you take but it’s relatively flat.
Water source: Expect no water source. There may be pockets of water if a storm recently passed by.
Parking/Overnight Permits: Not required.
Weather: Dependent on the month. Check HERE for the most current weather forecast.
Cell reception: Expect no reception. At max spotty 3G with AT&T service on an iPhone 7+.
Trailhead coordinates: 37°15’21.70″N, 110°57’47.25″W
Destination coordinates: 37°11’15.72″N, 110°55’8.54″W
Campsite conditions: Minimal to no dirt to stake in tent. I used rocks to hold up my tent.
Best time to go: Late March through April (lowest water level to see the ‘spine’) and October.
Planning the Hike
Backpacking to reflection canyon takes effort in researching and planning. Although I’ve compiled all the information you need here, I advise you to visit a couple of other sites that talk about their ventures to reflection canyon. Rainer Grosskopf shares his adventure during September HERE. I went during the last weekend in April 2017.
GPS: Yes you’ll need GPS to navigate yourself to the destination. There’s several options here to do so. First thing though is to locate and download a GPX file of a previously recorded route. You can find mine HERE.
- Option 1 is to buy and download Gaia GPS app or similar and upload the GPX file.
- Option 2 is to buy a GPS device and upload the GPX file. We used a Garmin Fenix 3 on our trip.
- Option 3 is to use Google map’s offline feature. Simply download the offline map of the area and upload the GPX file onto your google map‘s account. We also used this option.

Click on Image for GPX File.
After figuring out your GPS situation, you’ll need to decide how many nights you’ll be spending out there. From there, you’ll be able to move on to planning your food and water supply.
Water amount: I packed a total of 4.7L water for a one night stay. Keep in mind though that I’m a camel and don’t drink much water. My friend though went through 8L of water. I cooked 2 mountain house meals (dinner and breakfast). My full 700ml bottle rolled down the cliff but luckily a neighbor packed in too much water and was able to share some with me. Also please remember to bring electrolyte packets for your water. This is much needed to reduce cramping and fatigue.
Food: I basically just packed 2 mountain houses and a bunch of high calorie pro bar meals and clif bars for lunch and trail munching. Keep it simple and keep it high in calorie.
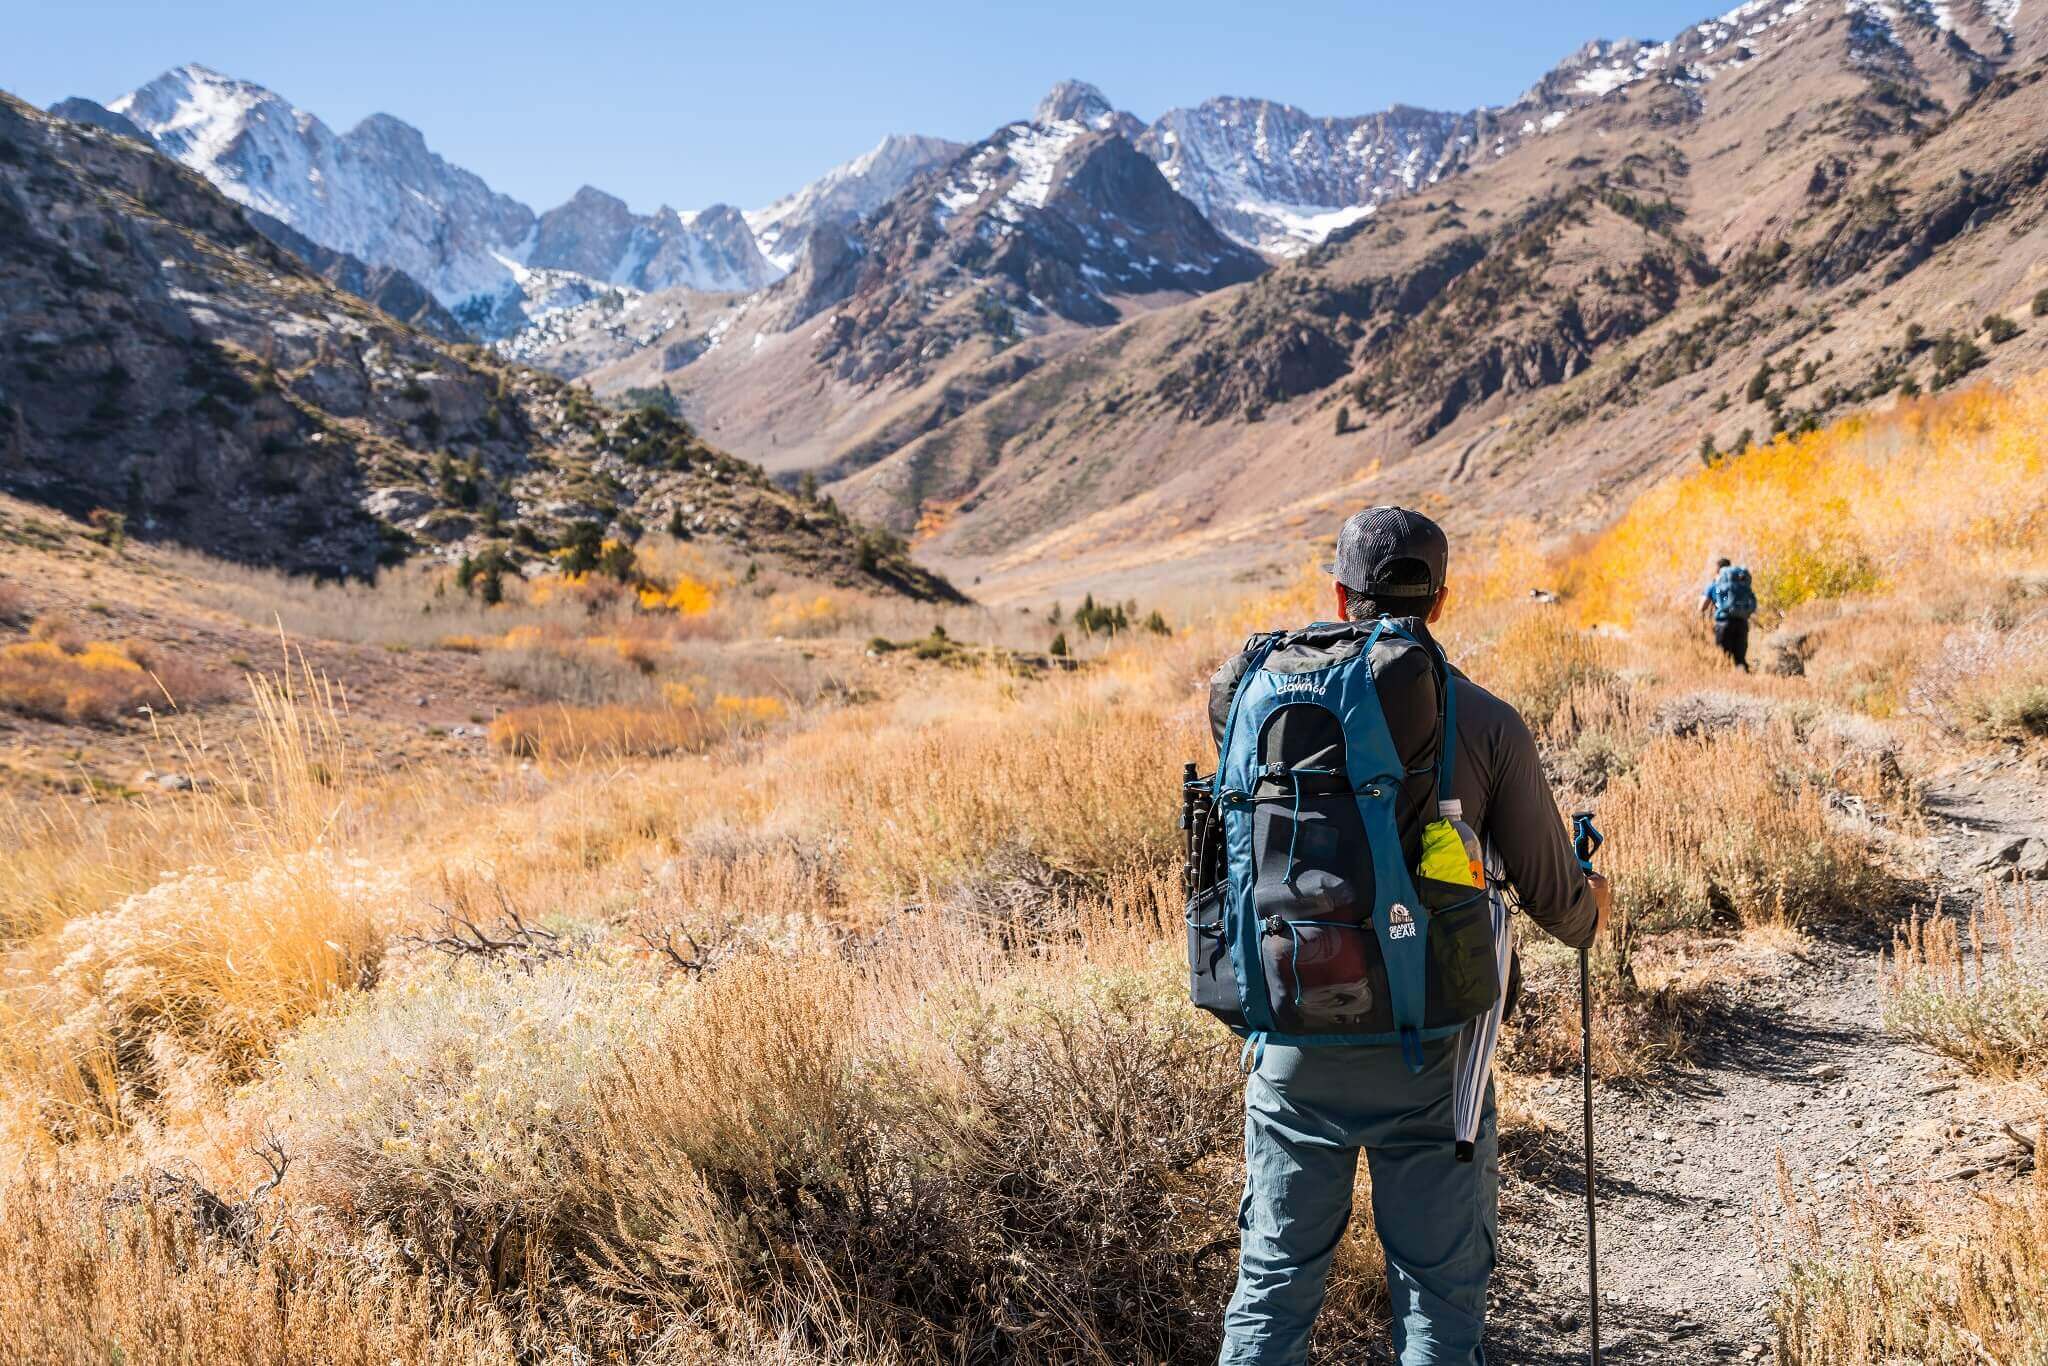
Backpacking Equipment: Temperatures don’t usually drop below 30F during April so pack sleeping bags and insulating layers accordingly. The goal is always to pack essentials and keep the load as light as possible. Also it is counter intuitive but to stay cool, you’d want complete coverage from the sun with your apparel. Here’s some crucial items I brought that made the trip comfortable for me:
- Ultralight backpack: Granite Gear Crown 2
- Lightweight trail shoes: Astral Footwear TR1 Trek
- Soft shell rain jacket with a hood
- Long sleeve base layer
- Lightweight Smart water bottles
- SPF 50 Chapstick and sunblock
- Trekking poles
- Hat
- Battery packs to charge phone and GPS
- High calorie bars and nuts medley
Hole in the Rock Road
This is the infamous road you’ll be on for 50 miles to get to the trailhead (coordinates above). It is not paved and is full of big rocks and potholes. The relatively narrow road is windy and has some crazy hairpin turns. An SUV is definitely needed. 4×4 or AWD option for your SUV is recommended if it rained recently.
Trail Details and Landmarks
It’s pretty scary and daunting tackling a trail that’s not clearly marked. During my trip, I made sure to snap enough pictures of landmarks to help ease your nerves of backpacking to reflection canyon.
Key things to note: When heading to the destination, stay close to the side of Fifty Mile Point mountain and head south, keeping you away from those beautiful yet dangerous slot canyons. You will see the south end of the Fifty Mile Point and use that as a guiding point. When you get to the rounded tips buttes, you’d go around them and not over them. After that you’ll reach the iconic flat butte landmark. Go past it a bit, turn left and head in the southeast direction. You’ll make your own path so I’d advise to go around the buttes and not over them. Use the landmark images below as reference. When you reach the last butte that covers reflection canyon, you’ll want to go to the right of it. I saw many backpackers struggle going over and going to the left of it.
Photography Tips
Proper planning will get you the shots you want here at reflection canyon. Make note of sunrise and sunset times for the days you are going to be there. Also make a note of the optimal times the milky way galaxy will be visible at night for some astro photography. Remember to set your alarms! Pack a couple extra batteries and memory cards if you plan to do long exposures and time lapses. I packed in my Sony A7Rii along with the Sony 16-35mm F4 lens, Sony 70-200mm F4 lens and the Rokinon 14mm lens. Don’t forget your tripod of course! During late April, the sun settled behind me while I faced the canyon and the sun rose to the left front of me as I faced the canyon. Get there early to get the best camping spot.
My Experience
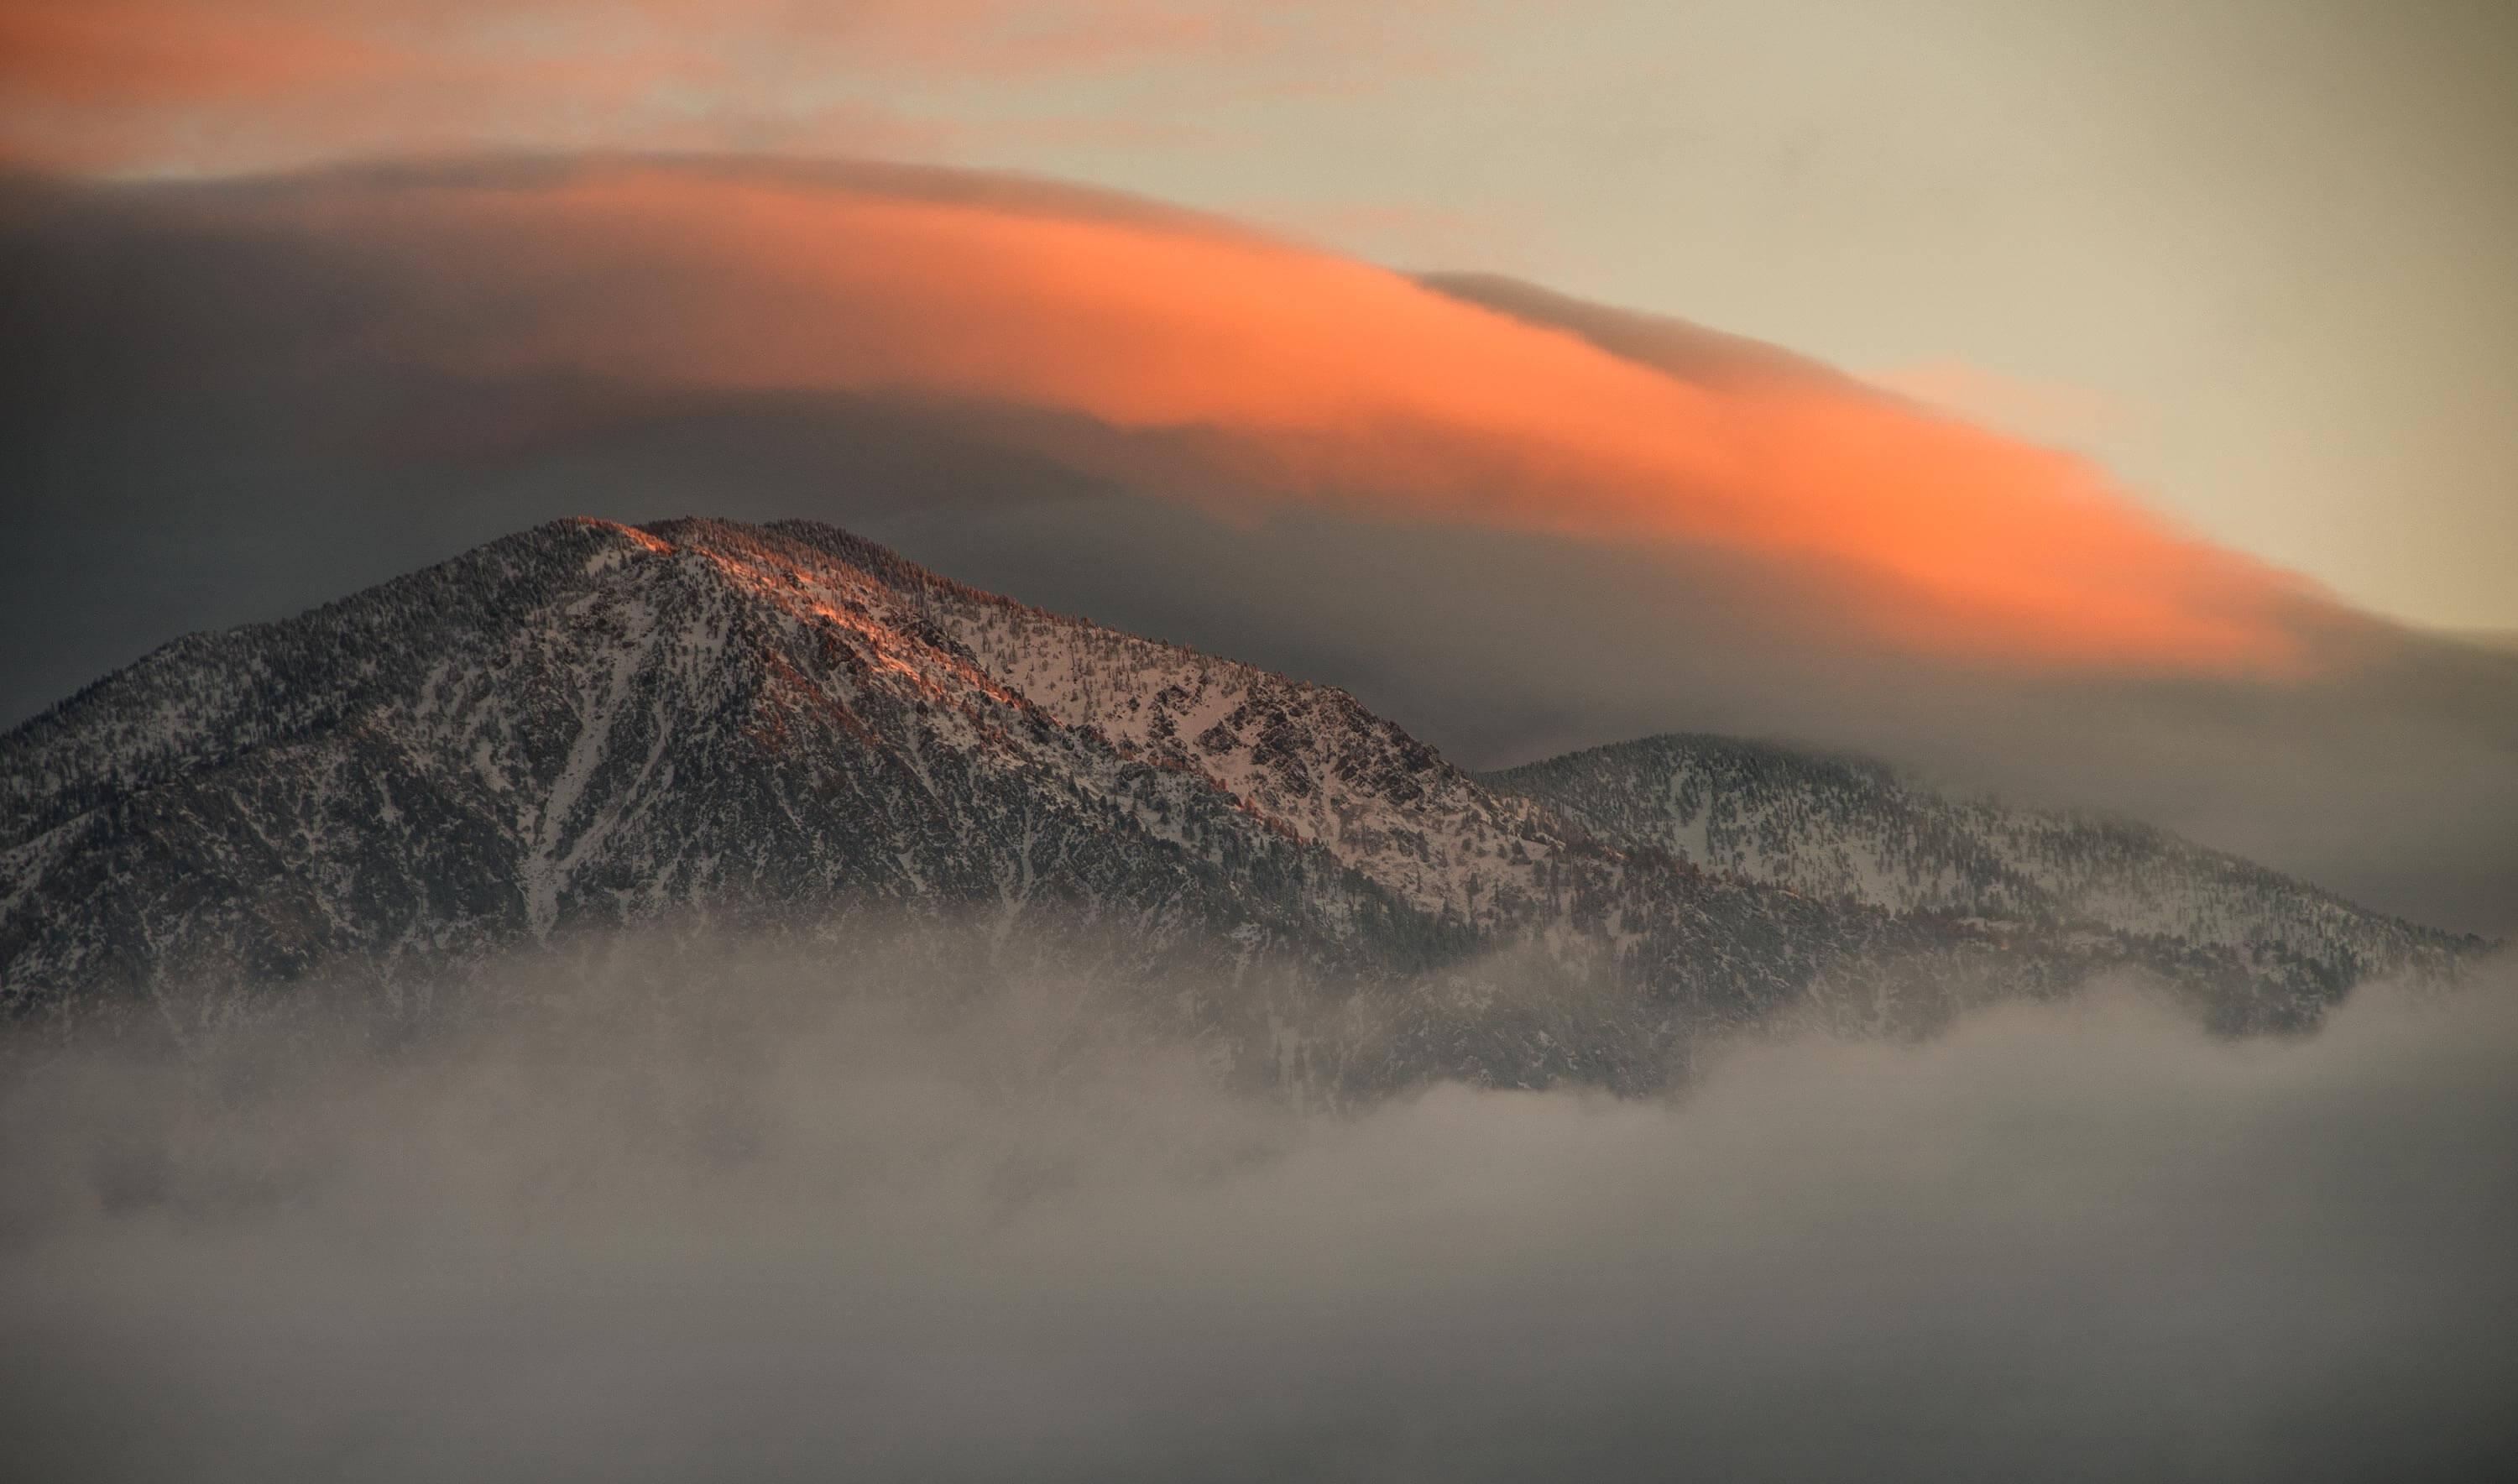
Backpacking to reflection canyon was an experience of a lifetime for me. The first morning hiking into the canyon was pretty cold. I’d say the temperature was around 35F+ in the morning. There were a lot of clouds that blocked the sun. As the day reached noon, it became warmer and was much better. Winds were blowing and it kept us cool from the heat later on during the day. We took a route that gave us a more direct path to the destination but it involved slight rock scrambling. I thought it was fun more than anything. We started our hike early around 8:45AM and we’re the first group to reach reflection canyon that day. This gave us options to choose our camping spot with a view. The hike back to car the next day was super hot and felt forever. Heading back, we just followed the same path we used heading in. I wouldn’t do anything differently except bring more water and cut my toe nails before hand. Haha yes my toenails were scraping on my toes and caused a lot of discomfort. Feel free to leave any comments and questions below and i’ll do what I can to answer them!