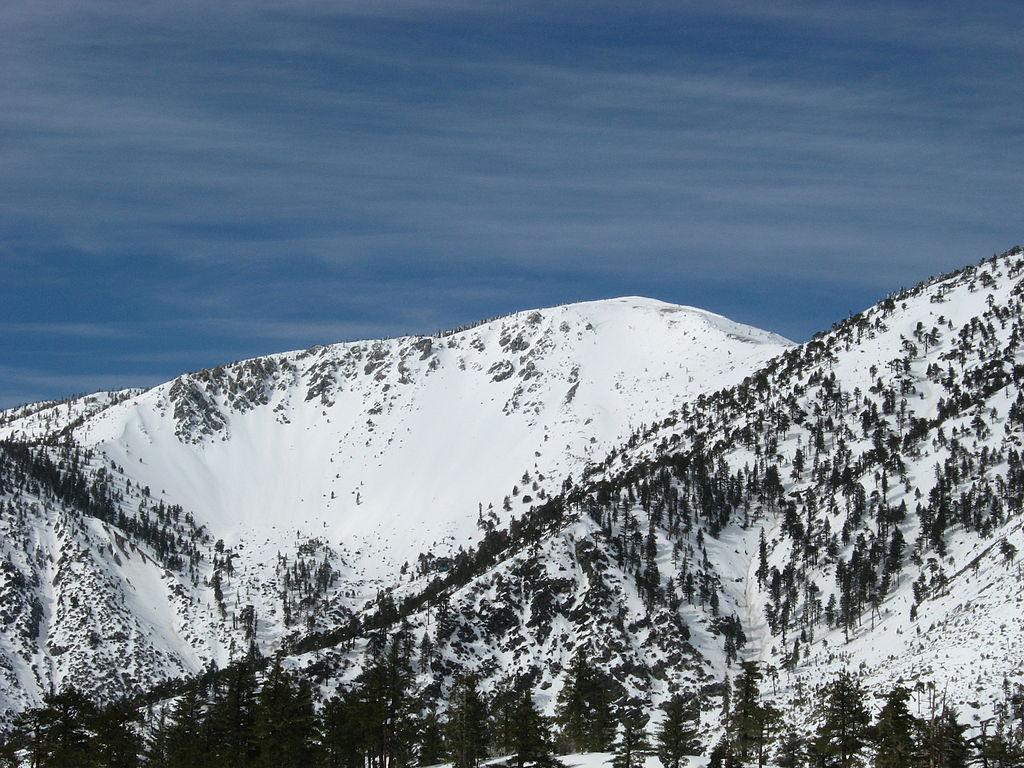
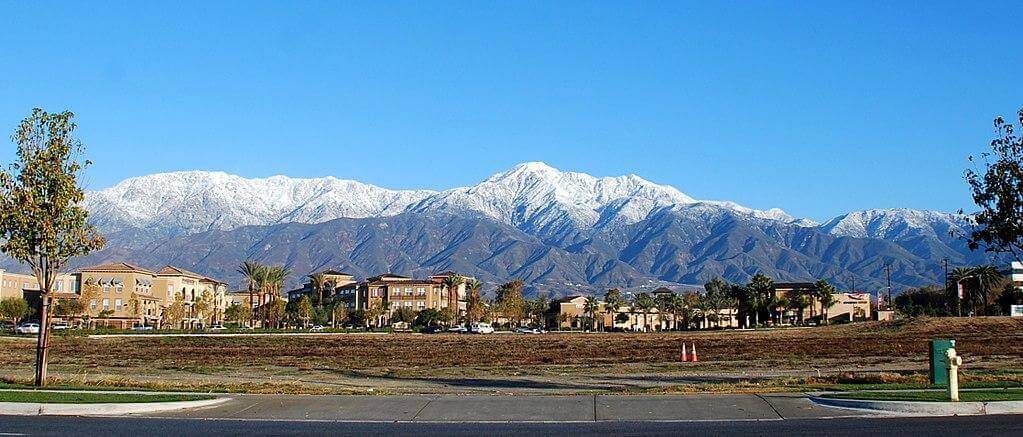
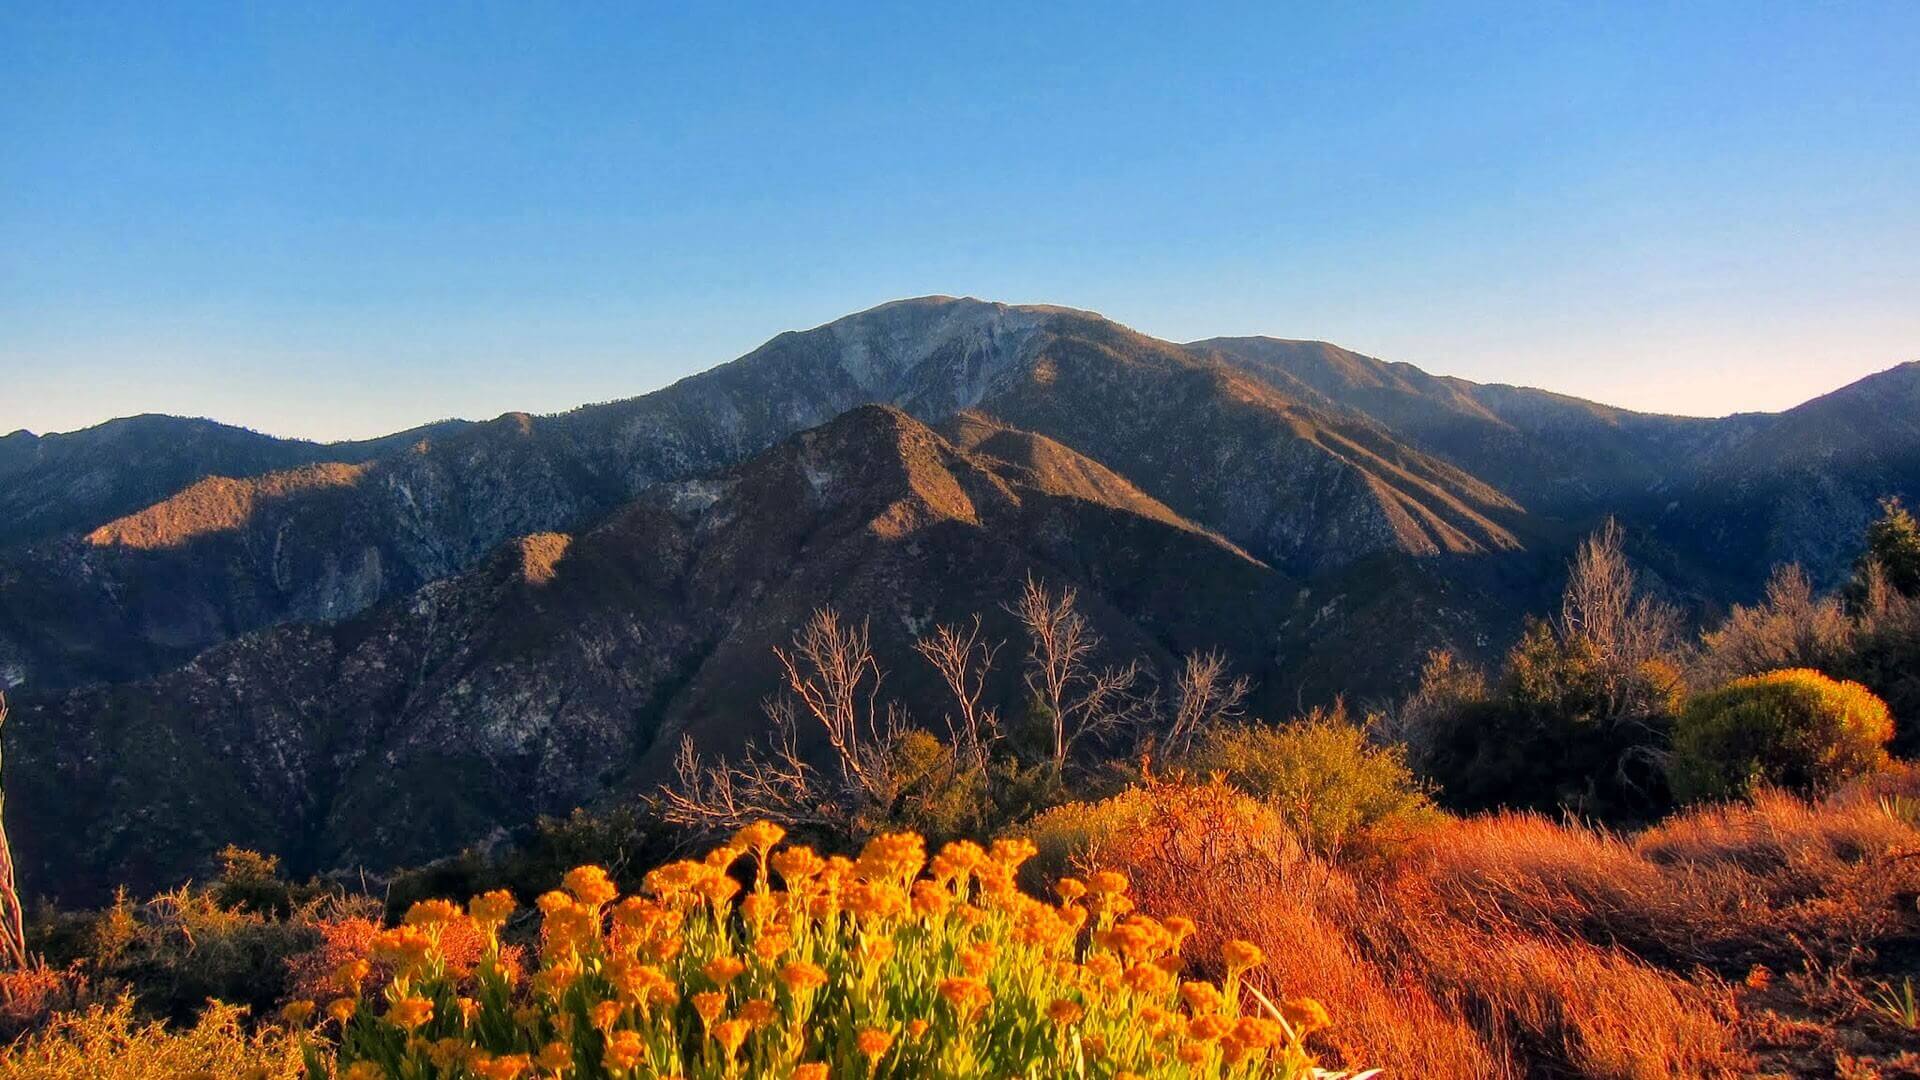
Mt. San Antonio, also known as Mt. Baldy, is the highest peak in the San Gabriel Mountains. With a height of more than ten thousand feet above sea level, you can easily distinguish the beautiful snow capped Mt. Baldy from all the other peaks in one gaze. It provides a unique-yet-strenuous hiking experience and hence, is placed among the Six Pack of Peaks in Southern California.
Important Facts to Know Before You Go
Mt. San Antonio is commonly called Mt. Baldy. The name is so common that, in fact, the locals might not even recognize the name Mt. San Antonio, hence it is best that you also refer to it as Mt Baldy.
Moreover, the hike is quite difficult and hence provides a handsome challenge to all ambitious hikers. The total distance on the trail is approximately ten miles and, it takes around seven hours for the average hiker to complete the journey. The elevation gain on the ascent is about 3900 feet.
Furthermore, the mountain is almost always covered with snow, so you will have to go well prepared in that aspect as well. Mt Baldy is known to hold onto snow even during the month of June.
Trail Highlights
Trailhead location: Google Maps
Trail type: Loop
Trail Map: Mount Baldy Trail Map
Total distance: 10.2 miles
Hike time: 7 hours
Highest elevation: 10,064 feet
Net elevation gain: 3,900 feet
Trail condition: Difficult
Preferred season: June to October
Pets: Allowed (without leash is fine too)
Parking pass: Adventure Pass
Permits: Parking Fee
Current Weather: National Weather Service
Trail Conditions
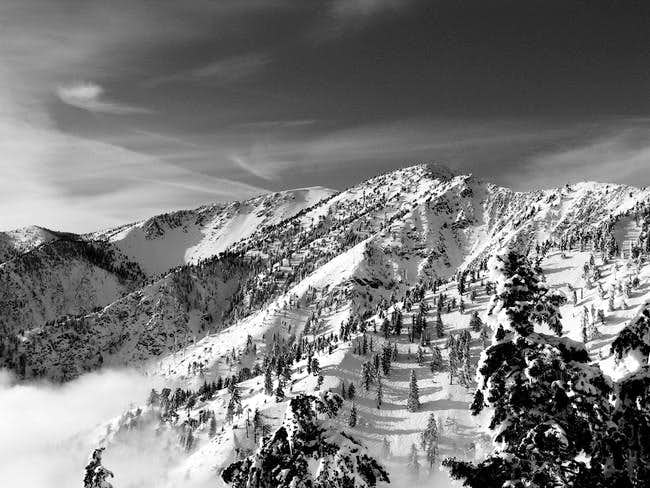
The Mt San Antonio Loop trail is a difficult one for any hiker. It poses a steep challenge depending on what time of year you plan your trip. Usually, the summit and the trail is quite clear if your visit it in the months of May up till October. However, there is no certain way to ensure that you won’t find snow on the summit.
Do not plan your visit in the winters or in bad weather conditions, no matter what the month. Primarily because the trail becomes very tough and dangerous for people who are still learning how to hike. It is best that you trek over Mt. San Antonio, Mt. Baldy, in the months of June up till October for the best and most exciting experience.
How to Get There?
You will have to drive for about one hour and fifteen minutes from downtown, LA to reach Manker Flats Trailhead. A National Parks Adventure Pass will be required to start your hiking journey from here. You will pass Mt. Baldy Village on the way here, which is a good place to grab something to eat on your way back from the hike. You can also get hands-on information at the Ranger station in Baldy Village about the current trail conditions before beginning your venture.
From Manker Flats Trailhead to Baldy Notch
The trail begins as a gentle paved road which switches quickly to gravel and, much to the delight of hikers makes for a good warmup before things get difficult along the route. You will pass San Antonio Falls and meander along the route to cross Mt. Baldy Ski Area, and finally reach Baldy Notch.
The Devil’s Backbone
As you reach Baldy Notch, you will have two routes to choose from. You can either take the route on the ski run which is a bit more scenic or take the trail that goes a little toward the southeast.
In any case, you will soon reach the notorious Devil’s Backbone which is a tad dangerous especially when there is snow. If the trail is clear, then it is pretty easy to follow and much safer than it is in times of bad weather.
Key Trail Directions & Landmarks
To Summit
- The trailhead is on the paved road with the gate. There’s a bathroom right next to it. Hike past the signs and through the gate.
- Around 0.75 miles, you’ll see a trail on the left. Stay right on the dirt road.
- You’ll later see a dirt road on the right side. Stay left on the current dirt road. The dirt road on the right goes to the chairlift parking lot.
- Around 2.5 miles in, you’ll start seeing the ski lifts.
- There will be an intersection near the top. Take the left trail (hairpin like turn).
- Hike through the buildings at Mt. Baldy Notch. Stay on the main trail.
- There’s a lot of trails around this area. You’re on the right trail if the wooden fence and ski lift chairs are on your left.
- Towards the entrance of Devil’s backbone, stay right as the trail splits again.
- There’s a pole that marks the beginning of Devil’s backbone.
- Making it past the Devil’s Backbone can be risky in the presence of dense snow and ice.
- After the Devil’s backbone and around 5.5 miles in, there’s a side trail on the right that leads to Mt. Harwood. Stay left.
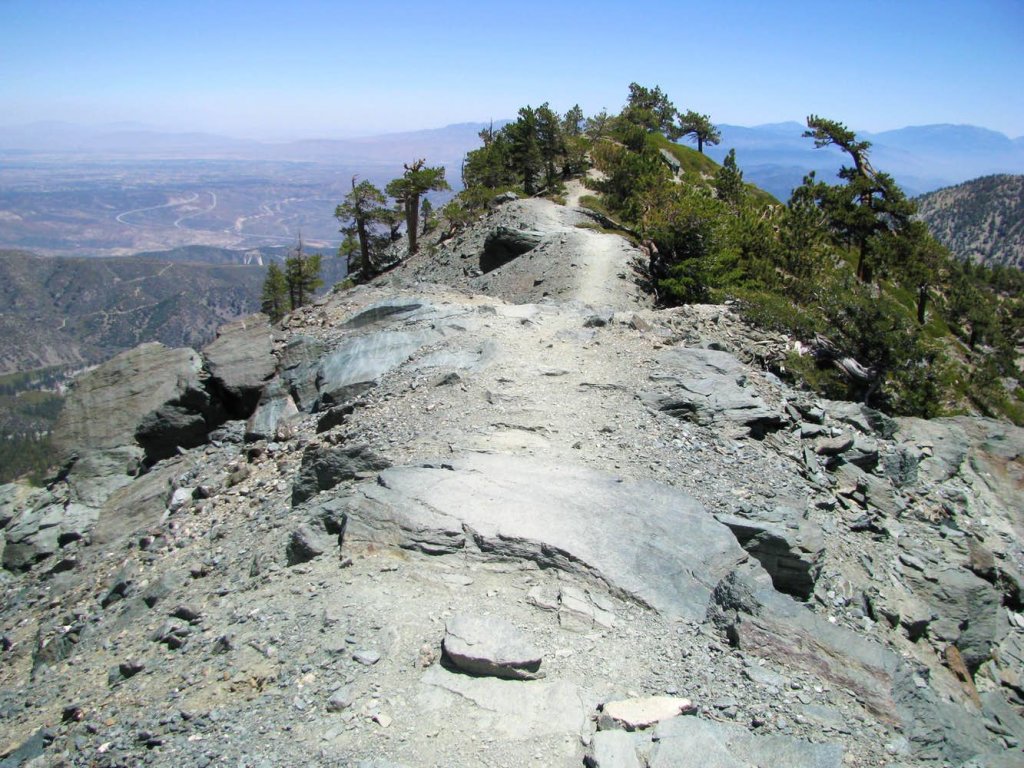
- The last stretch to the summit is steep with many small trails. They all lead to the top. Look for a silhouette of a post. This should lead you to the top.
- Your return back to Manker Flats will be via the Baldy Bowl trail.
Heading Back Down
- Make sure you’re on the Baldy Bowl / Ski Hut Trail. Look for post marks that signify this.
- When hiking down, posts with yellow markings means you’re going in the right direction.
- Avoid hiking down steep declines towards a ravine. Turn around if you see an aircraft wreckage.
- Always look for post signs for Ski Hut and Manker Flat.
- Once at the Sierra Club Ski Hut, continue towards Manker Flat.
- Look for the trail register towards the end of the ski hut trail.
- Look for the dirt road after the trail register. Take this back down to the gate.
Edging Past Mt. Harwood towards the Steep Switchbacks
The trail just eases past Mt. Harwood to provide you with an amazing view of the Baldy Bowl. The Baldy Bowl cannot be climbed except when it is covered with snow and ice. Even in times of snow, the climb is quite demanding and requires adequate equipment. Moving on, you will enter the last part of your climb to the summit which will comprise of a succession of steep switchbacks.
The Summit
Once you start your hike through the steep switchbacks, you will notice that it gets really challenging to maintain a steady speed because of the high altitude. The trick is to focus on the route and keep going no matter what.
It is extremely windy at the summit of Mt San Antonio. Don’t be fooled by the temperatures at sea level since it is going to be much colder at such a height. There are some stone shelters at the top to protect you from the wrath of icy winds.
The Baldy Bowl Trail Back to Manker Flats
You should take the Baldy Bowl trail to get back at Manker Flats. You will have to hike down steep switchbacks yet again to reach the Sierra Club ski hut, which happens to be at the base of the bowl. You can take some rest at the ski hut and spend some quality time in the midst of nature.
You will have to cover some distance to reach San Antonio Falls and, as you keep following the trail, you will finally reach back at Manker Flats.


One thought on “Hiking Mt. San Antonio – Mt Baldy Loop”