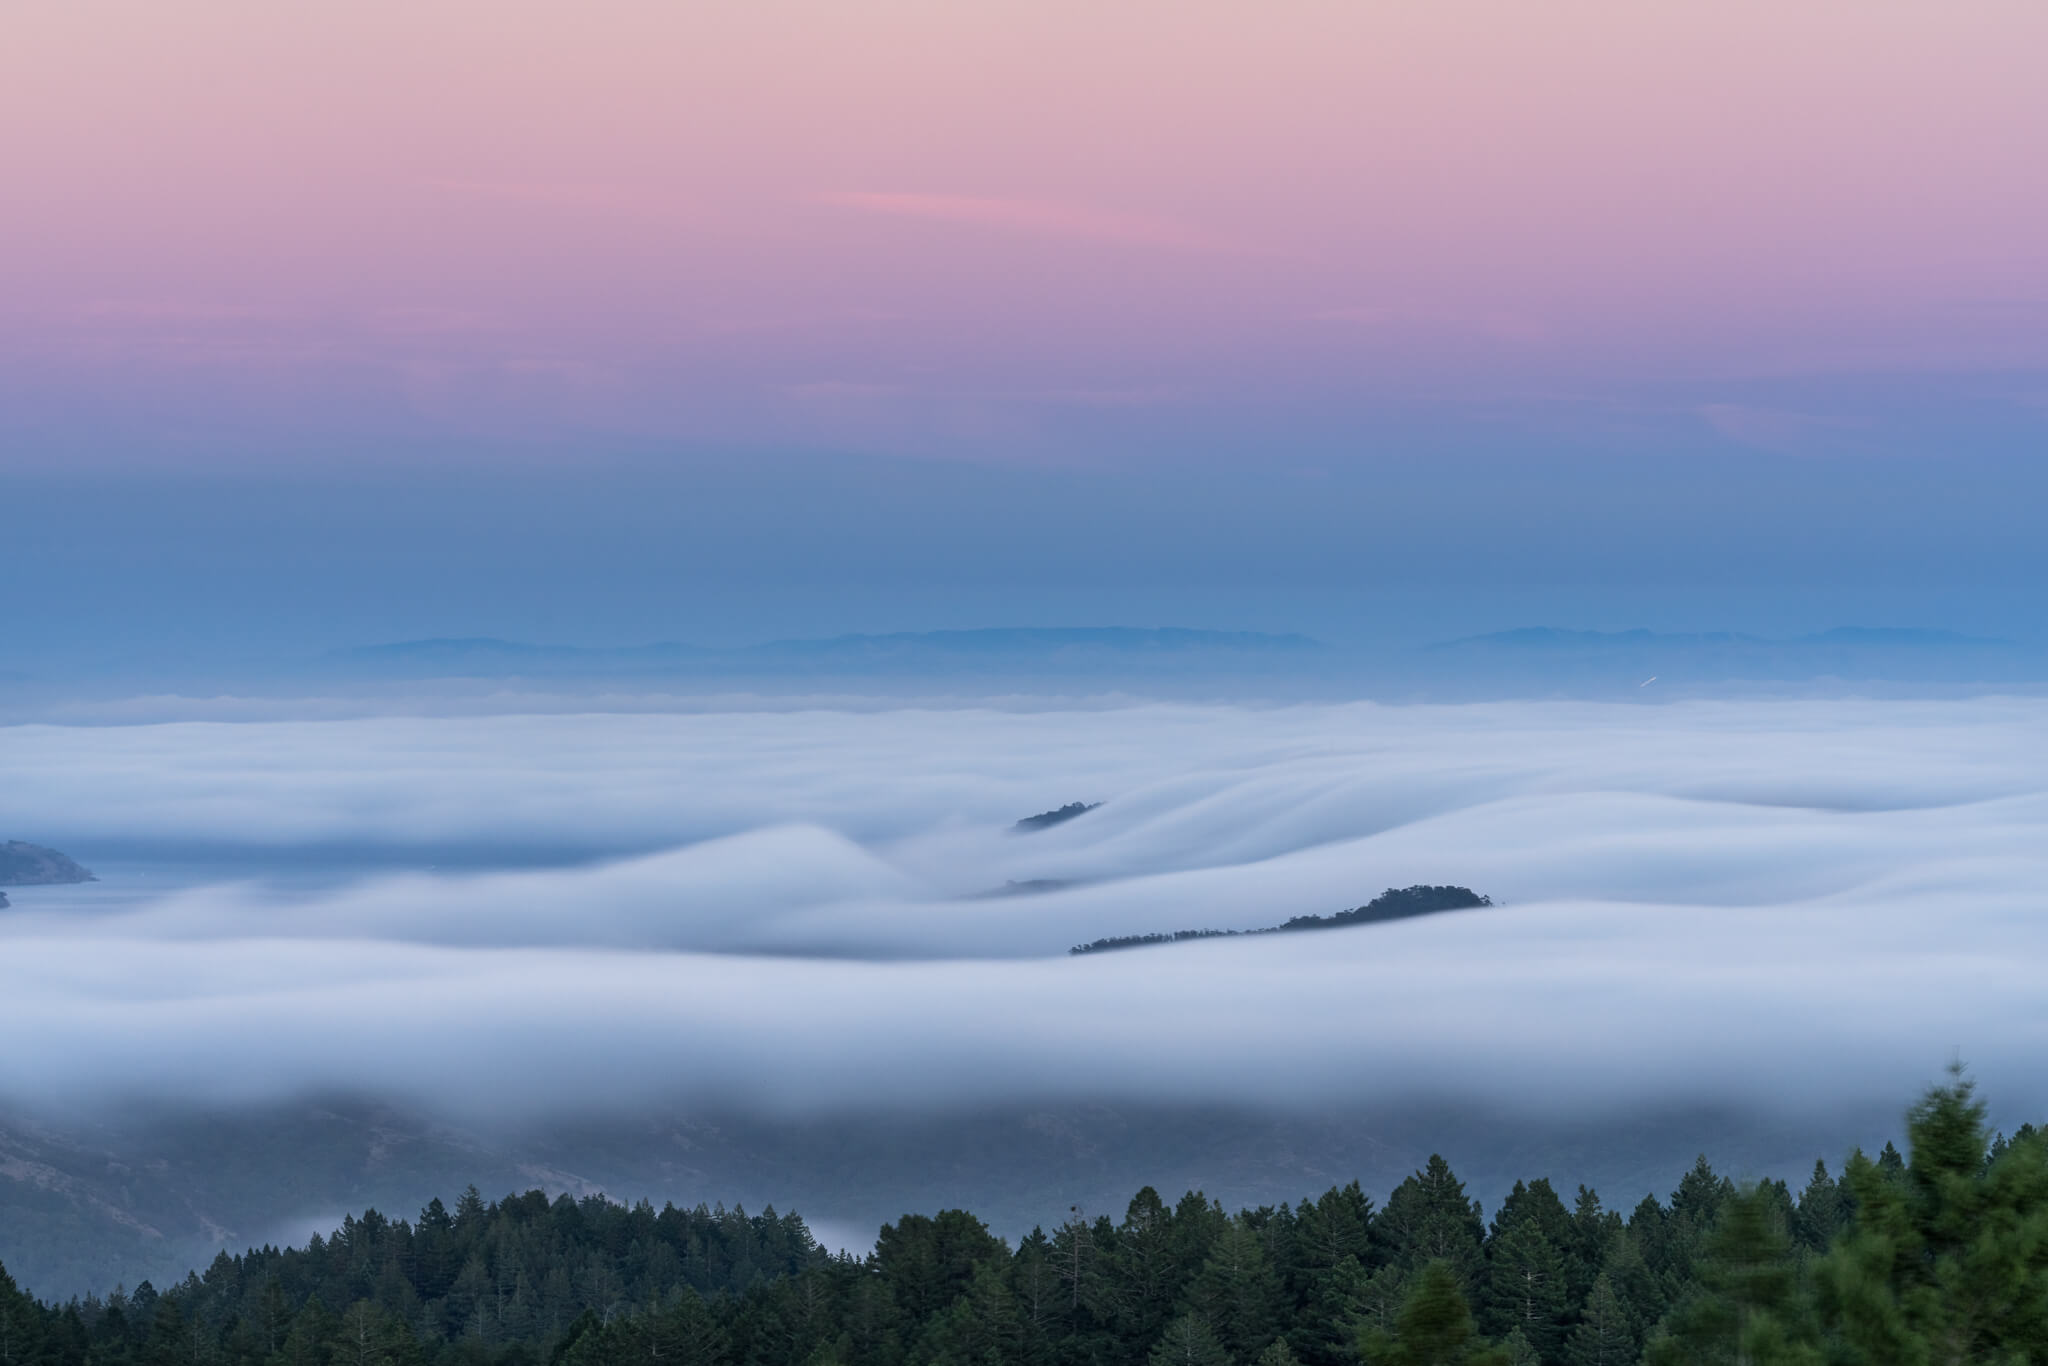
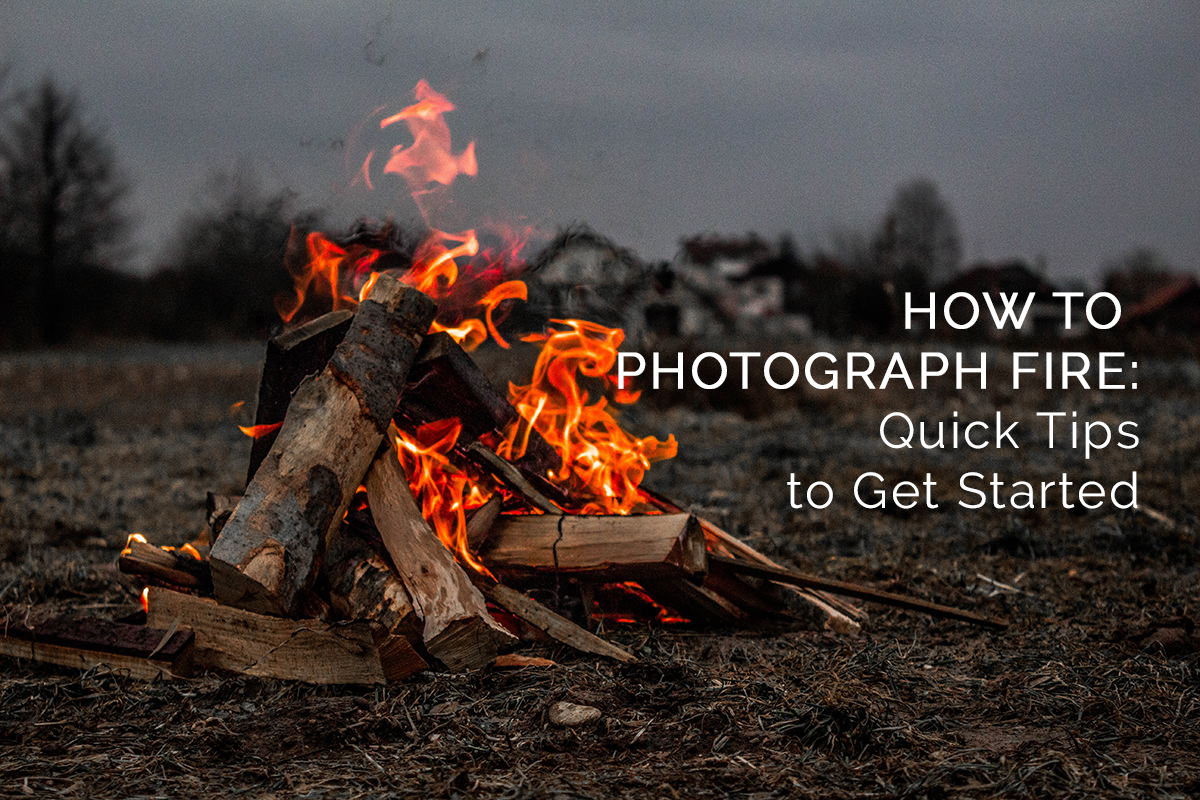
Long Exposure Landscape Photos – 6 Essential Tips
Long exposure landscape photography often inspires the most intense ‘how did he do that?’ reactions, and for good reason. Long exposures turn rivers into flowing mist, remote lights into neon streaks, and the simplest motions into dynamic shots. If you’ve got the passion, here’s the know-how. Long exposure photography is basically using a very slow shutter speed to allow moving objects to ‘blur’ in the photo. It’s a simple concept on paper, but there are so many different visual effects you can create with just a simple blur. The results are limited only by your imagination, and while we can’t help you too much in that department, we can give you the solid basics!
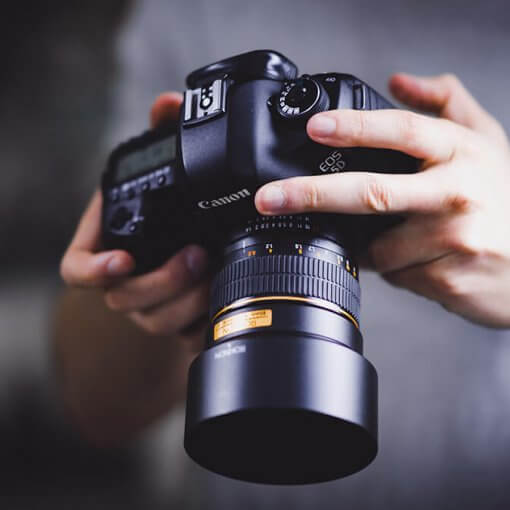
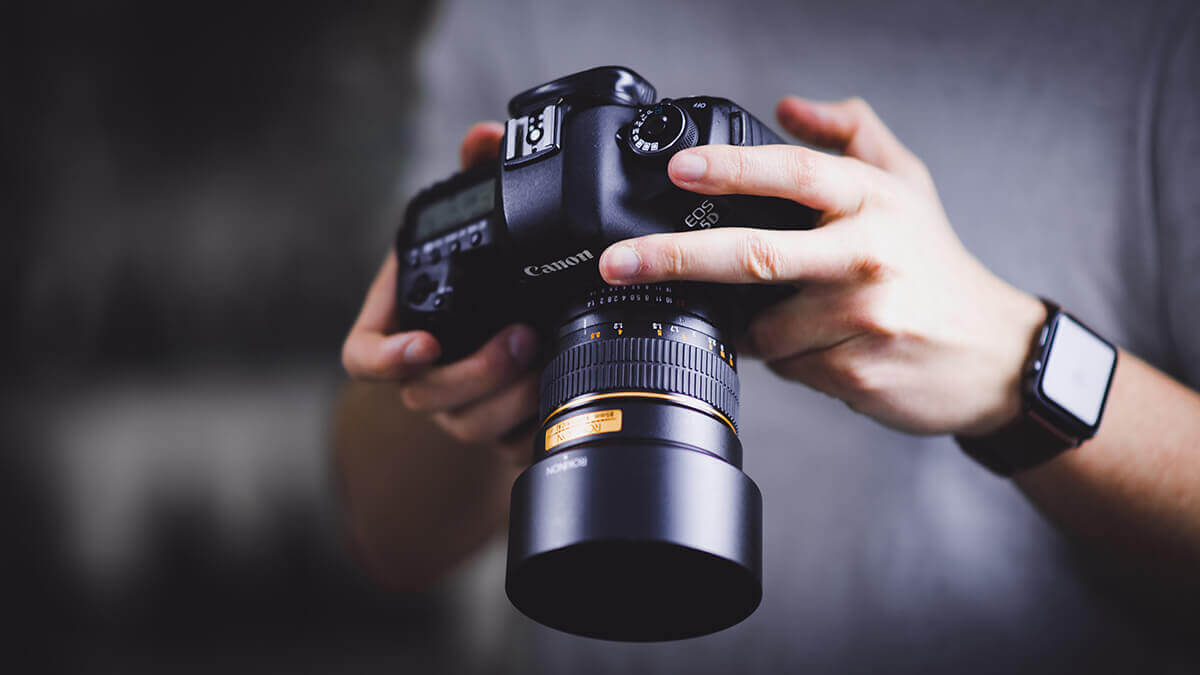
Pack the Right Equipment
Before you head off to the site of your choice, make sure you’ve got the right equipment for your long exposure landscape shot. The typical lens of choice for long exposures is the wide angle lens. These lenses have shorter focal lengths than average (35mm or less). A shorter focal length means your shot will have a broader perspective and a greater sense of space; further objects will appear drastically smaller, closer objects will appear much larger (more on wide-angle lenses here). These exaggerated proportions are exactly what we want in a landscape shot, and we need a lens that can deliver. Here, we’ve got the Sony a7II mirrorless camera with a Sony 16-35mm F4 lens and Sony VGC2EM battery grip. The battery grip’s especially handy if battery life is a factor for you (and if you’re doing nature photography, it probably might be). Lastly, you’ll need a strap mount so you can easily access your camera when a scene presents itself.
The second item to consider is a neutral density filter. These filters reduce the intensity of the light passing through your lens, which prevents your shots from being overexposed (‘whited out’). You’ll want a filter that can reduce the amount of light by about 10 stops. For extra light reduction, a circular polarizing filter is often used to cut into glare commonly seen in bright skies or watery surfaces.
After the filter, the next two pieces of equipment are meant to reduce camera shake, which is a common issue for long exposures. A slower shutter speed means a higher chance of unwanted vibrations, which will make your shot blurry. The two tools we want are the tripod and the remote shutter release cable. A tripod will hold your camera steady as the shot is being taken, and will also free up your body so you can observe and re-position as you need to. An above-and-beyond tripod should also have multi-posable legs to accommodate any shooting position, and should have a way to add stabilizing weight as well. The remote shutter release cable connects to your camera and allows you to trigger the shutter without having to touch the camera body itself.
The simple act of pressing the shutter button introduces a tiny amount of shake which could ruin your shot. With a remote shutter cable and steady tripod, you won’t have to worry about keeping a steady hand. That being said, I realize you can’t plan for everything; in that case, improvise! If you unexpectedly happen to find yourself in front of the perfect shot, why not mount your camera on top of a fence or mailbox? Anything that can stabilize the camera will work!
Compose Your Long Exposure Landscape Shot
Now try to piece together what you want your shot to look like. Which objects will be stationary? Which objects will be in motion, or blurred? We often want both elements in our long exposure landscape shots, since still and blurred objects will accentuate each other and create a dramatic contrast. If you’re trying to capture a moving object, plan ahead and try to time your shot. Memorize the rhythm of its motion, whether you’re trying to shoot creeping storm clouds, urban car lights, or star trails. Anticipate the path of movement, position yourself accordingly, and wait for the right moment to snap.
Pick a Shutter Speed
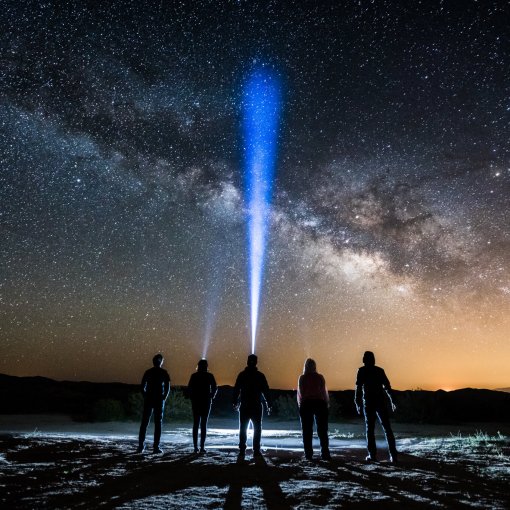
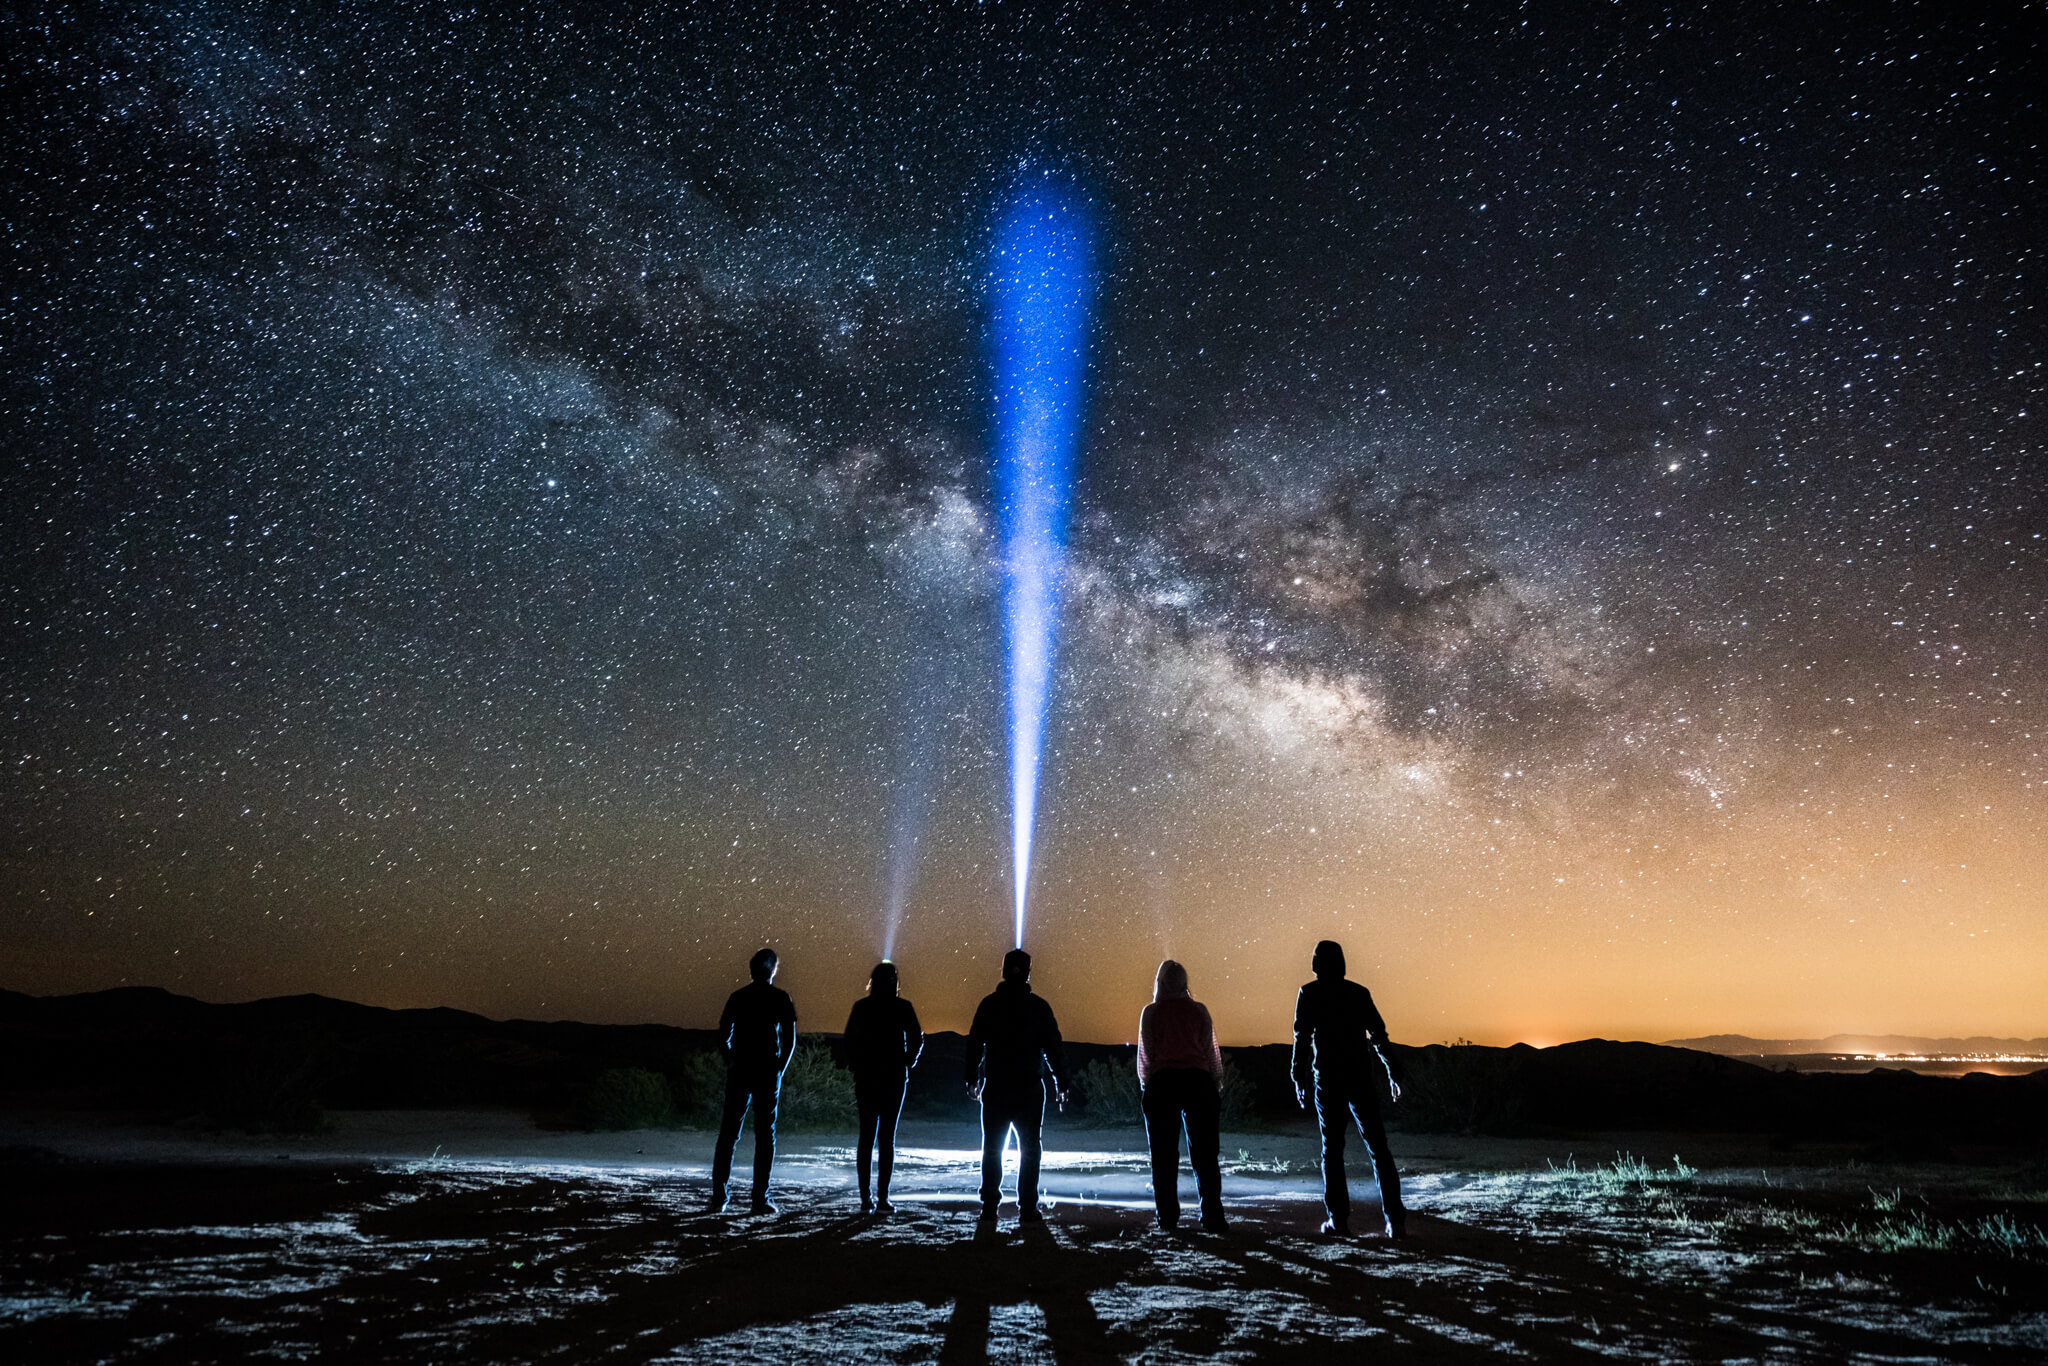
Shutter speed is the most important aspect of the shot. Long exposure landscape photography depends on slow shutter speeds to capture objects in motion, which will appear ‘blurred.’ This blur often manifests as interesting patterns of light or movement. That being said, there’s a lot of flexibility in choosing which shutter speed is best; you can use any speed from 1/15 of a second to even an hour or more for star shots, depending on the situation. The basic thing to remember is that at slower shutter speeds, moving objects will look blurred, and light sources will be brighter. You’re trying to accentuate motion and/or dim lights, while avoiding making light sources too bright. Keep in mind that the more ambient light there is, the faster your shutter speed should be, to avoid picking up too much light.
To give you a benchmark, capturing light trails from the lights of a moving car might require a shutter speed of 1/15 of a second. Star trails, however, might require a speed of an hour or more! Don’t be afraid to take a test shot and readjust. Let’s say you do want to take long exposure shots of passing cars. You take the shot, but realize the light trails are too short. To compensate, you would slow the shutter speed down in increments of 1 second to gradually lengthen these light trails. Experiment and learn!
Controlling the Light Naturally
As with any kind of photography, controlling light is key. However, long exposure landscape photography presents specific challenges. We need slow shutter speeds to capture these shots, but these speeds result in your camera capturing much larger amounts of light than normal. To compensate for this naturally and avoid overexposed shots, try to pick times and locations that limit the amount of natural light. Shoot in the early morning or late afternoon, or wait for a cloud to pass over before getting your shot. If you’re attempting to photograph stars, make sure you’re miles away from ambient light sources from nearby cities.
Controlling the Light Artificially
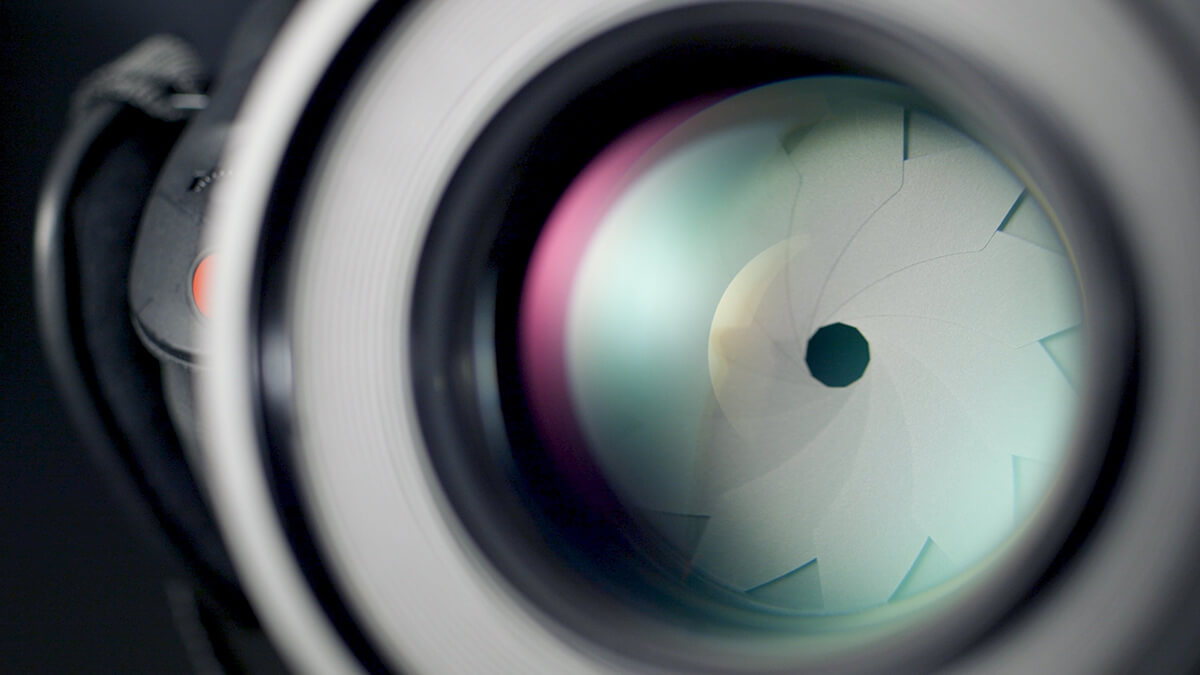
We talked about natural ways to offset the slow shutter speed, but there are also an array of camera features available you can use, if you have a fully manual camera. If you’re familiar with the exposure triangle, you’ll know that the two on-camera methods of offsetting shutter speed are aperture and ISO.
So, we first need to dial down the ISO to its lowest possible setting, since high ISO values result in brighter photos. Using a low ISO setting also ensures that your image will be tack-sharp. Secondly, we need to set our aperture in an appropriate range as well, and usually that means a midrange value: anything from f/8 to f/16 will do. It’s true that small apertures like f/22 will reduce light the most effectively, but lenses are often sharper at middling aperture values. So, by picking low ISO values and midrange aperture values, we reduce the amounts of light down to manageable levels, while also maximizing image quality. Two for one!
P.S.– Shoot in RAW if you don’t already! People love long exposure photography for the intense detail, the smooth flows and textures. And if that’s the case, you want your camera to harvest as much optic data as possible. Add some off camera flash too for some dramatic back light effects.
My flash set up when I use my Sony A7Rii:
Flash: 2x Flashpoint Sony TTL R2
Transmitter: 1x Godox 2.4G TTL for Sony
Use Post-Production for Cleanup
Finally, what’s true for all types of photography is true for long exposure landscape photography: post-production saves your butt. If you’re new to long exposures, you’ll likely have a few shots that need polishing up. Because of the slow shutter speeds, colors are often rendered as extremes: warm sunsets turn fiery, slight glimmers turn into bright flares, that sort of thing. You’ll probably want to use post-production programs to fiddle with your photos’ hues and saturation. Familiarize yourself with those tools ASAP if you’ve never used them before–they’ll definitely come in handy, whether your colors are too dim or too vivid.
Aside from these guidelines, the sky’s the limit for what you can do with long exposures. The technique’s great fun to experiment with, and you’ll surprise yourself with the results. Happy shooting!