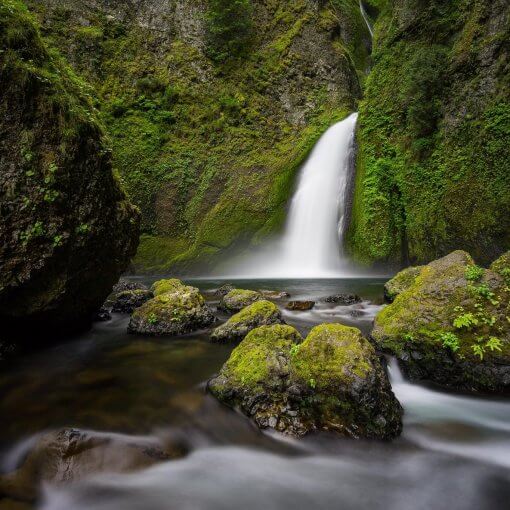
Backpacking Equipment – Beginner Must Haves
Backpacking Equipment
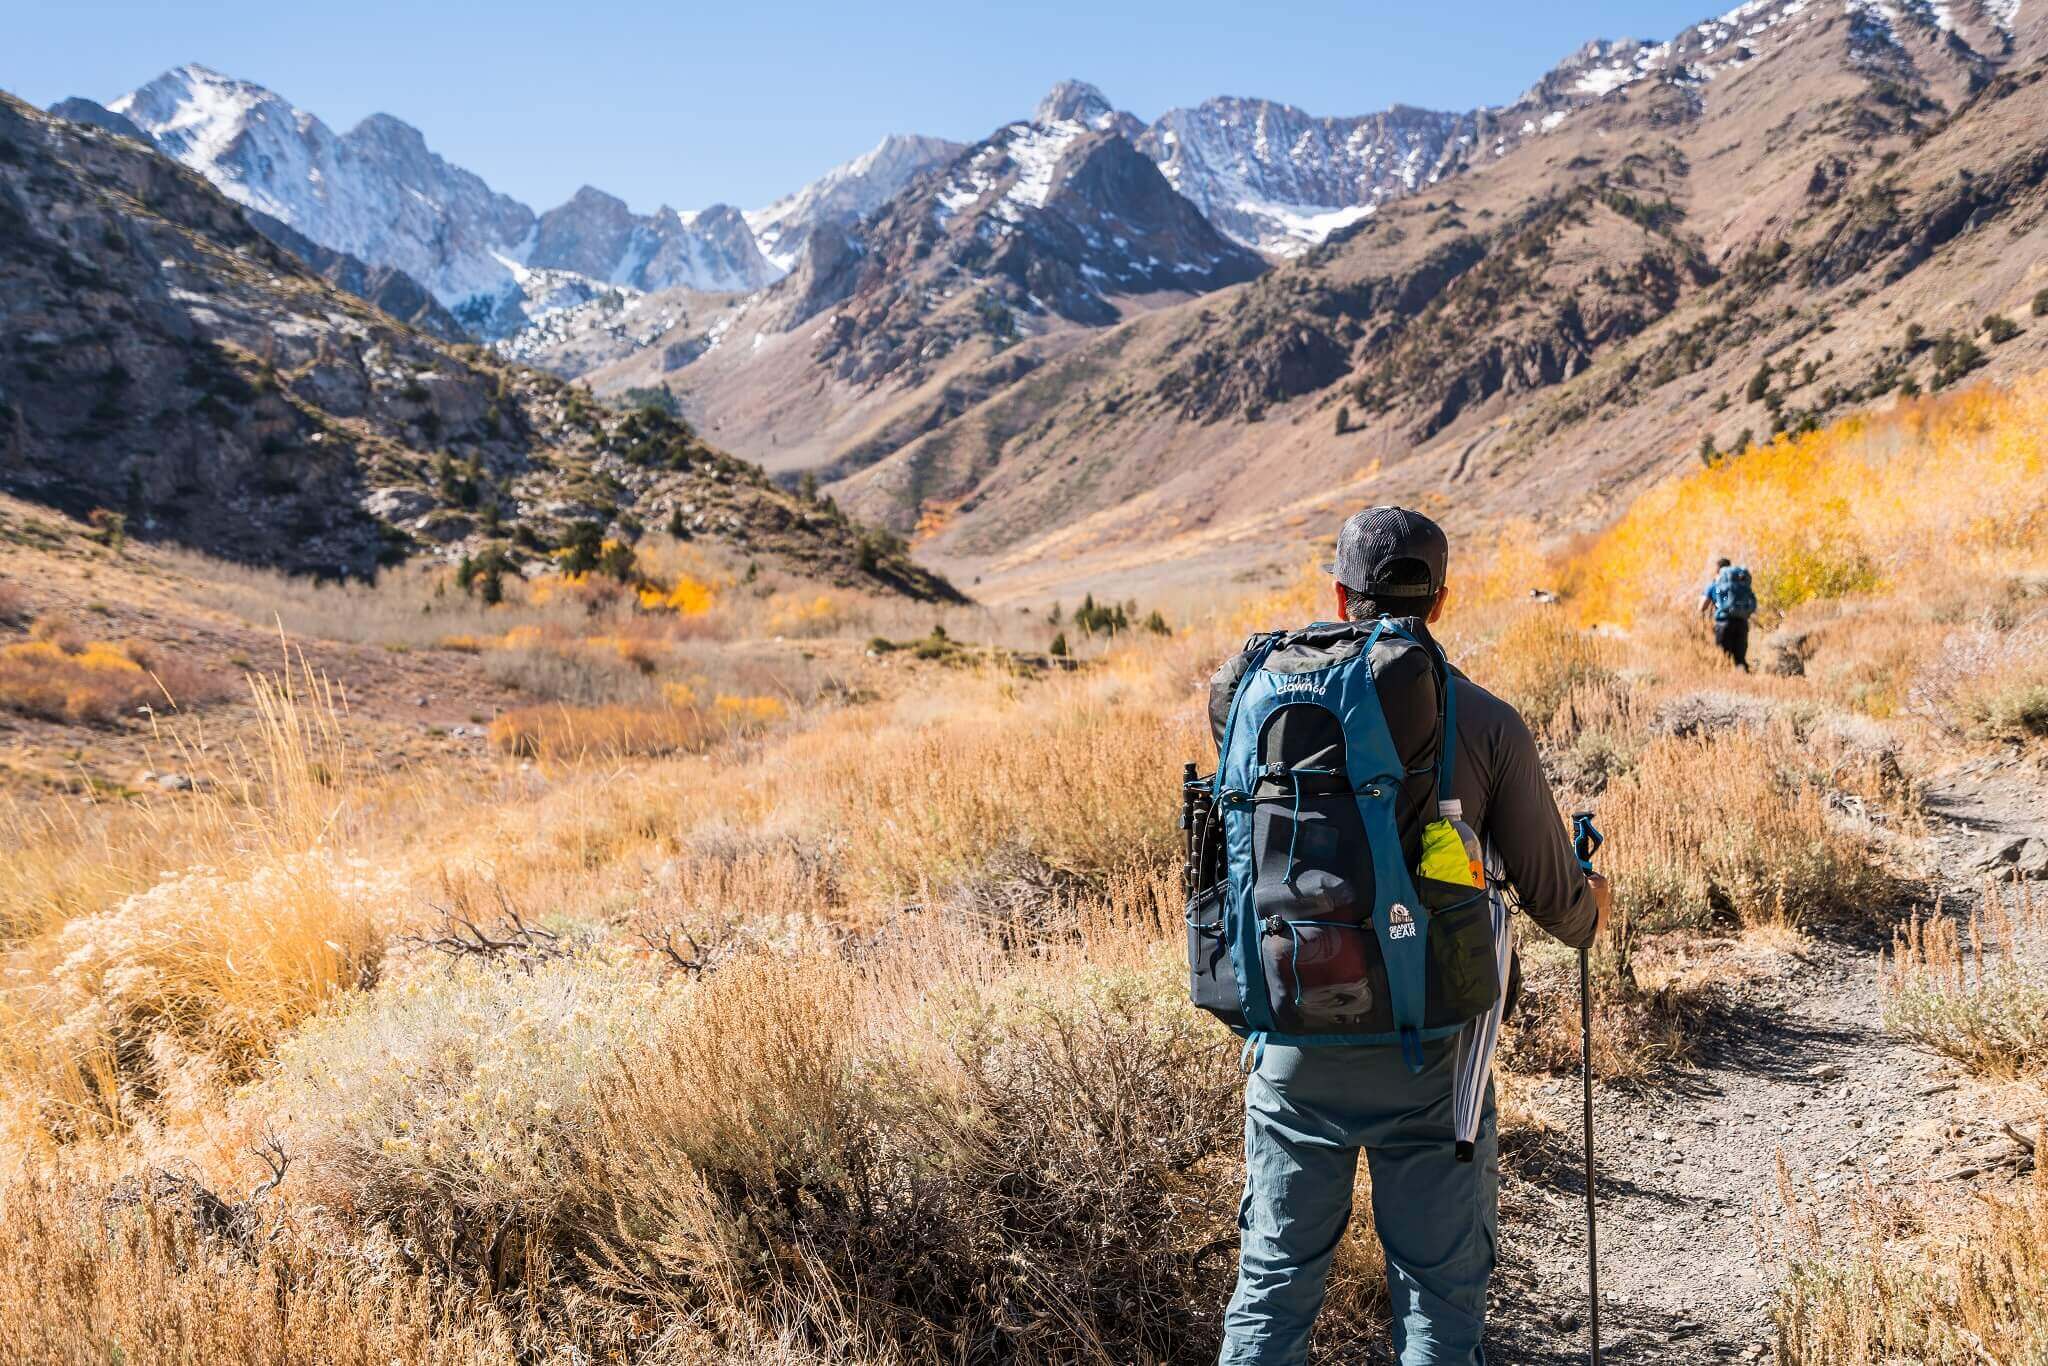
If I had to go through the purchase process again to prepare for a couple night out in the back country, the items below are the several items I’d buy to get started. It will make your backpacking trip much more comfortable while not making a dent into your bank account. After doing some hours of research, purchases (Yes I’ve collected quite a bit of gear), and field tests, the items below should be the first things to consider for your first backpacking trip.
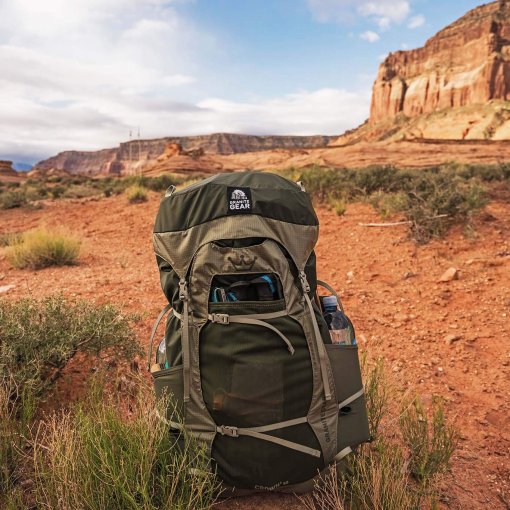
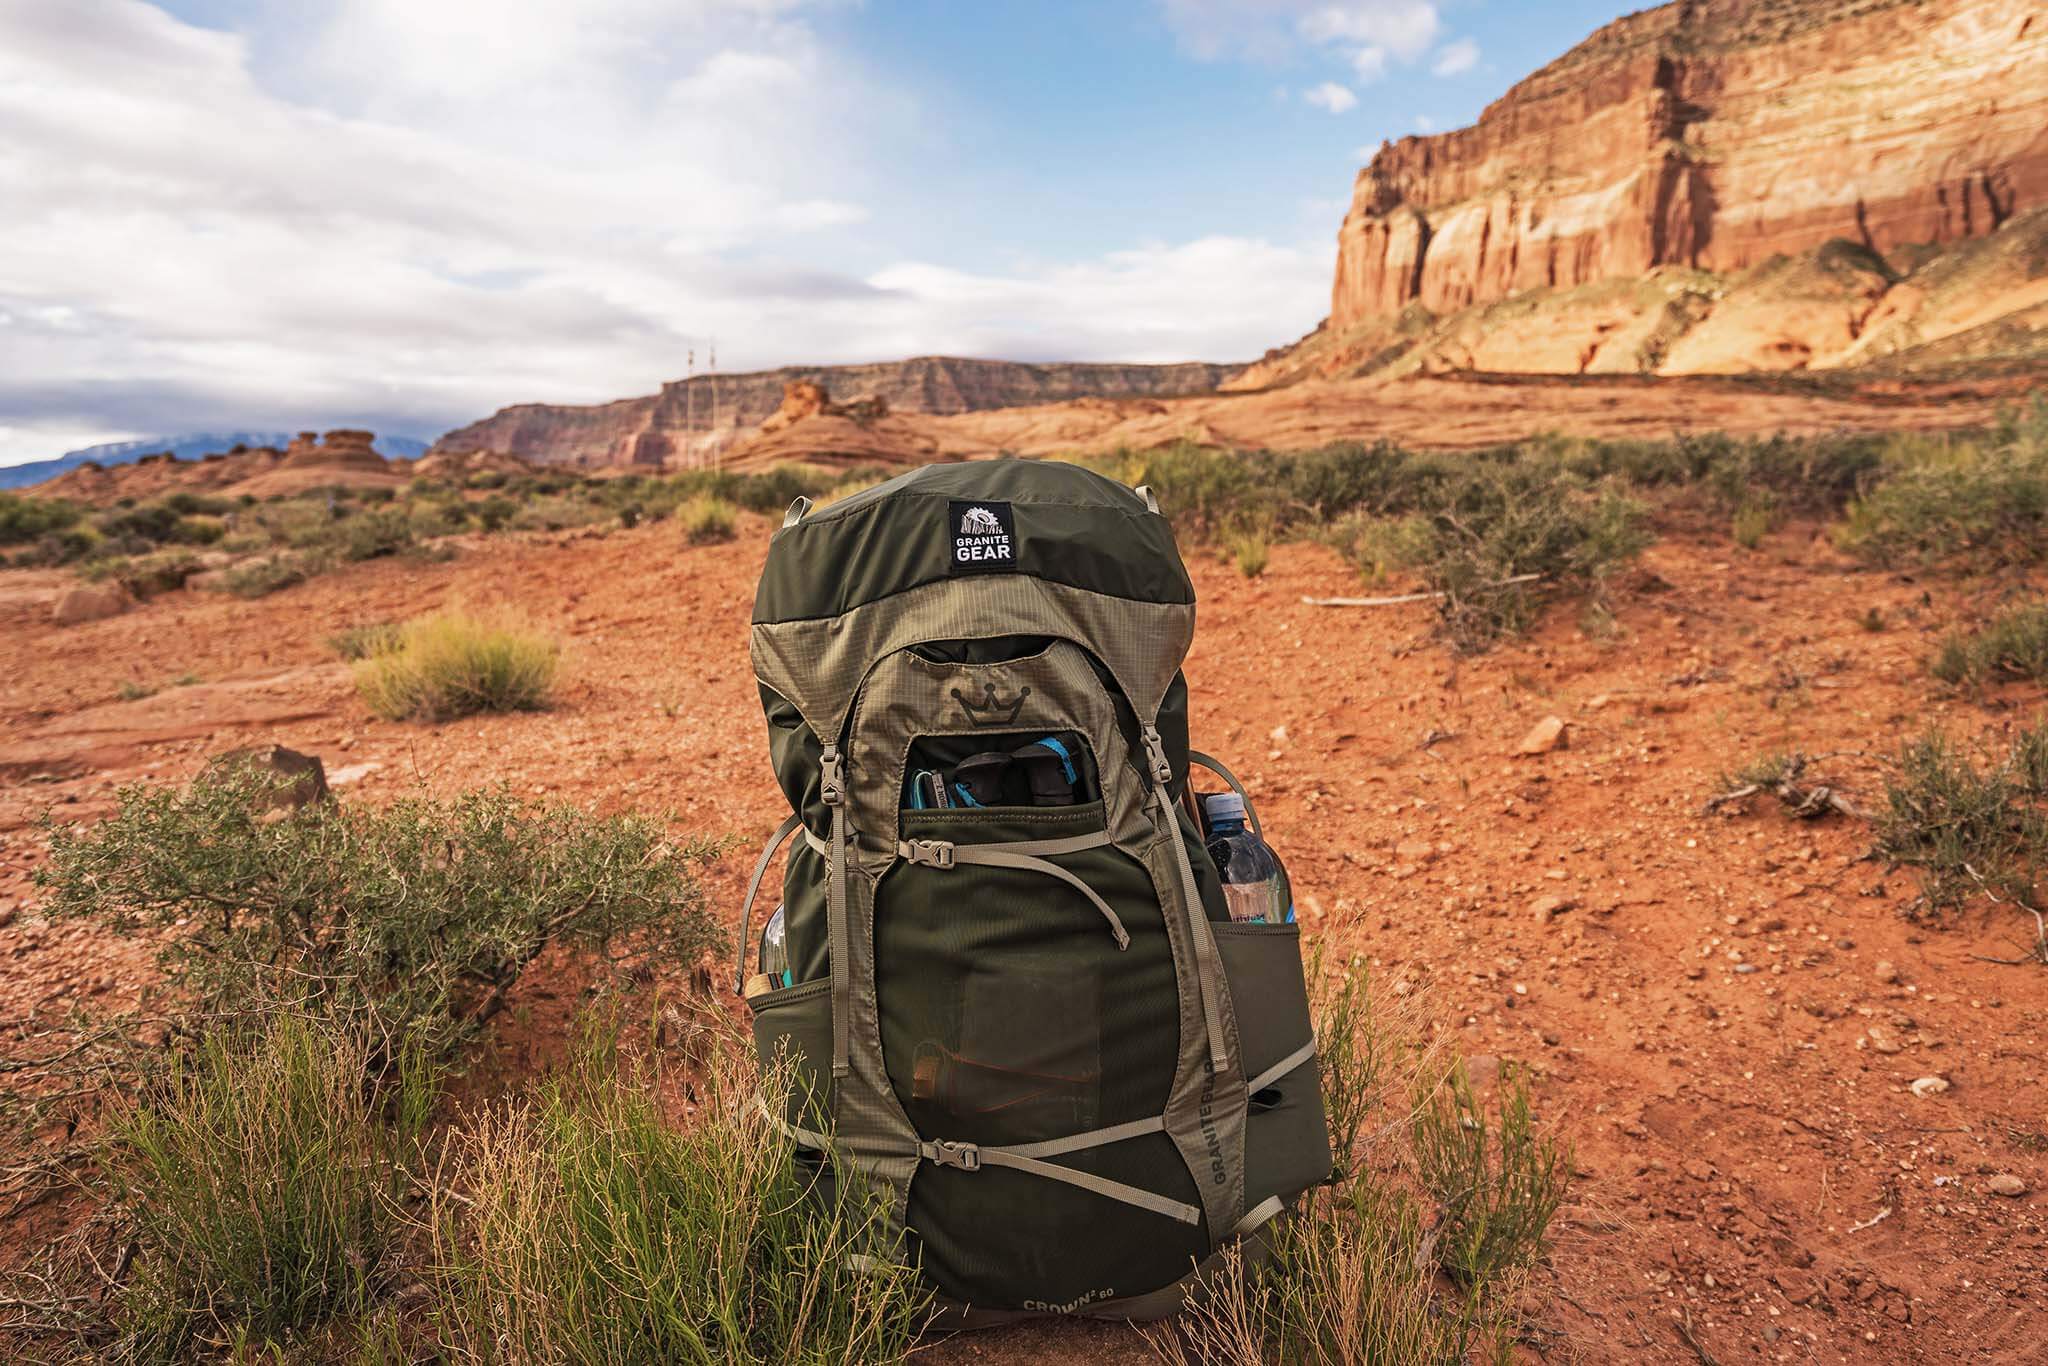
Granite Gear VC Crown 60L – $150 (LINK)
The pack is part of the trinity of items that contribute to the majority of the weight you’ll be carrying. Unless you’re also carrying camera gear. This is my go to pack whenever I make a trek into the back country. It is simple, very lightweight and very durable. It literally has one huge compartment, 2 side mesh compartments for water bottles, and a huge center mesh for anything and everything. I pair this with the vapor current airbeam to get the set up to be under 2lbs. The journey should be light and simple when you get away from the city right?
Teton Sports Tracker 5F Sleeping Bag – $70 (LINK)
No it’s not a North Face, REI, Nemo nor Big Agnes. But it actually works really well in cold and wet weather. Although it says its rated for 5F, I think its more around 15F. I’ve used this bag for Mt. Whitney, Desolation Wilderness, and Thousand Island Lake (early May) to name a few. It performed well. This sleeping bag comes with a compression sack and weighs only 3.8lbs. I know this isn’t as light as the competitors but at under $100 for a 5-15F rated bag, you definitely get your money’s worth.
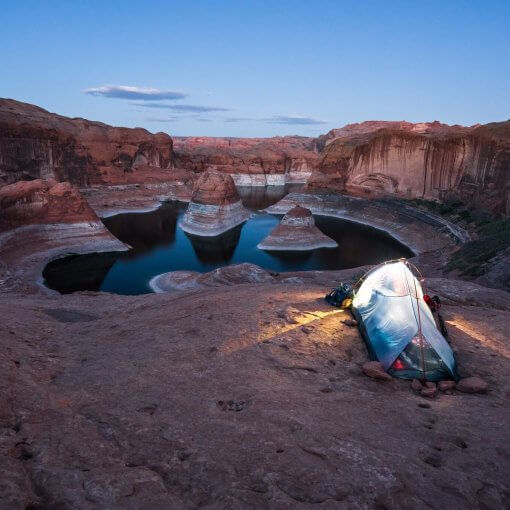
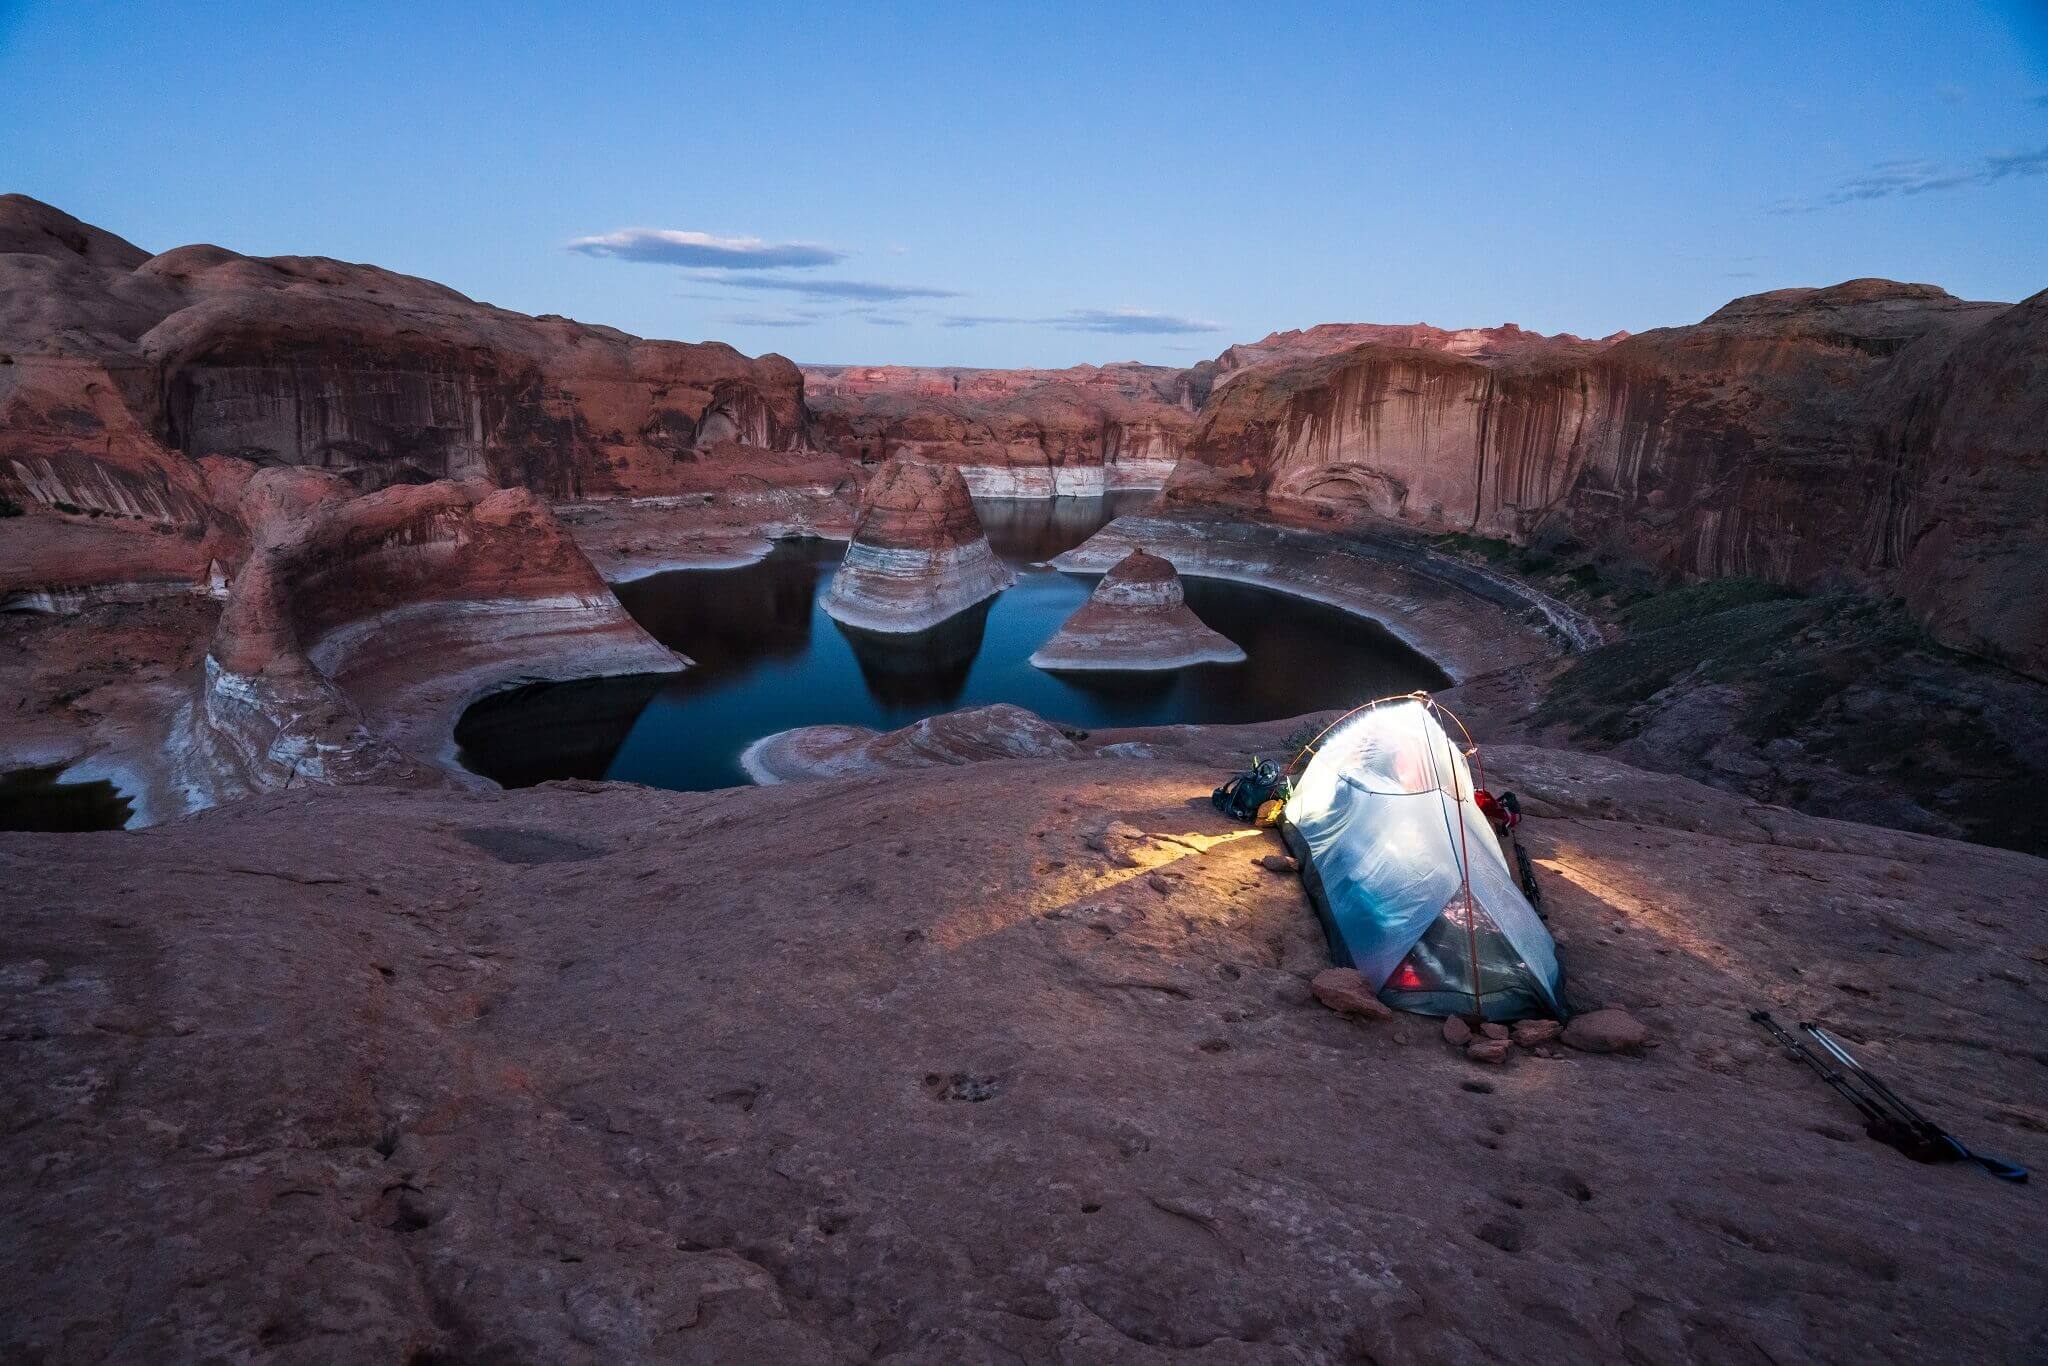
Big Agnes Fly Creek UL2 – $250-$300 (LINK)
This tent is known for its very lightweight construction and its popularity in the backpacking community. Although there’s a newer HV UL model for the Fly Creek, I feel that the older version still does the job well. My Fly Creek tent has been in 30-40mph winds, rain, snow and hail and it’s still holding up nicely. There’s very minimal condensation on the inside and enough space in the vestibule for two 60L packs and two pairs of boots. I chose this tent not only because it is 2lb 10z with the footprint (weighed it myself to the grams), but also for the one door style where I can unzip to an epic view.
Sawyer Mini Water Filtration System – $19(LINK) + Evernew 2L Water Bladder – $13(LINK)
At a total of only 3.5oz, this is the water filtration set up I’ve been using since my first backpacking trip to Mt. Whitney. The cool thing with this set up is that the sawyer mini filter screws right over the evernew bladder or any Smartwater bottle, making it convenient to collect water from a stream, filter it right away or carry the bladder and filter the water later. Full Review HERE.
MSR Pocket Rocket Stove – $30(LINK)
This 3oz ultralight backpacking stove will boil your water with jet propelling flames in no time at all. Yes, it does sound like a jet engine underneath your pot. The palm sized dimensions take up virtually no room in your pack and can cook up a hot meal quickly. This stove does not come with a igniter so make sure to bring one of those 99c liquid lighters or matches. Also make sure to get a fuel canister that fits this stove. They go for around $5 for the size you see in the picture.
Smartwater 1L Bottle + Sports Cap Set Up – $2.50/set up(LINK)
There are so many water bottle brands out there you can choose from but none of them will give you the comfort of lightweight and durability. Have you ever dropped those Hydroflasks on the cap? Bam! You now have water leakage. Here’s how I do it. Go to any grocery store and buy two of the 1L Smartwater bottles. And then go find two of the smaller sized Smartwater bottles with the sports cap. Purchase the 4 bottles and simply swap the sports cap on the 1L bottles. Now you have a 2L set up that’s ultralight and fits perfectly in those mesh side pockets (look at pic above).
Adventure Medical Kits Pro Kit With QuikClot – $18(LINK)
This is not the ultralight version of the adventure medical kits but it can save your life from bleeding to death in the back country. Mother Nature is wild and unpredictable. That’s why I have chosen the safe route with a kit that has the quikclot just in case. Although its not advertised in the title, this kit is very durable and waterproof. It has seen over 100+ miles with me on the trail and it is still dry with no holes to the bag.
Breakfast: MH Breakfast Skillet – $5(LINK) Dinner: MH Beef Stroganoff – $5(LINK)
Those two are my favorites for breakfast and dinner. Why? Because they pack the most calorie/ounce and they taste pretty damn good. Before buying any food items though, I’d suggest figuring out how many mornings and nights you’ll be spending in the back country. I usually don’t boil water for lunch but instead will snack on high calorie bars and nut medleys. There are deals and packages out there that you can purchase with friends to cut the cost/pouch. I’ve gotten these pouches as low at $3/pouch before. But in the end, you don’t have to buy these freeze dried meals. The more creative you get, the tastier and budget friendly your meals can be. I’ve tried food combos with spam packets, oatmeals, Uncle Ben’s Rice varieties, and beef jerky.
Black Diamond Distance Carbon Z Trekking Poles – $160(LINK)
For your first time backpacking, you’d want a solid pair of trekking poles to help you carry all that weight on your back. I went with these black diamond poles because they fold up to the size of a ruler, roughly. This is especially awesome when you fly and travel since they’ll fit nicely into any carry on. Moreover, these carbon trekking poles are super light; if you have a set of these, they’ll probably be the lightest pair of trekking poles in your group. Why does weight matter for trekking poles? Well your arms will fatigue faster with heavier poles. It’s as simple as that. They come in fixed sizes so make sure to get the correct size for your height. I am 5 feet 8 inches and went with 120cm. These have not broken yet and I’ve put over 100+ miles on them.
Last Thoughts
If you know your backpacking start date, it’s easier to plan and search for deals on these essential items. I always recommend to all my friends and family to start gear shopping early and over a span of several months. This way, it will give more opportunities for retailers to run promos and sales on potential items you want to purchase.